
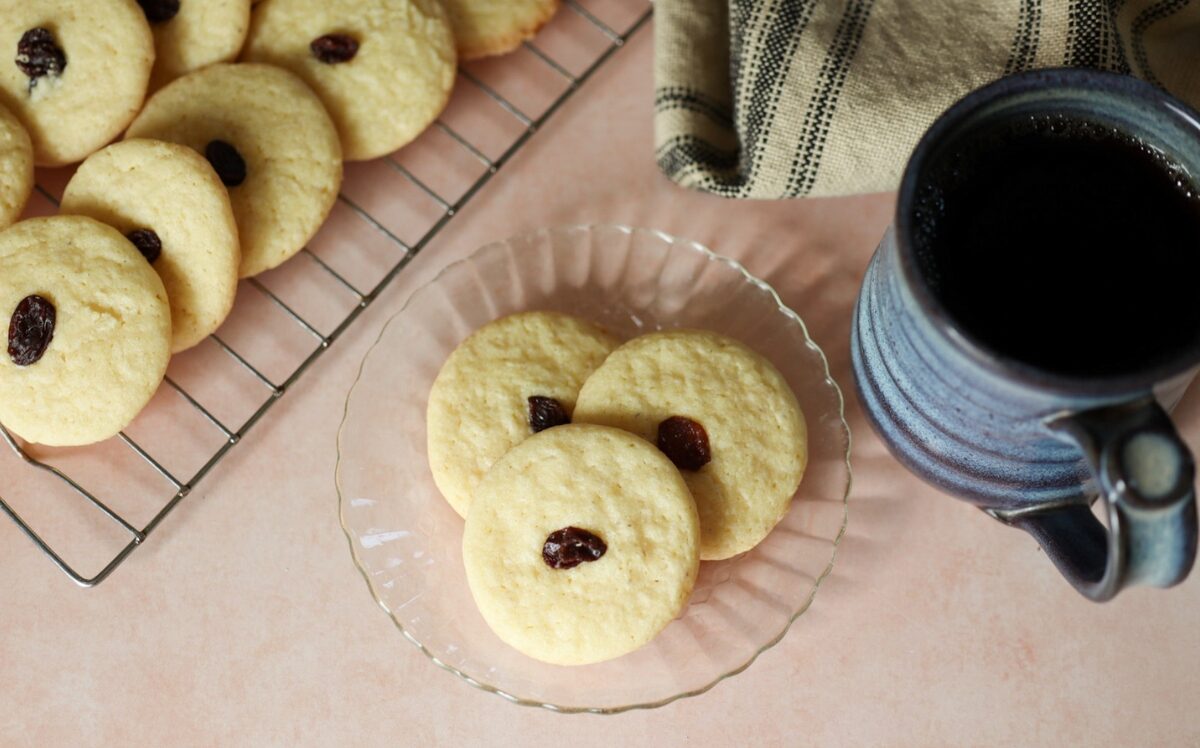
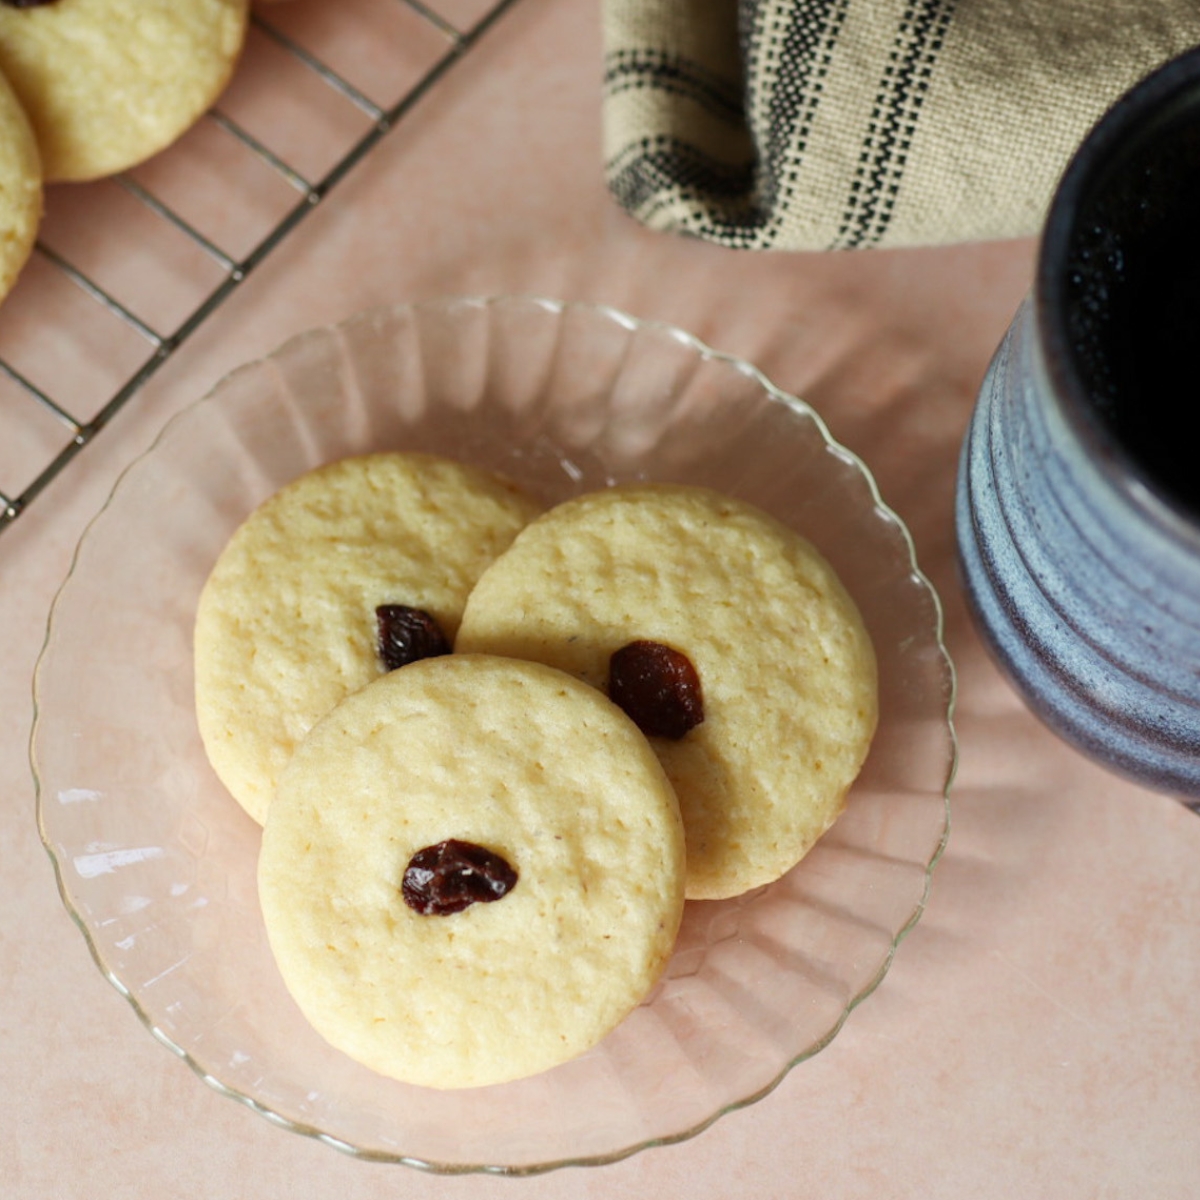
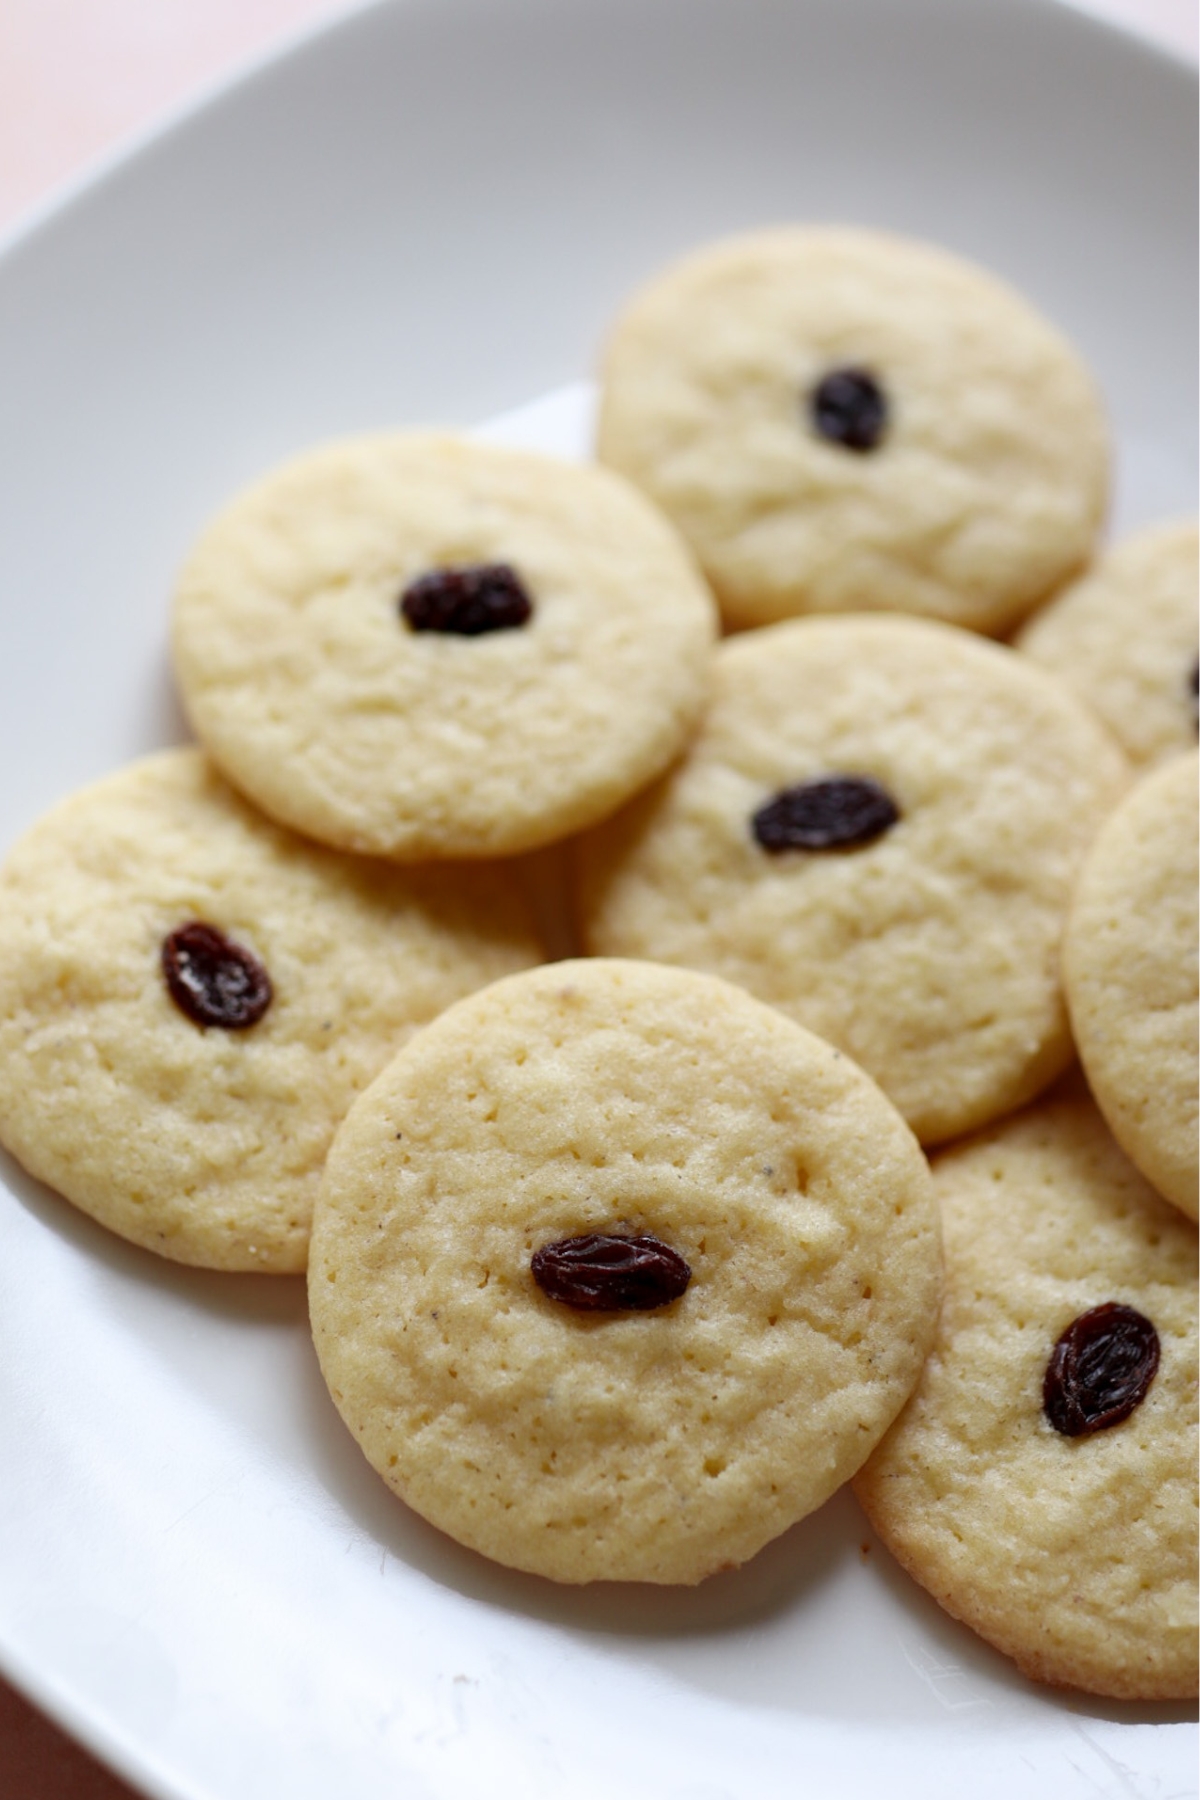
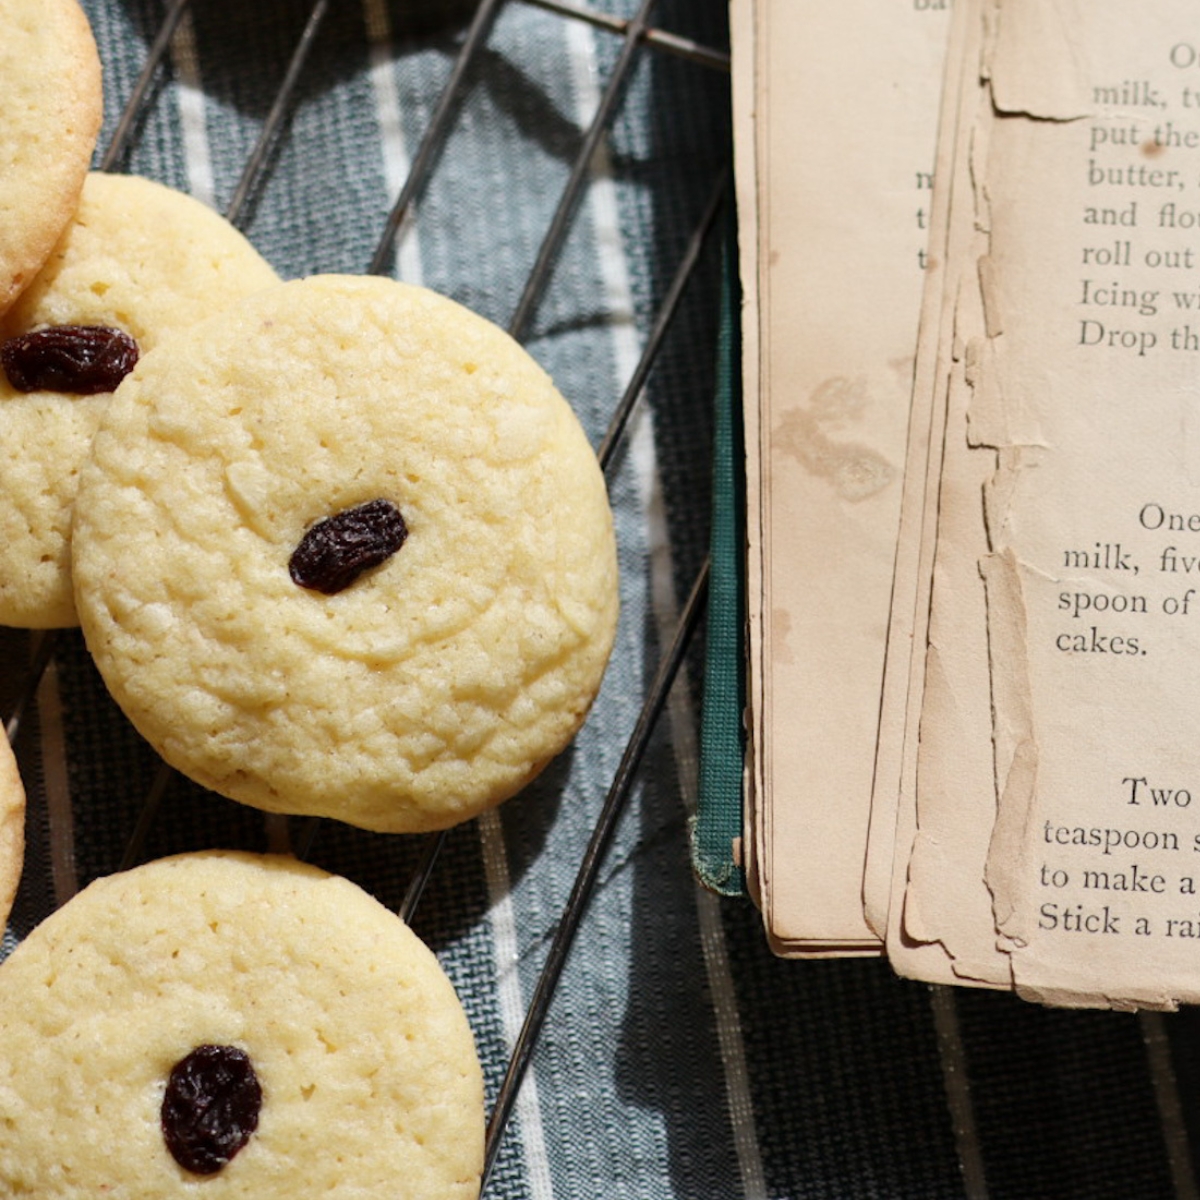
With raisin centers, and spiced with nutmeg, these delightful cookies are a festive little treat, that would also lend themselves well to the holiday cookie swap!
Dear friends ~
Something has been in the zeitgeist this week, and it’s not just Thanksgiving (which I hope you enjoyed, by the way!) I’ve been inundated with emails looking for “more 1800’s cookie recipes, please”!
In fact, I received three such emails in a single day this week. And really, who can blame us…it’s cold outside, and we deserve a little treat to go with that tea, coffee, or hot cocoa that gets us through the chilly afternoons.
Here’s a fun little cookie from an 1875 cook book, that I hope you’ll like. It’s just a bit novel, while still having a familiar coziness to it. With raisin centers, and spiced with nutmeg, it’s a festive little treat that would also lend itself well to the holiday cookie swap!
Hope you enjoy!
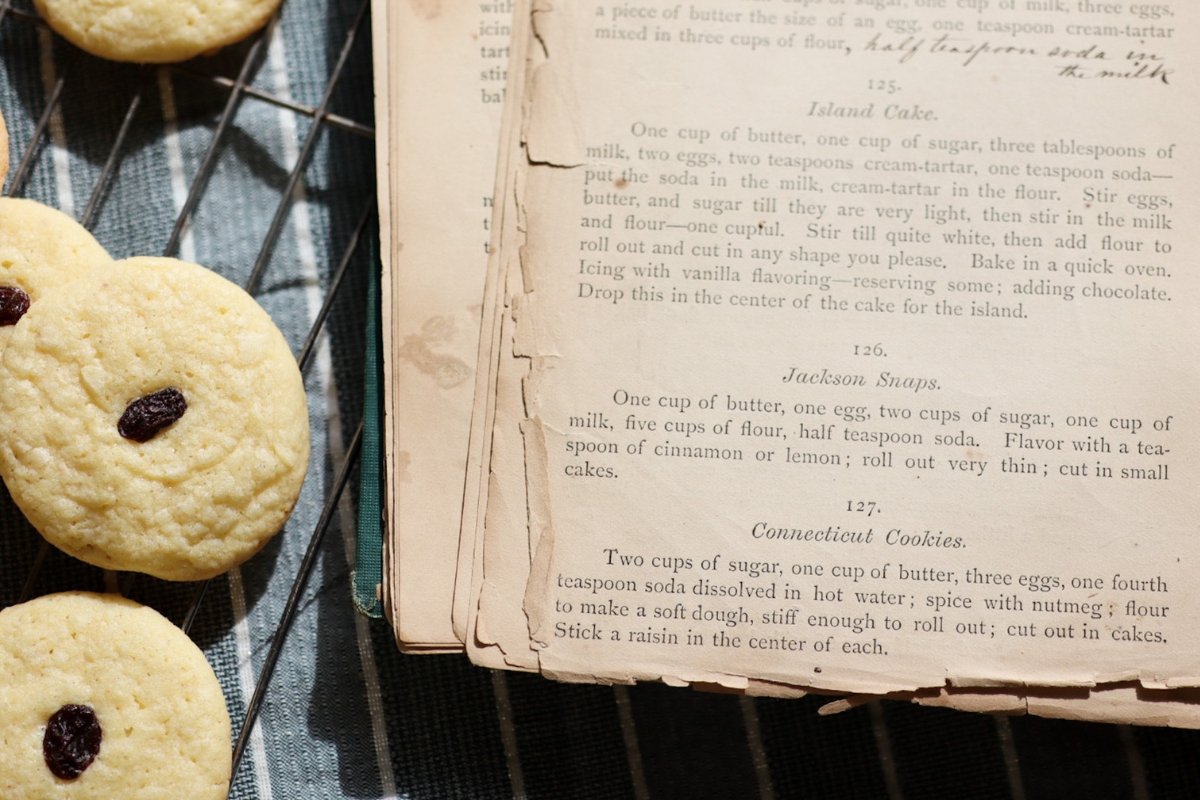
The Gem Cook Book, 1875
CONNECTICUT COOKIES
Two cups of sugar, one cup of butter, three eggs, one fourth teaspoon soda dissolved in hot water; spice with nutmeg; flour to make a soft dough, stiff enough to roll out; cut out in cakes. Stick a raisin in the center of each.
Here’s a photo of the recipe as it appears in the cookbook:
A FEW COOKING NOTES:
This cookie recipe does leave a few things up to the intuition of the baker. Here are a few notes from making these, that you might find helpful!
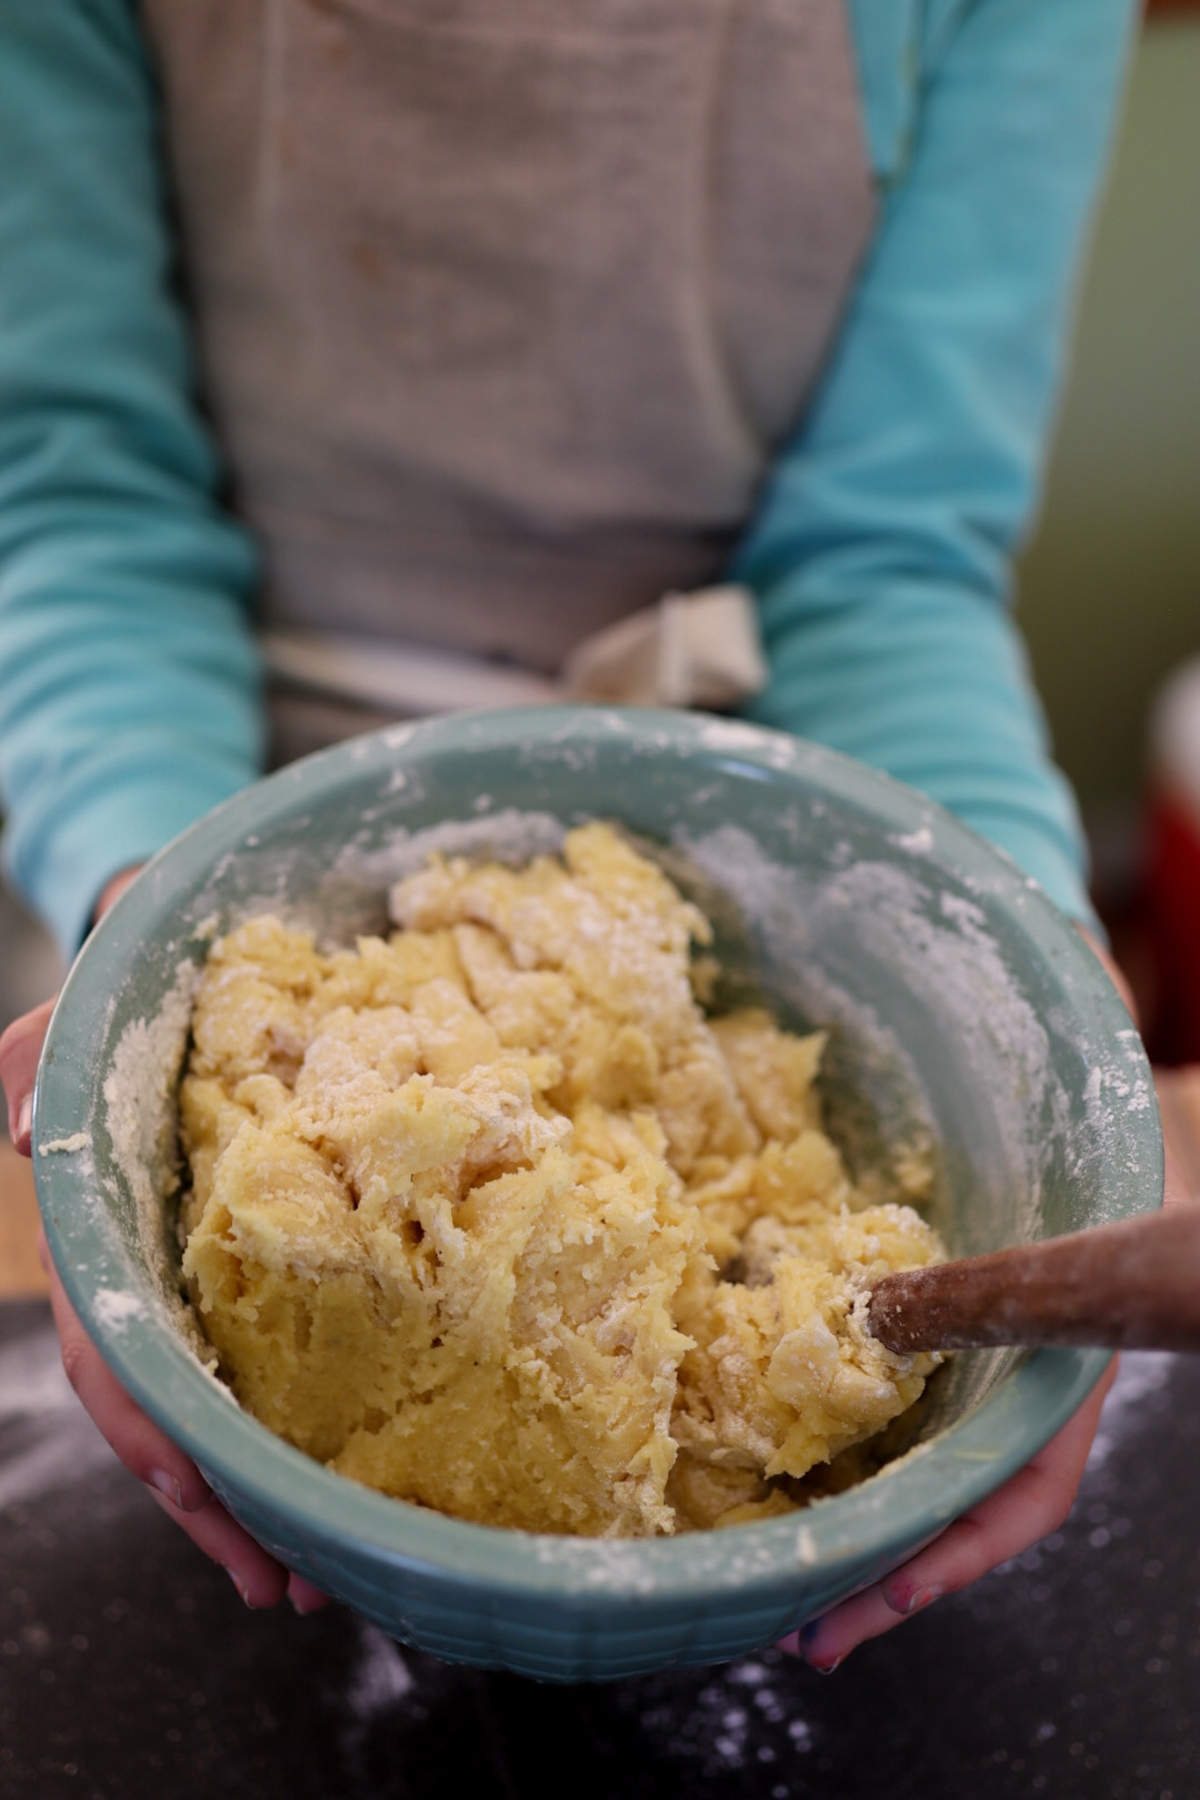
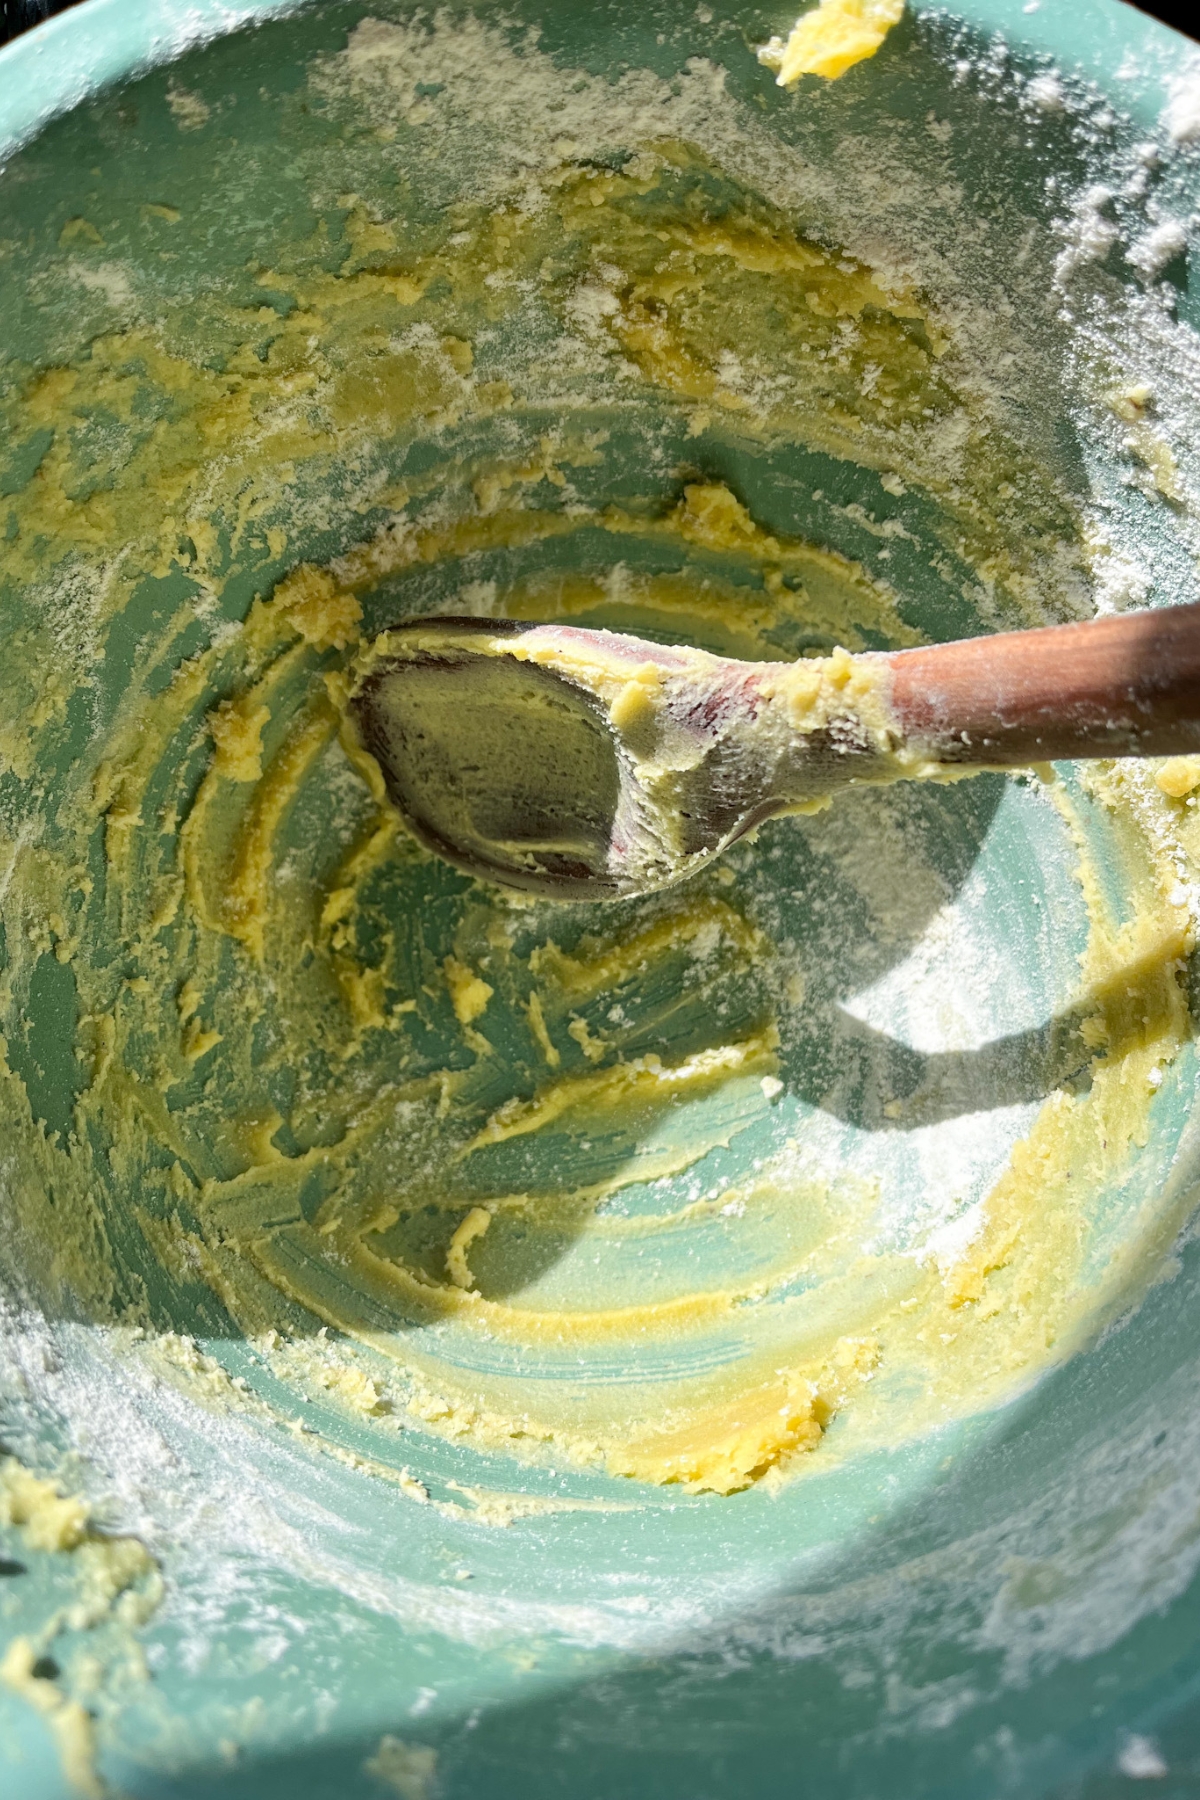
Start by beating the butter and sugar
Cookies were consistently included as part of the “Cakes” section of 1800’s cook books, and this volume is no different. In fact, the cookie recipes are totally intermingled throughout the cake recipes, without being separated or grouped together.
One rule of cake making from the era, is to start by beating the butter and sugar together. The eggs go in next. Many cook books, this one included, advise beating the whites and “yelks” of the eggs separately before adding to the batter or dough. I did that for this recipe, and it’s a step that really does add a little extra lightness to the finished cookie, helping it to rise well as it bakes.
I’m actually going to go ahead and include a photo of the tips on cake-making from this cook book. It’s very representative of the baking techniques from this era, and it’s all still good advice today!
How much water?
I used one tablespoon of hot water for dissolving the baking soda. This recipe does not specify a precise amount, but one tablespoon is a very common amount in similar contemporary recipes, when it’s called for to dissolve baking soda before adding to the other ingredients.
How much nutmeg?
I used half of one average-sized nutmeg, freshly grated for this recipe. Using one teaspoon of pre-ground nutmeg would give a similar result.
If I haven’t already nudged you to switch over to using fresh nutmegs for your baking, let me just put it out there again for your consideration. Whole nutmegs store well, grate easily, and really do add something extra when grated freshly for each recipe. Although pre-ground nutmeg was available at the time this cook book was published, whole nutmegs were still the predominant way that nutmeg was bought for home baking, through most of the 1800’s. It was strongly considered preferable to grind them freshly for each use.
I always tell people that freshly grinding your nutmeg as needed, is my one favorite way to easily elevate your baking, without much extra effort or expense. A heavy-duty nutmeg grater can generally be had for about ten dollars, or a little less, and makes a pretty good stocking stuffer, if Saint Nicholas needs a few extra ideas this year.
How much flour?
I found that 2.5 cups, plus 2 tablespoons, was what I ended up going with for this recipe, and it worked really well. 2.5 cups might be enough, depending on your flour, and you may want to start there, before seeing if those extra two tablespoons are necessary.
Keeping the dough nice and soft, while being just firm enough to roll out and cut cleanly, is the goal.
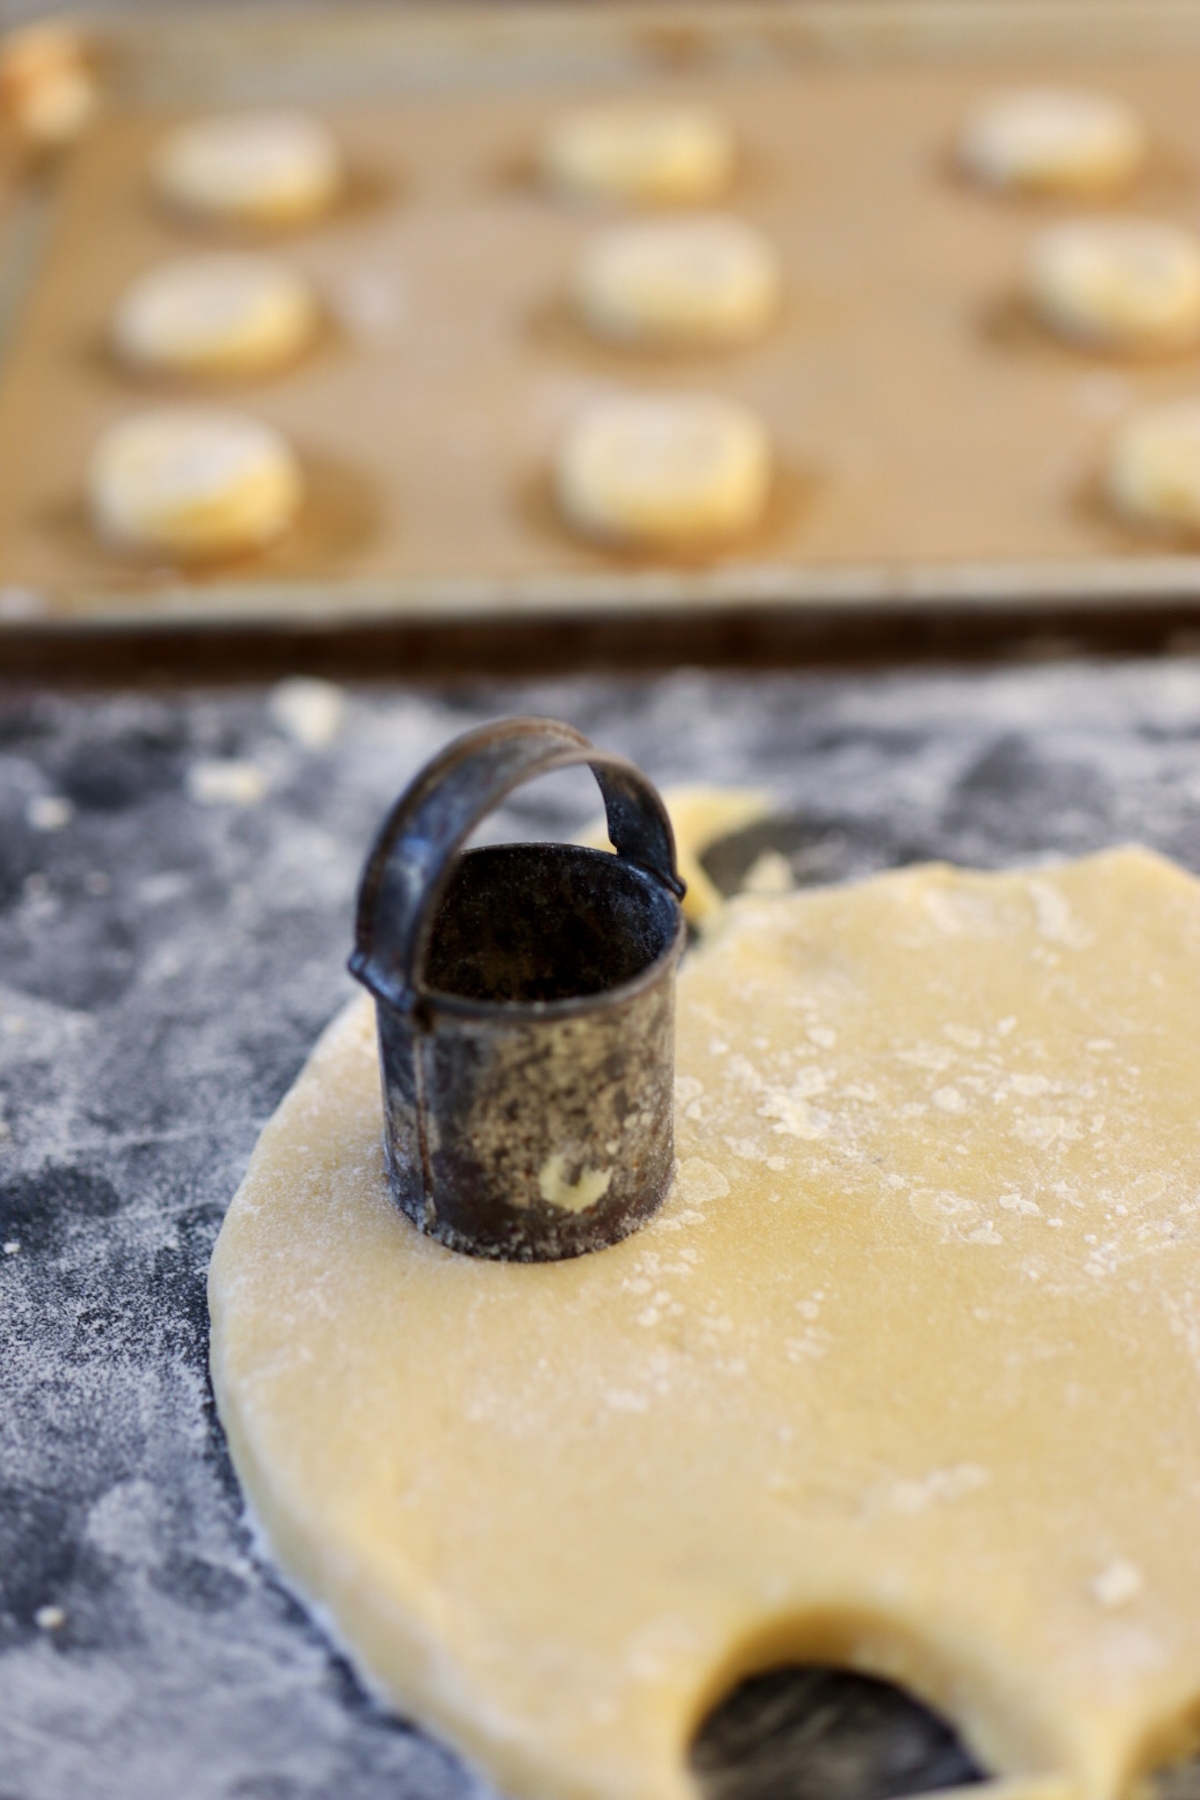
How thick to roll the dough
I rolled these ¼″ thick, and liked the result. For cutting the cookies, I used a round cutter with a 1.5″ diameter, and it worked beautifully.
Gently press a raisin into the center of each one, and place them spaced apart on a cookie sheet just like you would any other cookie that needs a bit of space to spread and rise.
There’s enough butter in these that you don’t need to grease your cookie sheet.
If you don’t mind using a modern convenience with your vintage baking, go ahead and let yourself line the sheets with parchment paper if you like. I did a test batch, and found they baked up looking and tasting just the same, with or without being baked on parchment paper.
Baking these cookies
I found that 350° worked well for this recipe, allowing the cookies to fully set, without the bottoms being too brown.
Mine took 10-11 minutes to perfectly bake. Yours may take a little more or less time, depending on the thickness of your dough, and size of the cookie. It’s not a bad idea to peek at that first batch after 8 minutes, and go from there.
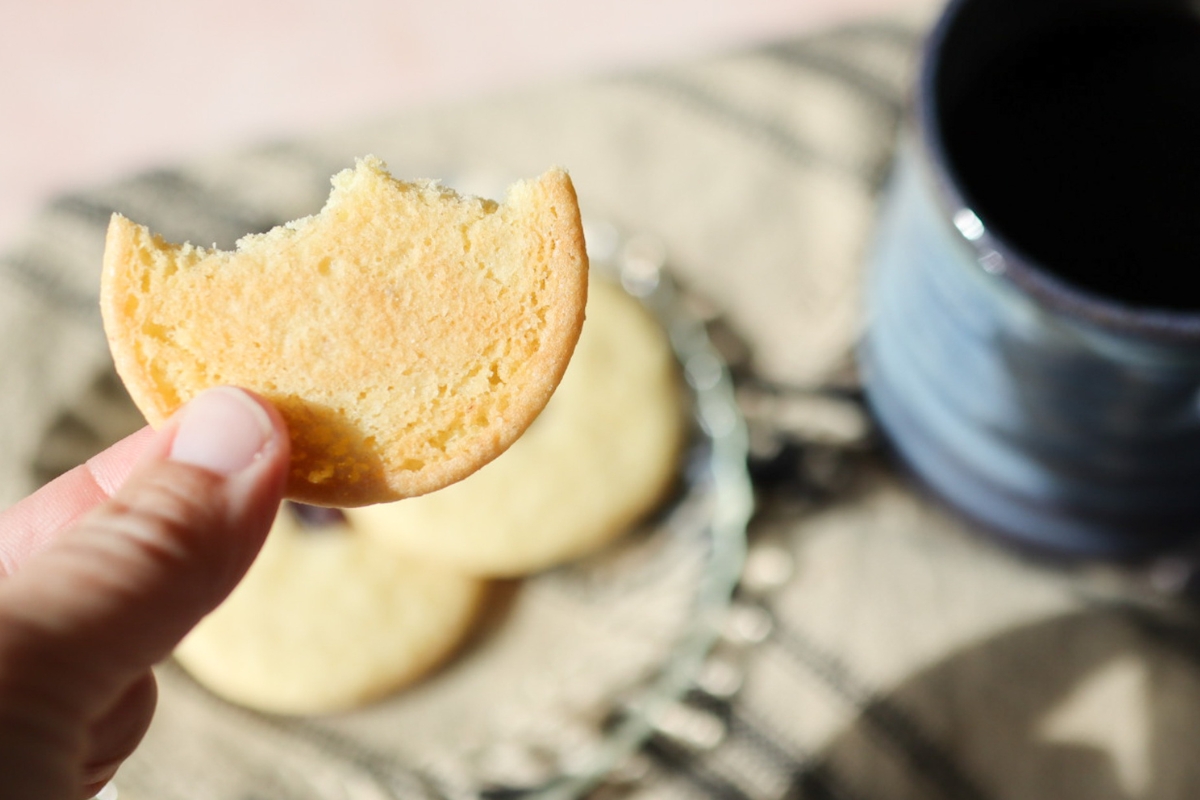
That’s all there is to it! This is a fun little recipe, and a great one for making with kids. They’ll love putting those raisins on top of each cookie, and snacking on them while waiting for that first batch of cookies to come out of the oven. Hope you enjoy these as much as we do!
Storing these cookies
These are addictive little cookies, and the batch isn’t huge, so chances are you won’t be needing to store them long! They do keep nicely for several days though, if stored in an air-tight container at room temperature, or a little cooler.
With Thanksgiving in the rearview mirror, Christmas season is fully upon us. The snow has begun to fly, here in Maine, though it’s not yet coating the ground, and I’m ok with that. I do think a white Christmas is likely though, and it doesn’t get much more magical than that.
If there are any particular recipes you’re hoping to try for your holiday baking, and shoot me a line, and I’ll see what I can find. I do love hearing from you all!
Until next time, ~ Anna
📖 Recipe
Ingredients
- 2 cups sugar
- 1 cup butter
- 3 eggs
- ¼ teaspoon soda
- 1 tablespoon hot water
- 1 teaspoon nutmeg
- 2.5 cups flour, plus 2 Tbsp
- ¼ cup raisins
Instructions
- Preheat oven to 350℉
- Beat together sugar and butter
- Beat egg whites until light and fluffy. Beat egg yolks until smooth and light. Add to butter and sugar.
- Stir in water with baking soda dissolved in it.
- Add flour and nutmeg, stir until well mixed.
- Roll dough ¼" thick. Cut out with a round cookie cutter, about 1.5" diameter. Place on a cookie sheet, and lightly press a raisin into the center of each cookie.
- Bake for 10-11 minutes, until edges are golden and centers are set.
If you liked this recipe, here are some others you may enjoy:


Comments
No Comments