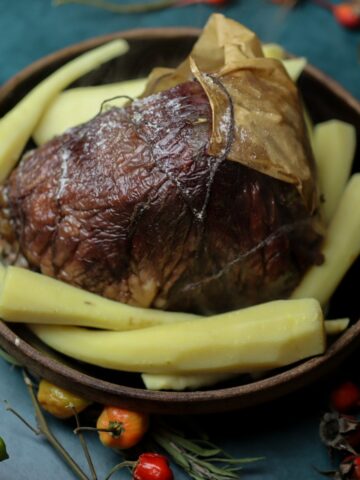
This tasty recipe for ham sandwiches is a good old fashioned one, and is wonderful way to use leftover ham from a big dinner.
Dear friends ~
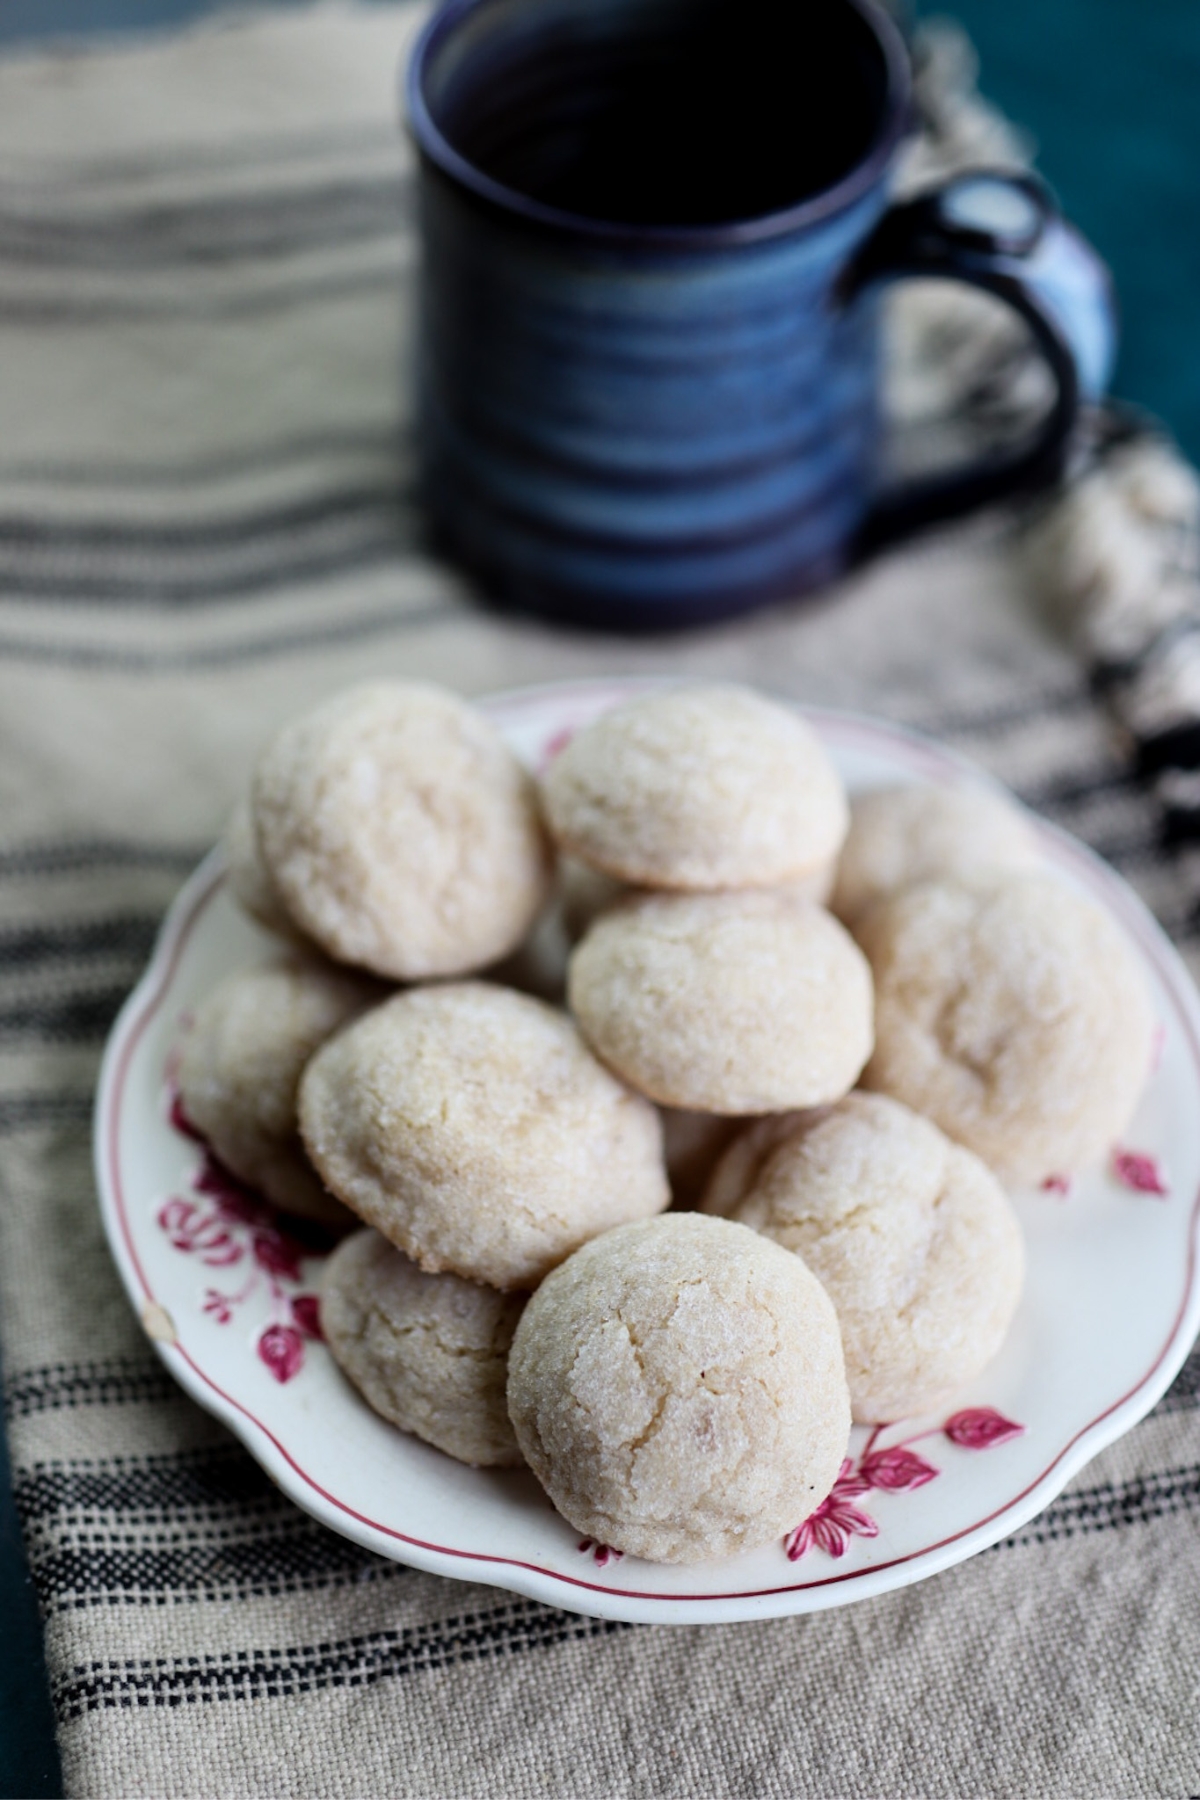
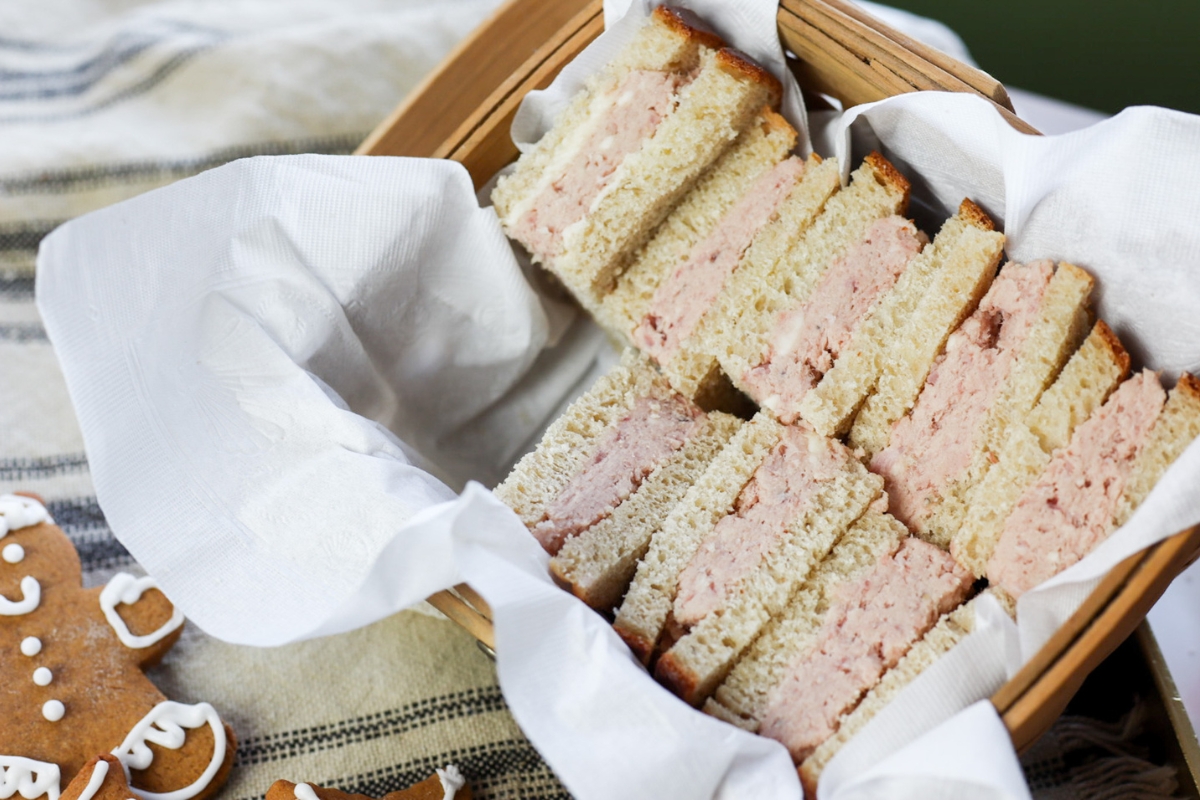
Here’s a lovely way to turn leftover ham into picnic-worthy sandwiches. The kids and I enjoyed these last week, for a little snow-day picnic in front of the wood stove. Paired with some holiday gingerbread cookies, it was a feast fit for a king.
This recipe comes from The White House Cook Book, and one thing I found interesting is that these (what many of us would consider “ham salad sandwiches” these days) are simply called “ham sandwiches”, and they’re the very first recipe listed in the sandwich section. Ham sandwiches made with slices of ham are, in this volume anyway, referred to as “ham sandwiches, plain”.
Myself, I do like a good “plain” ham sandwich, but these ones are fun and festive, and for those who like old fashioned ham salad, it’s a recipe hard to beat. Hope you enjoy!
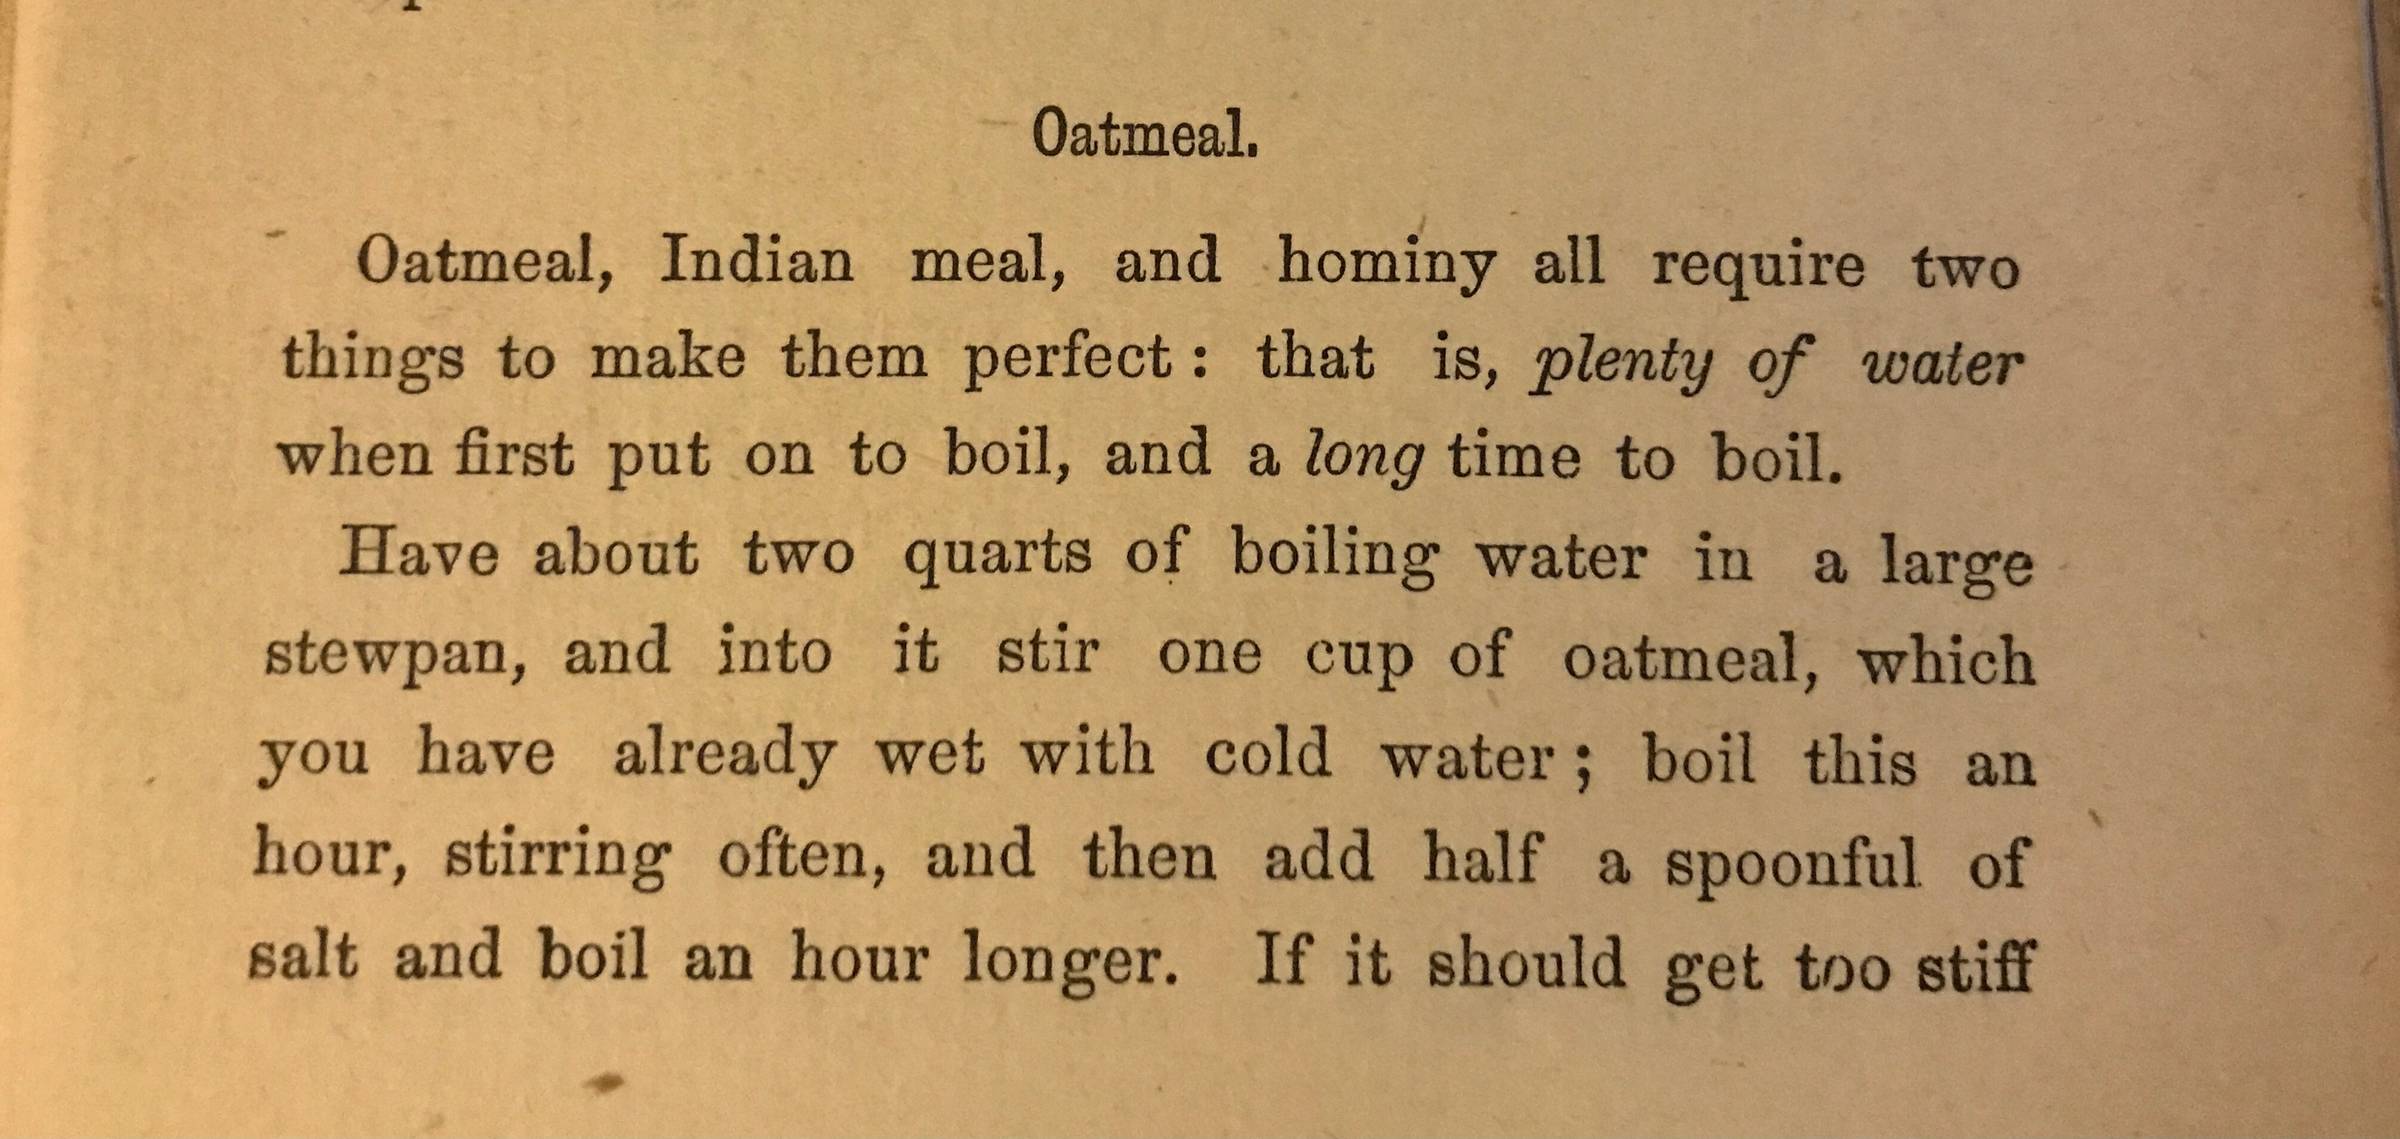
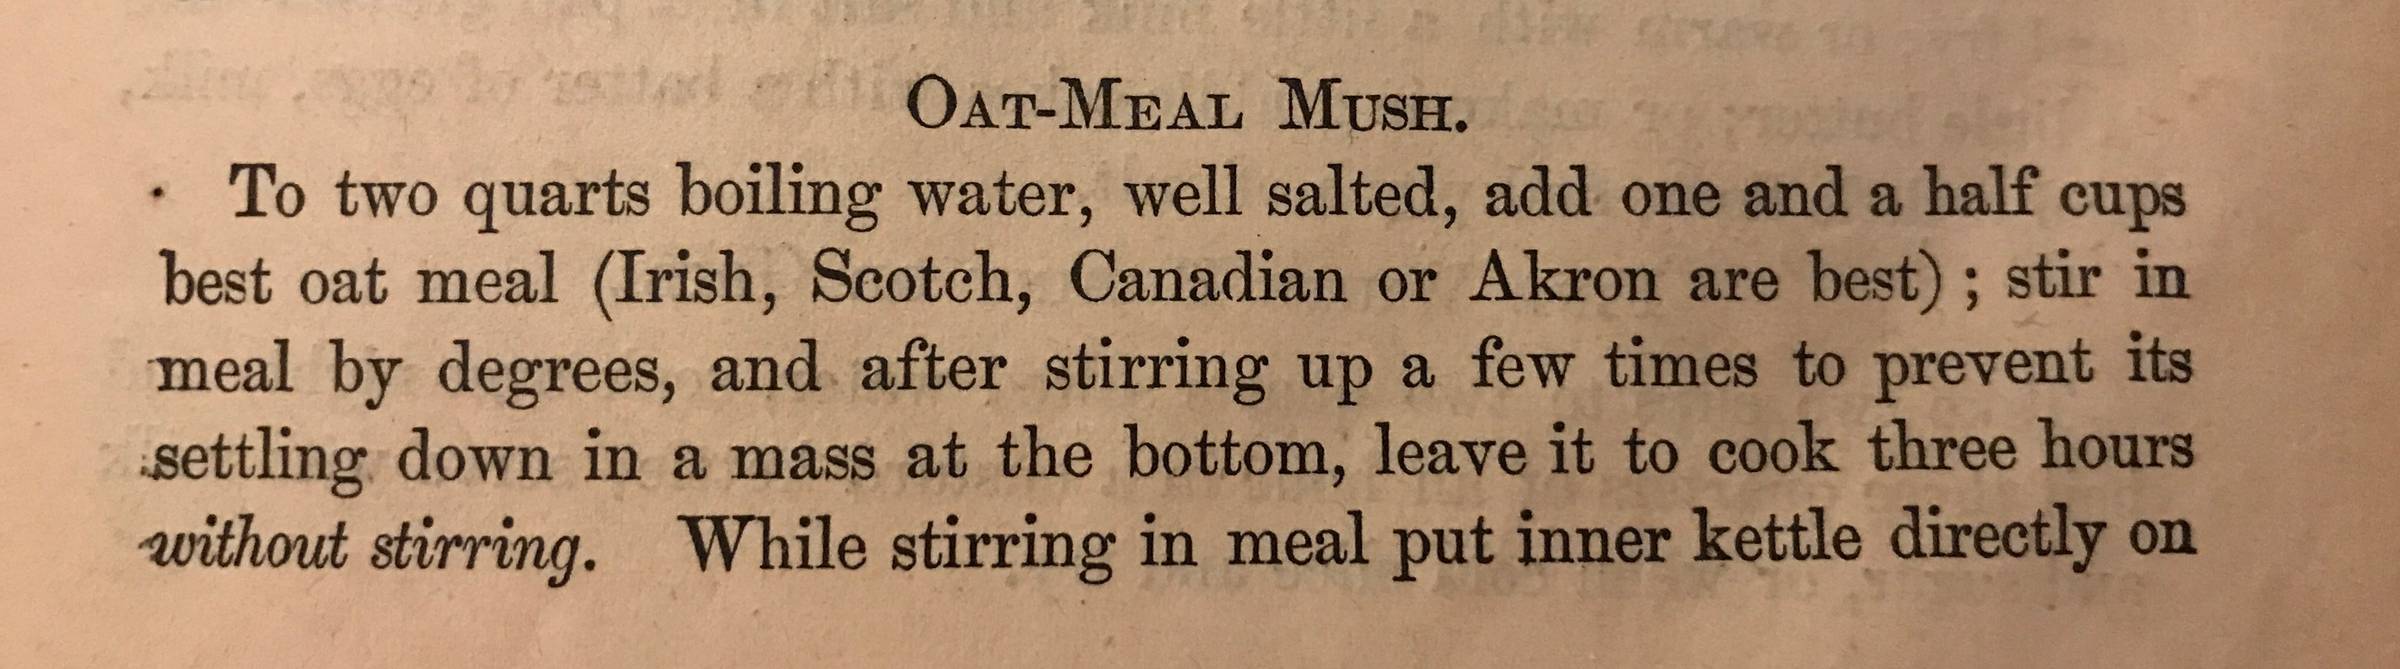
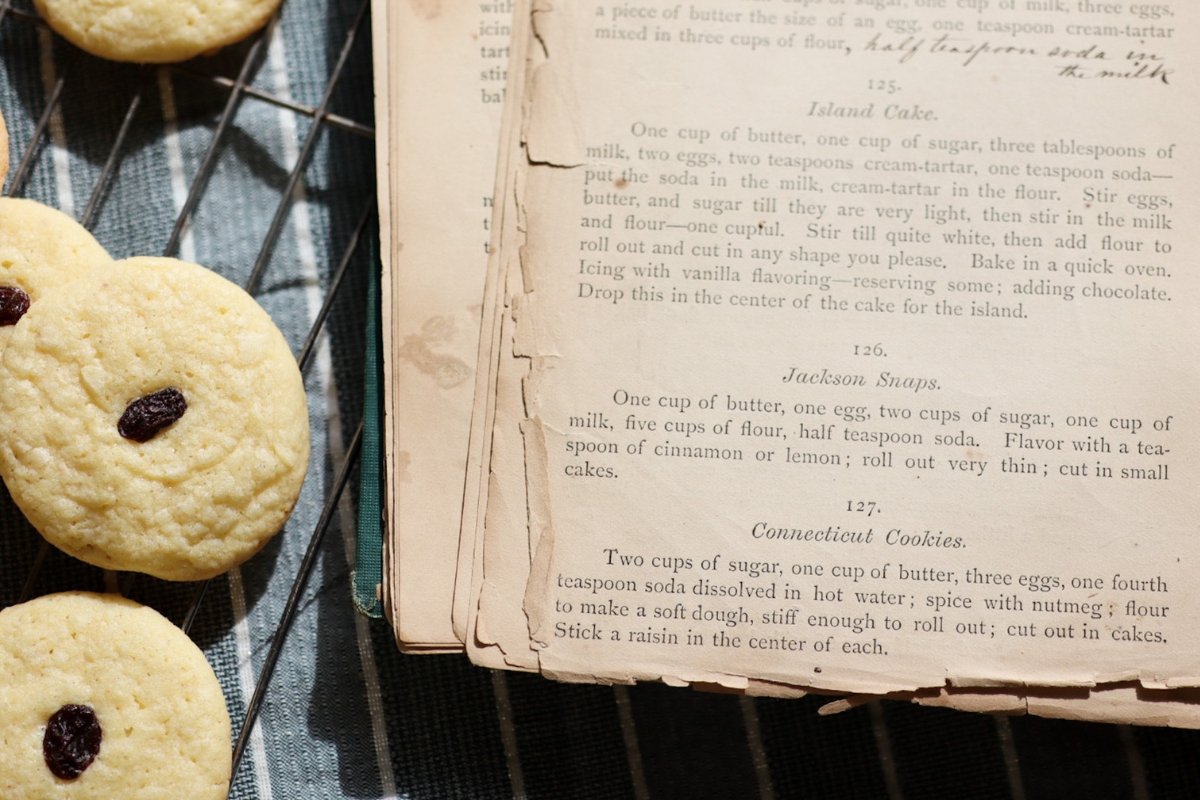
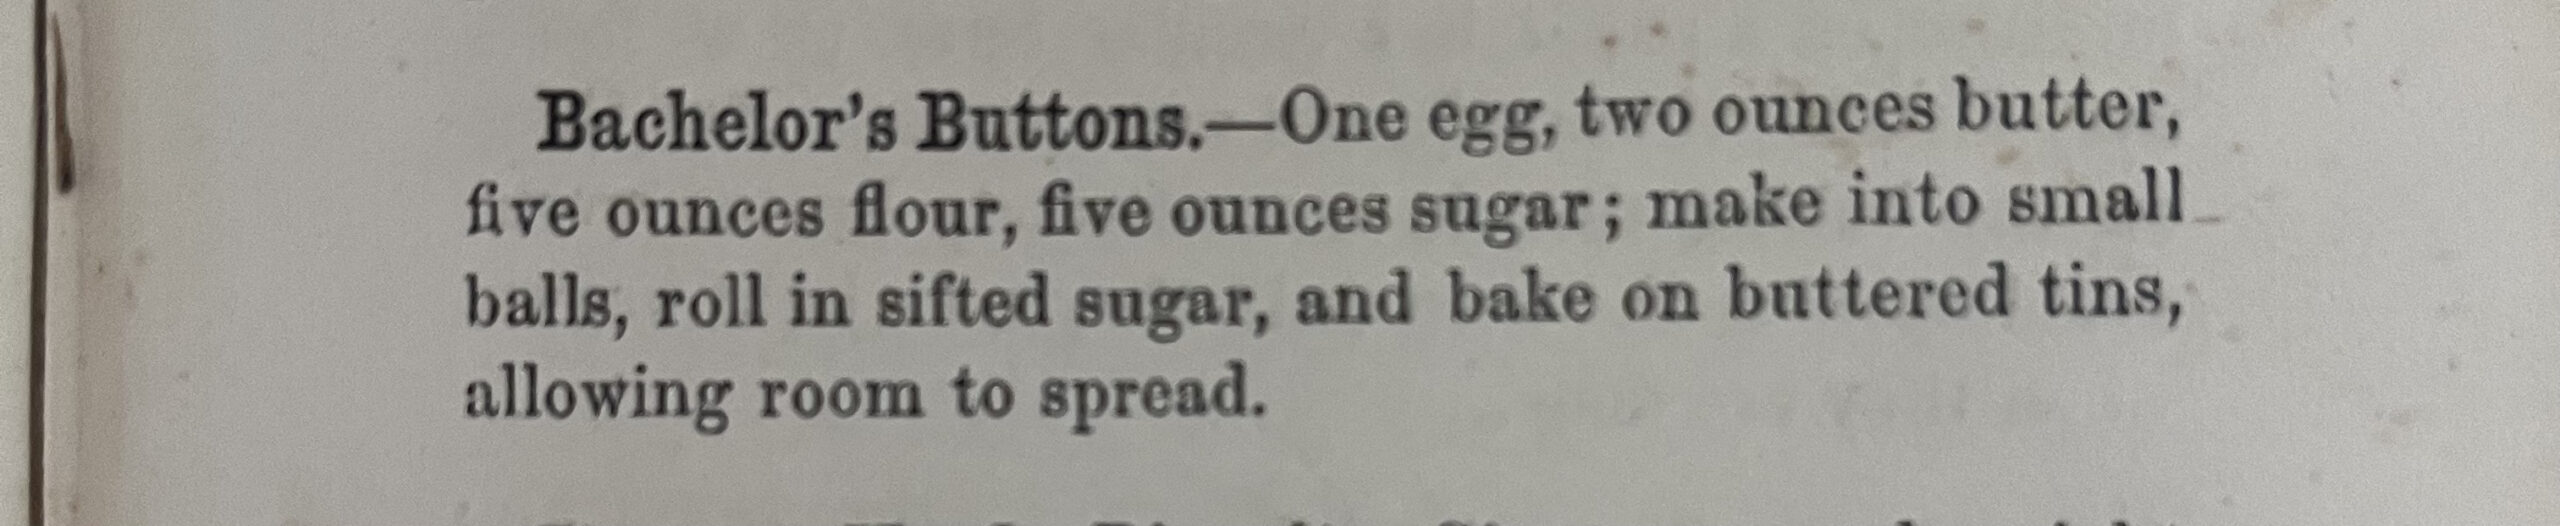
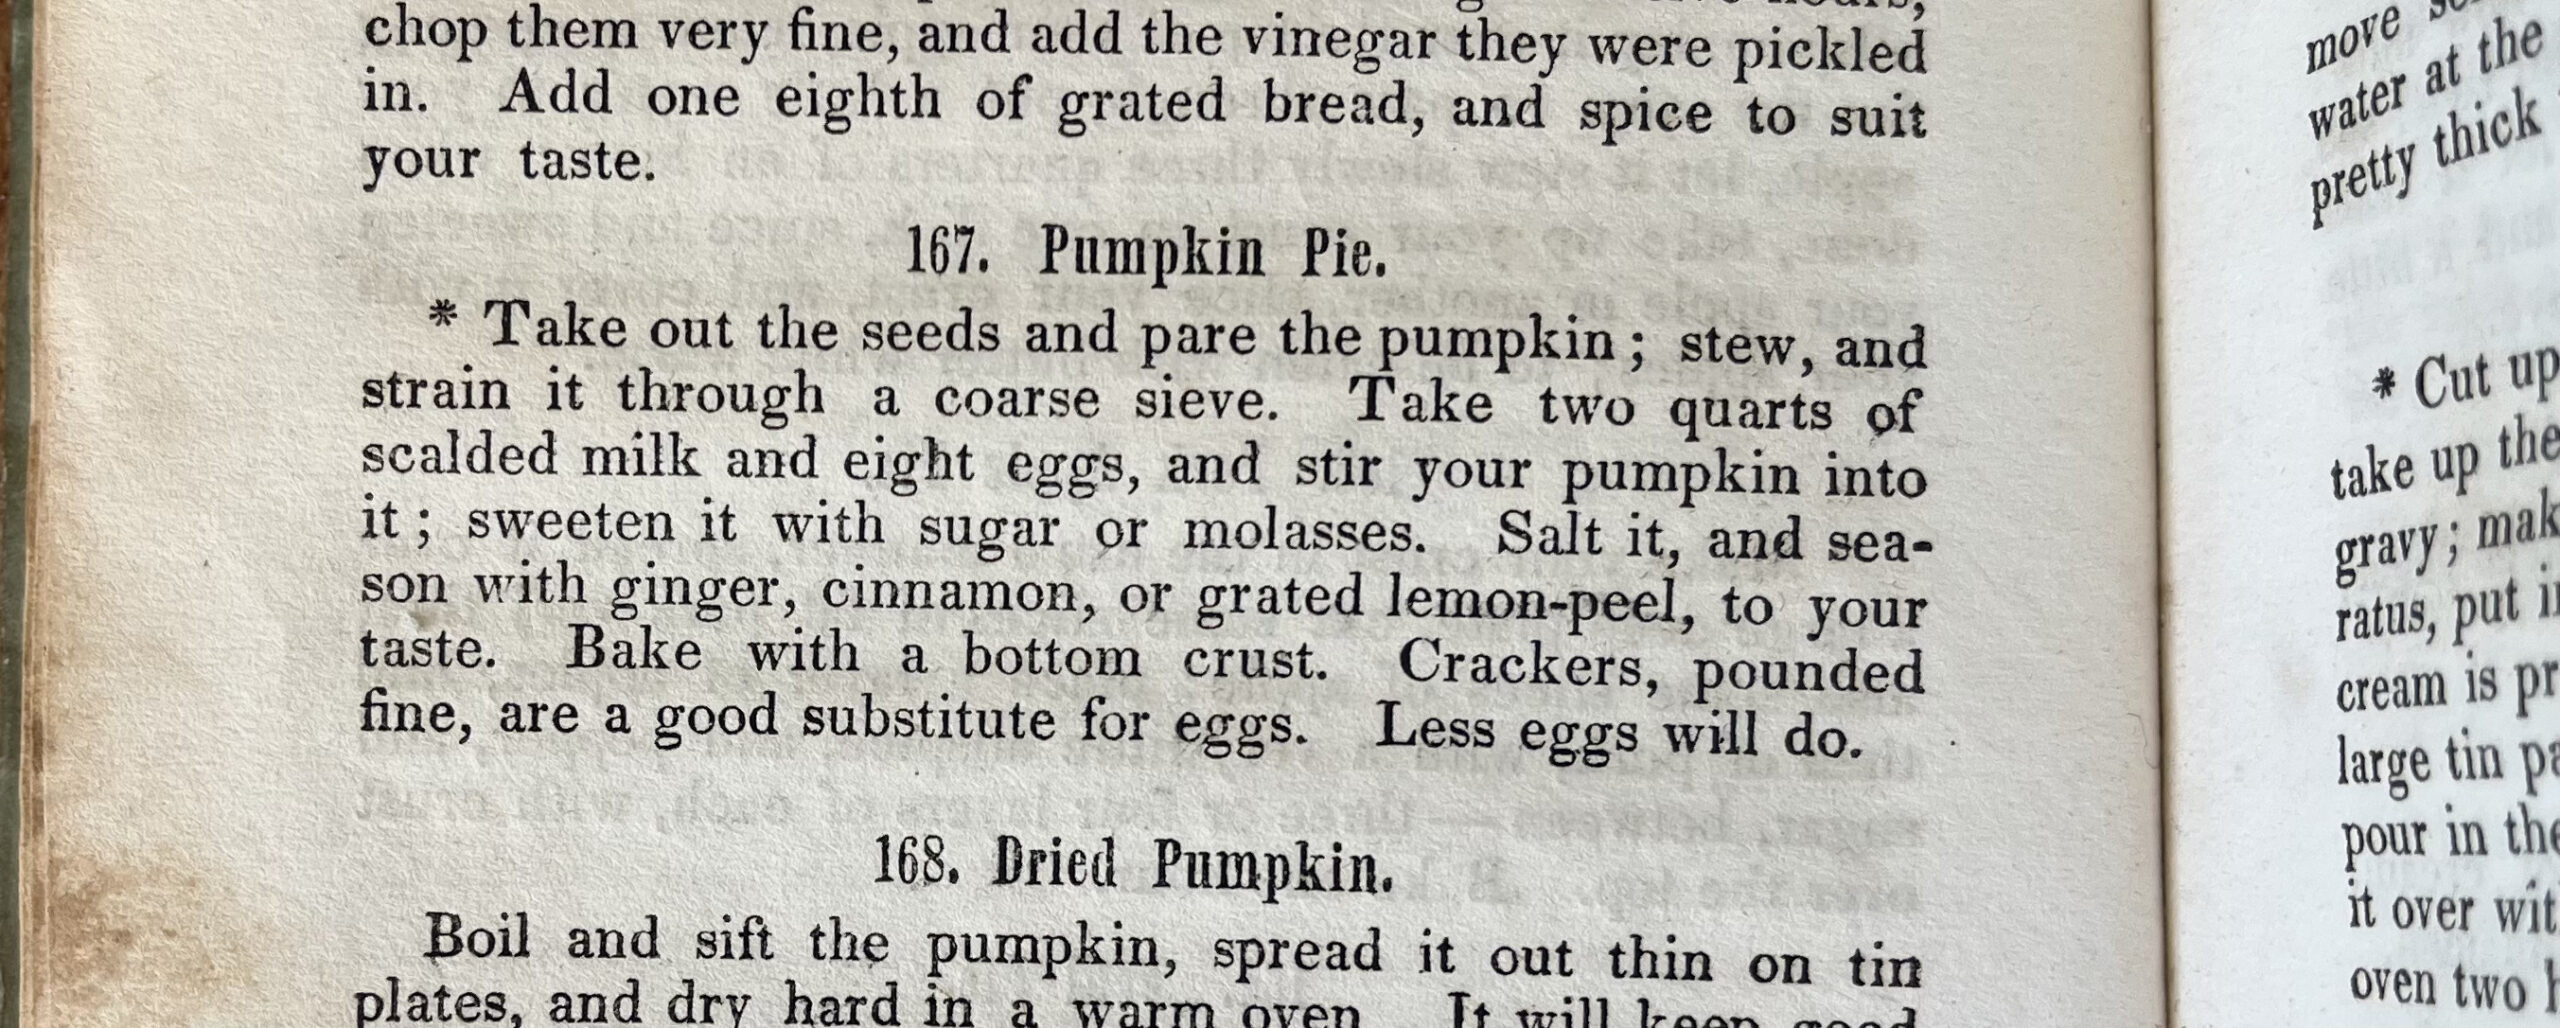
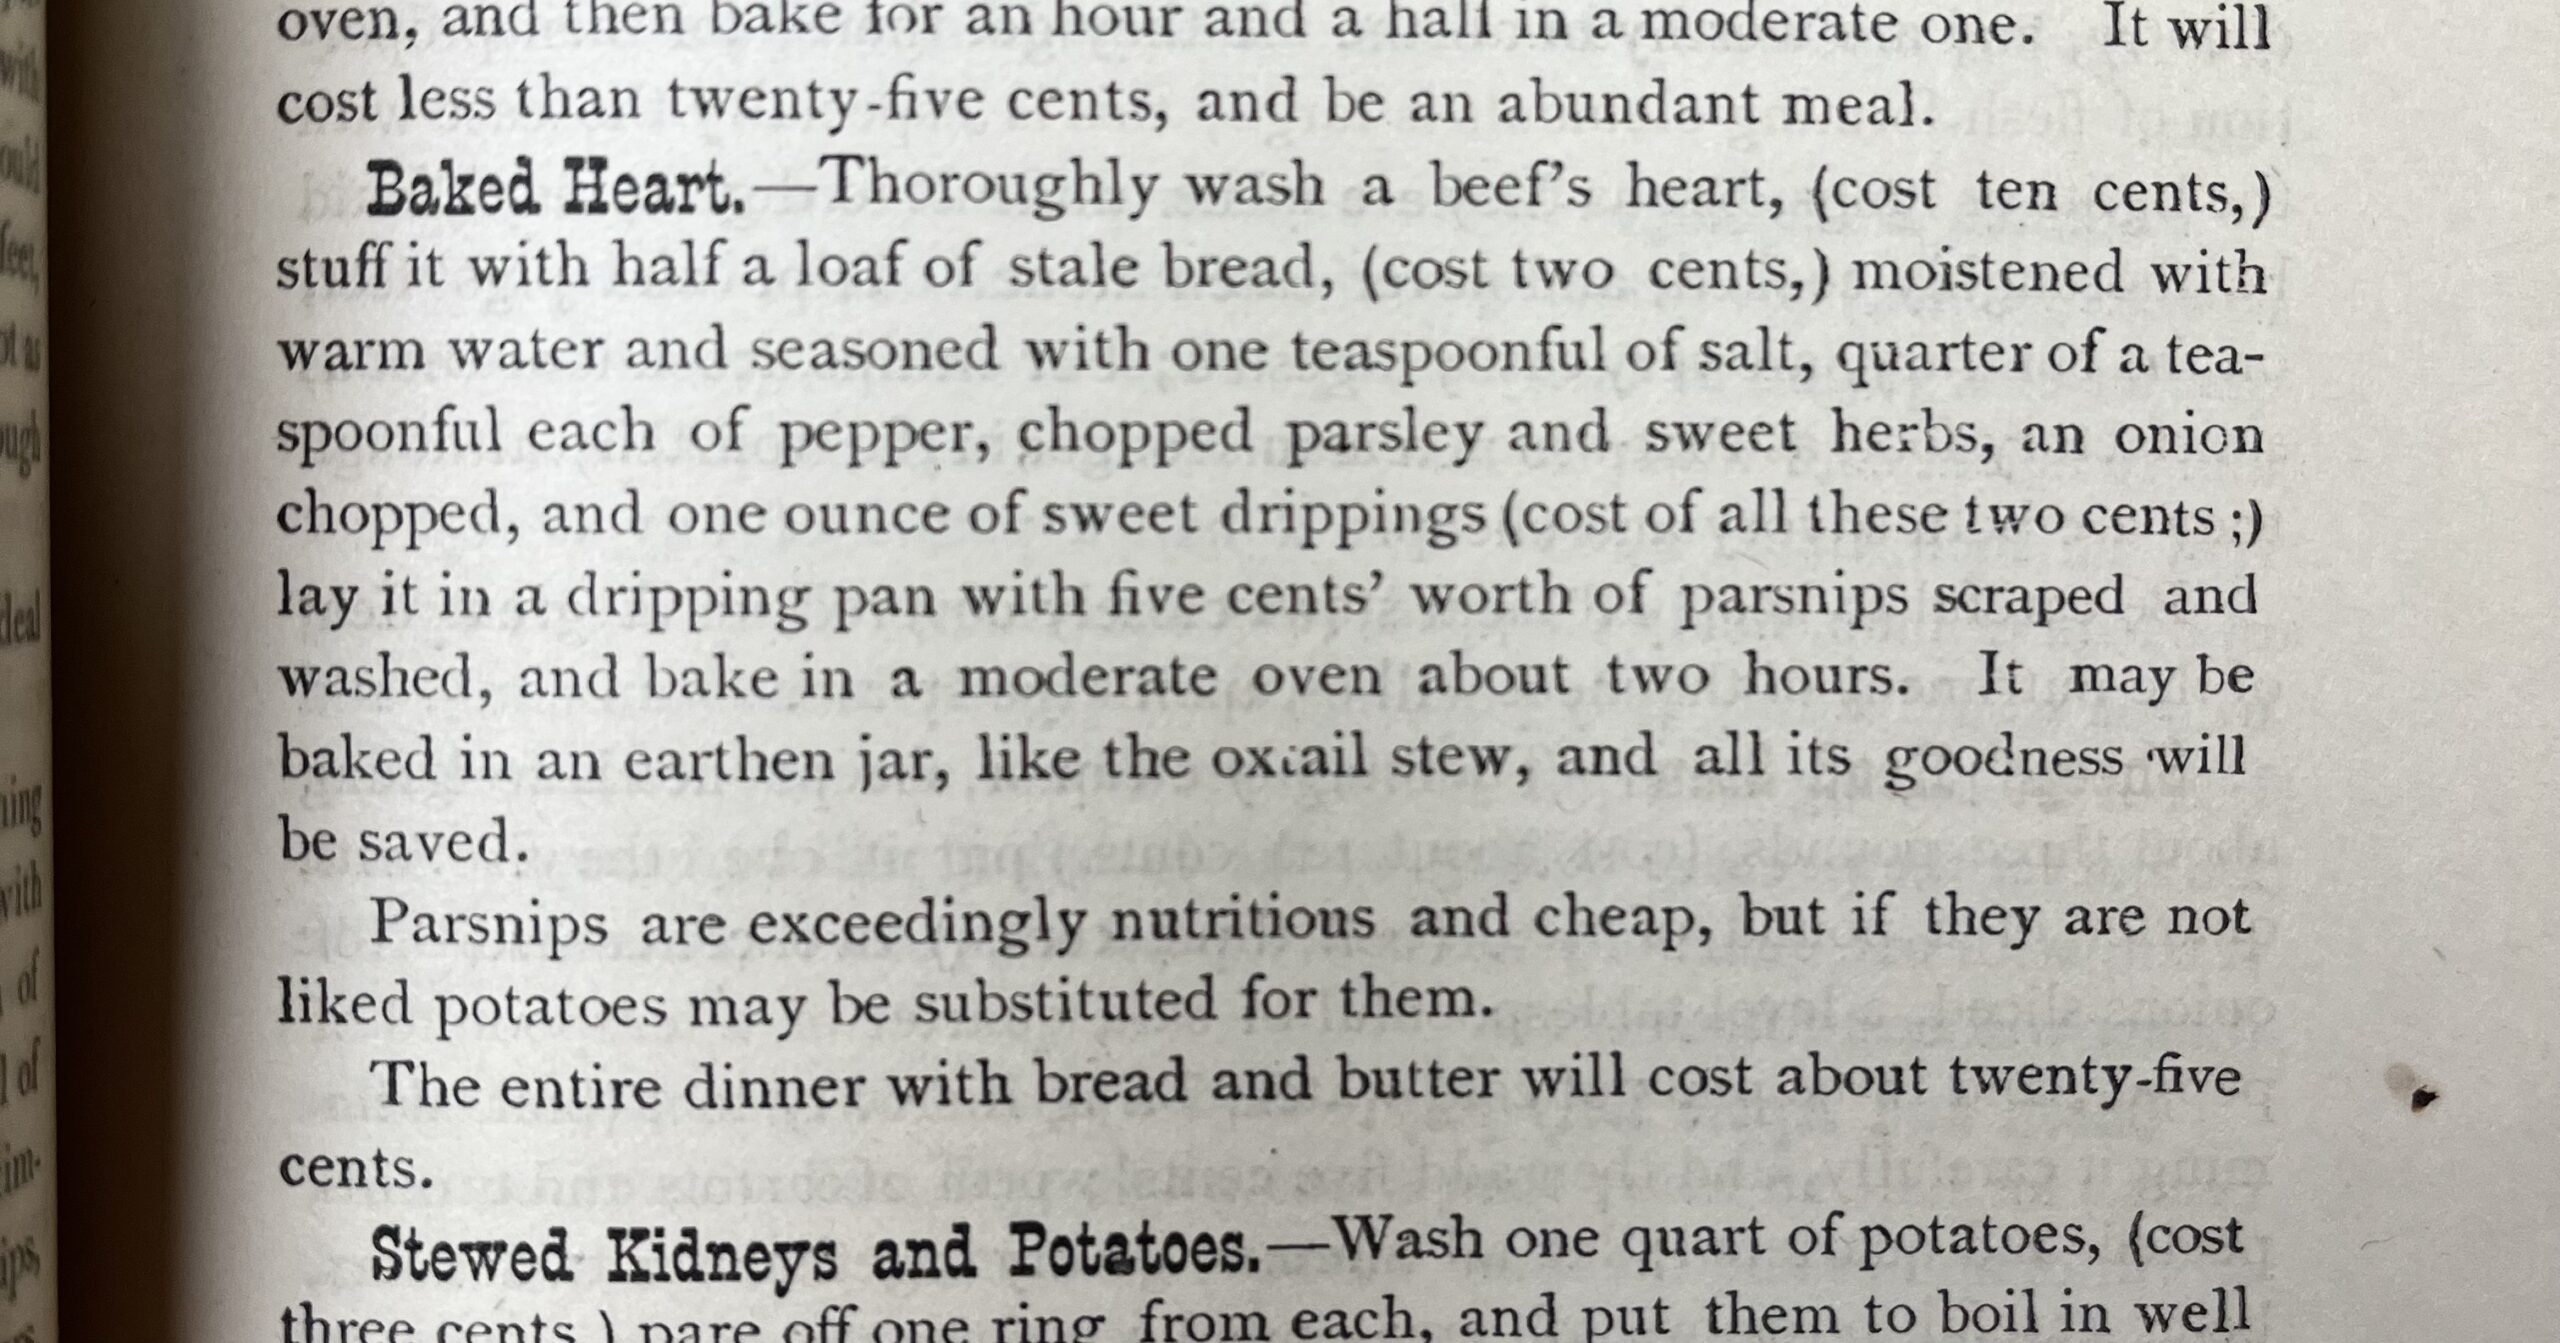
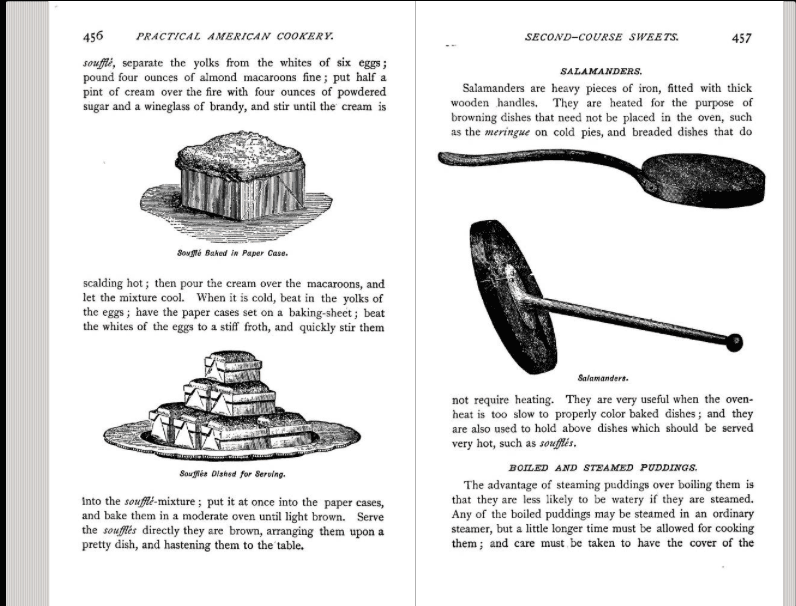
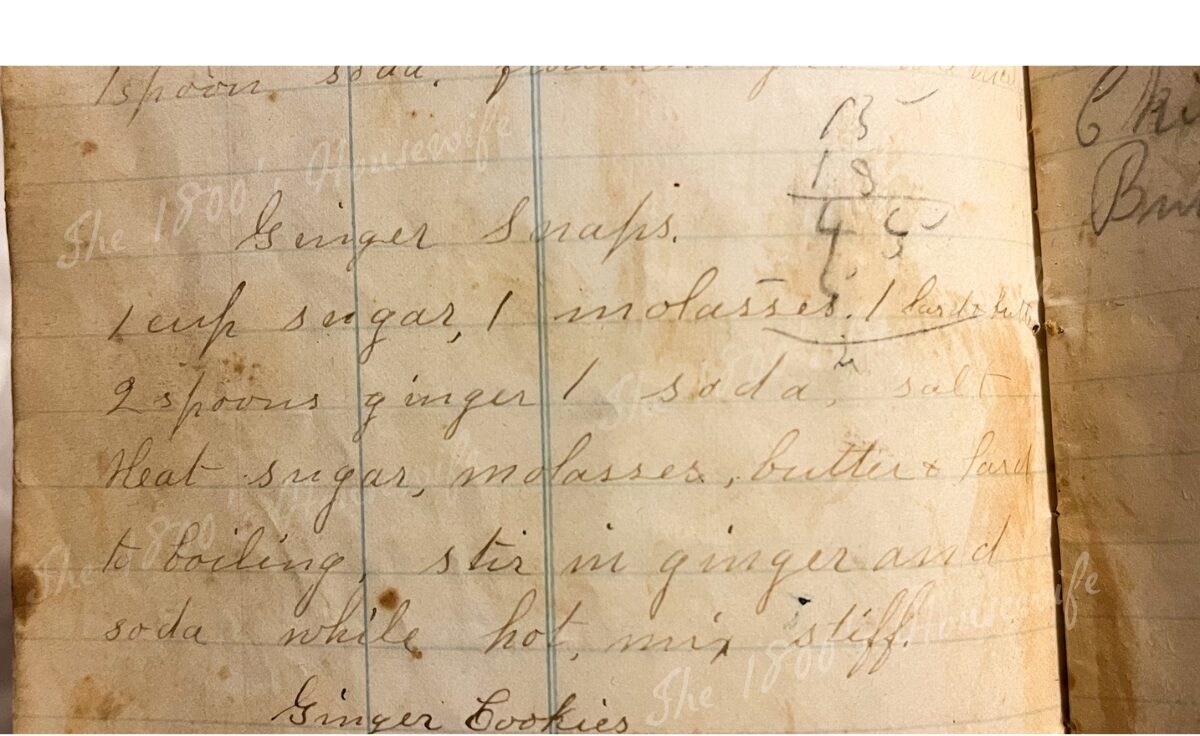
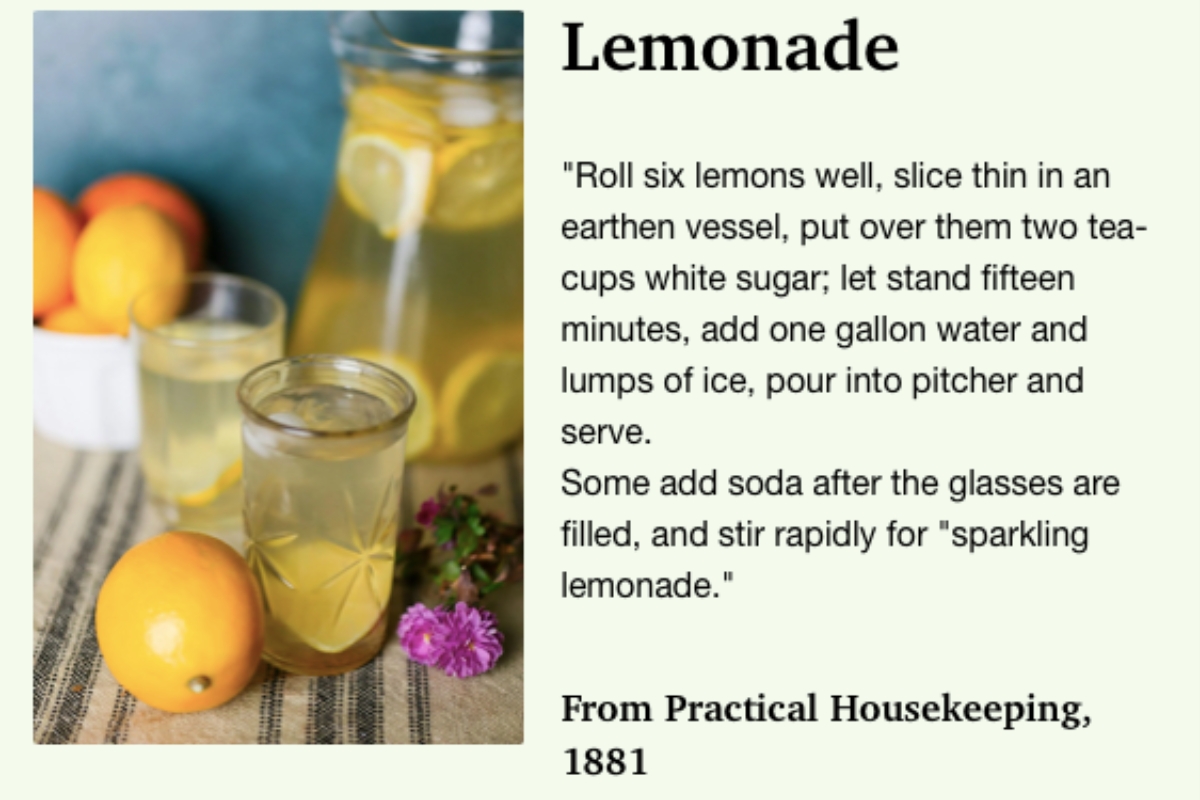
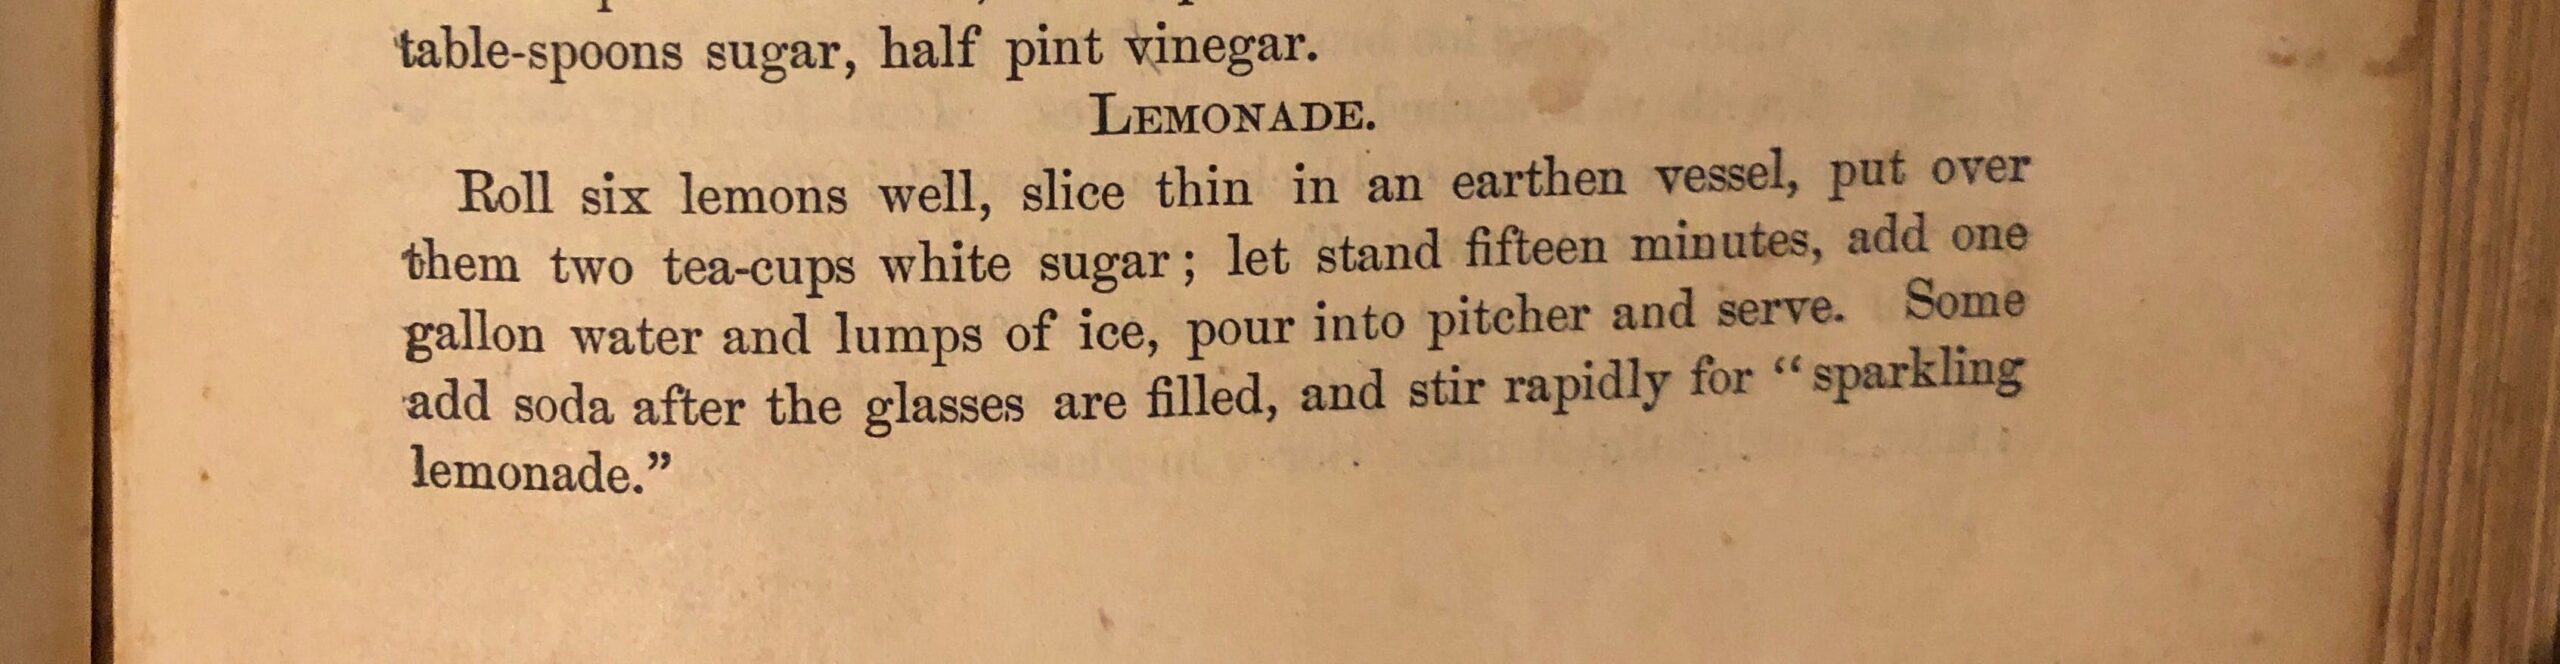
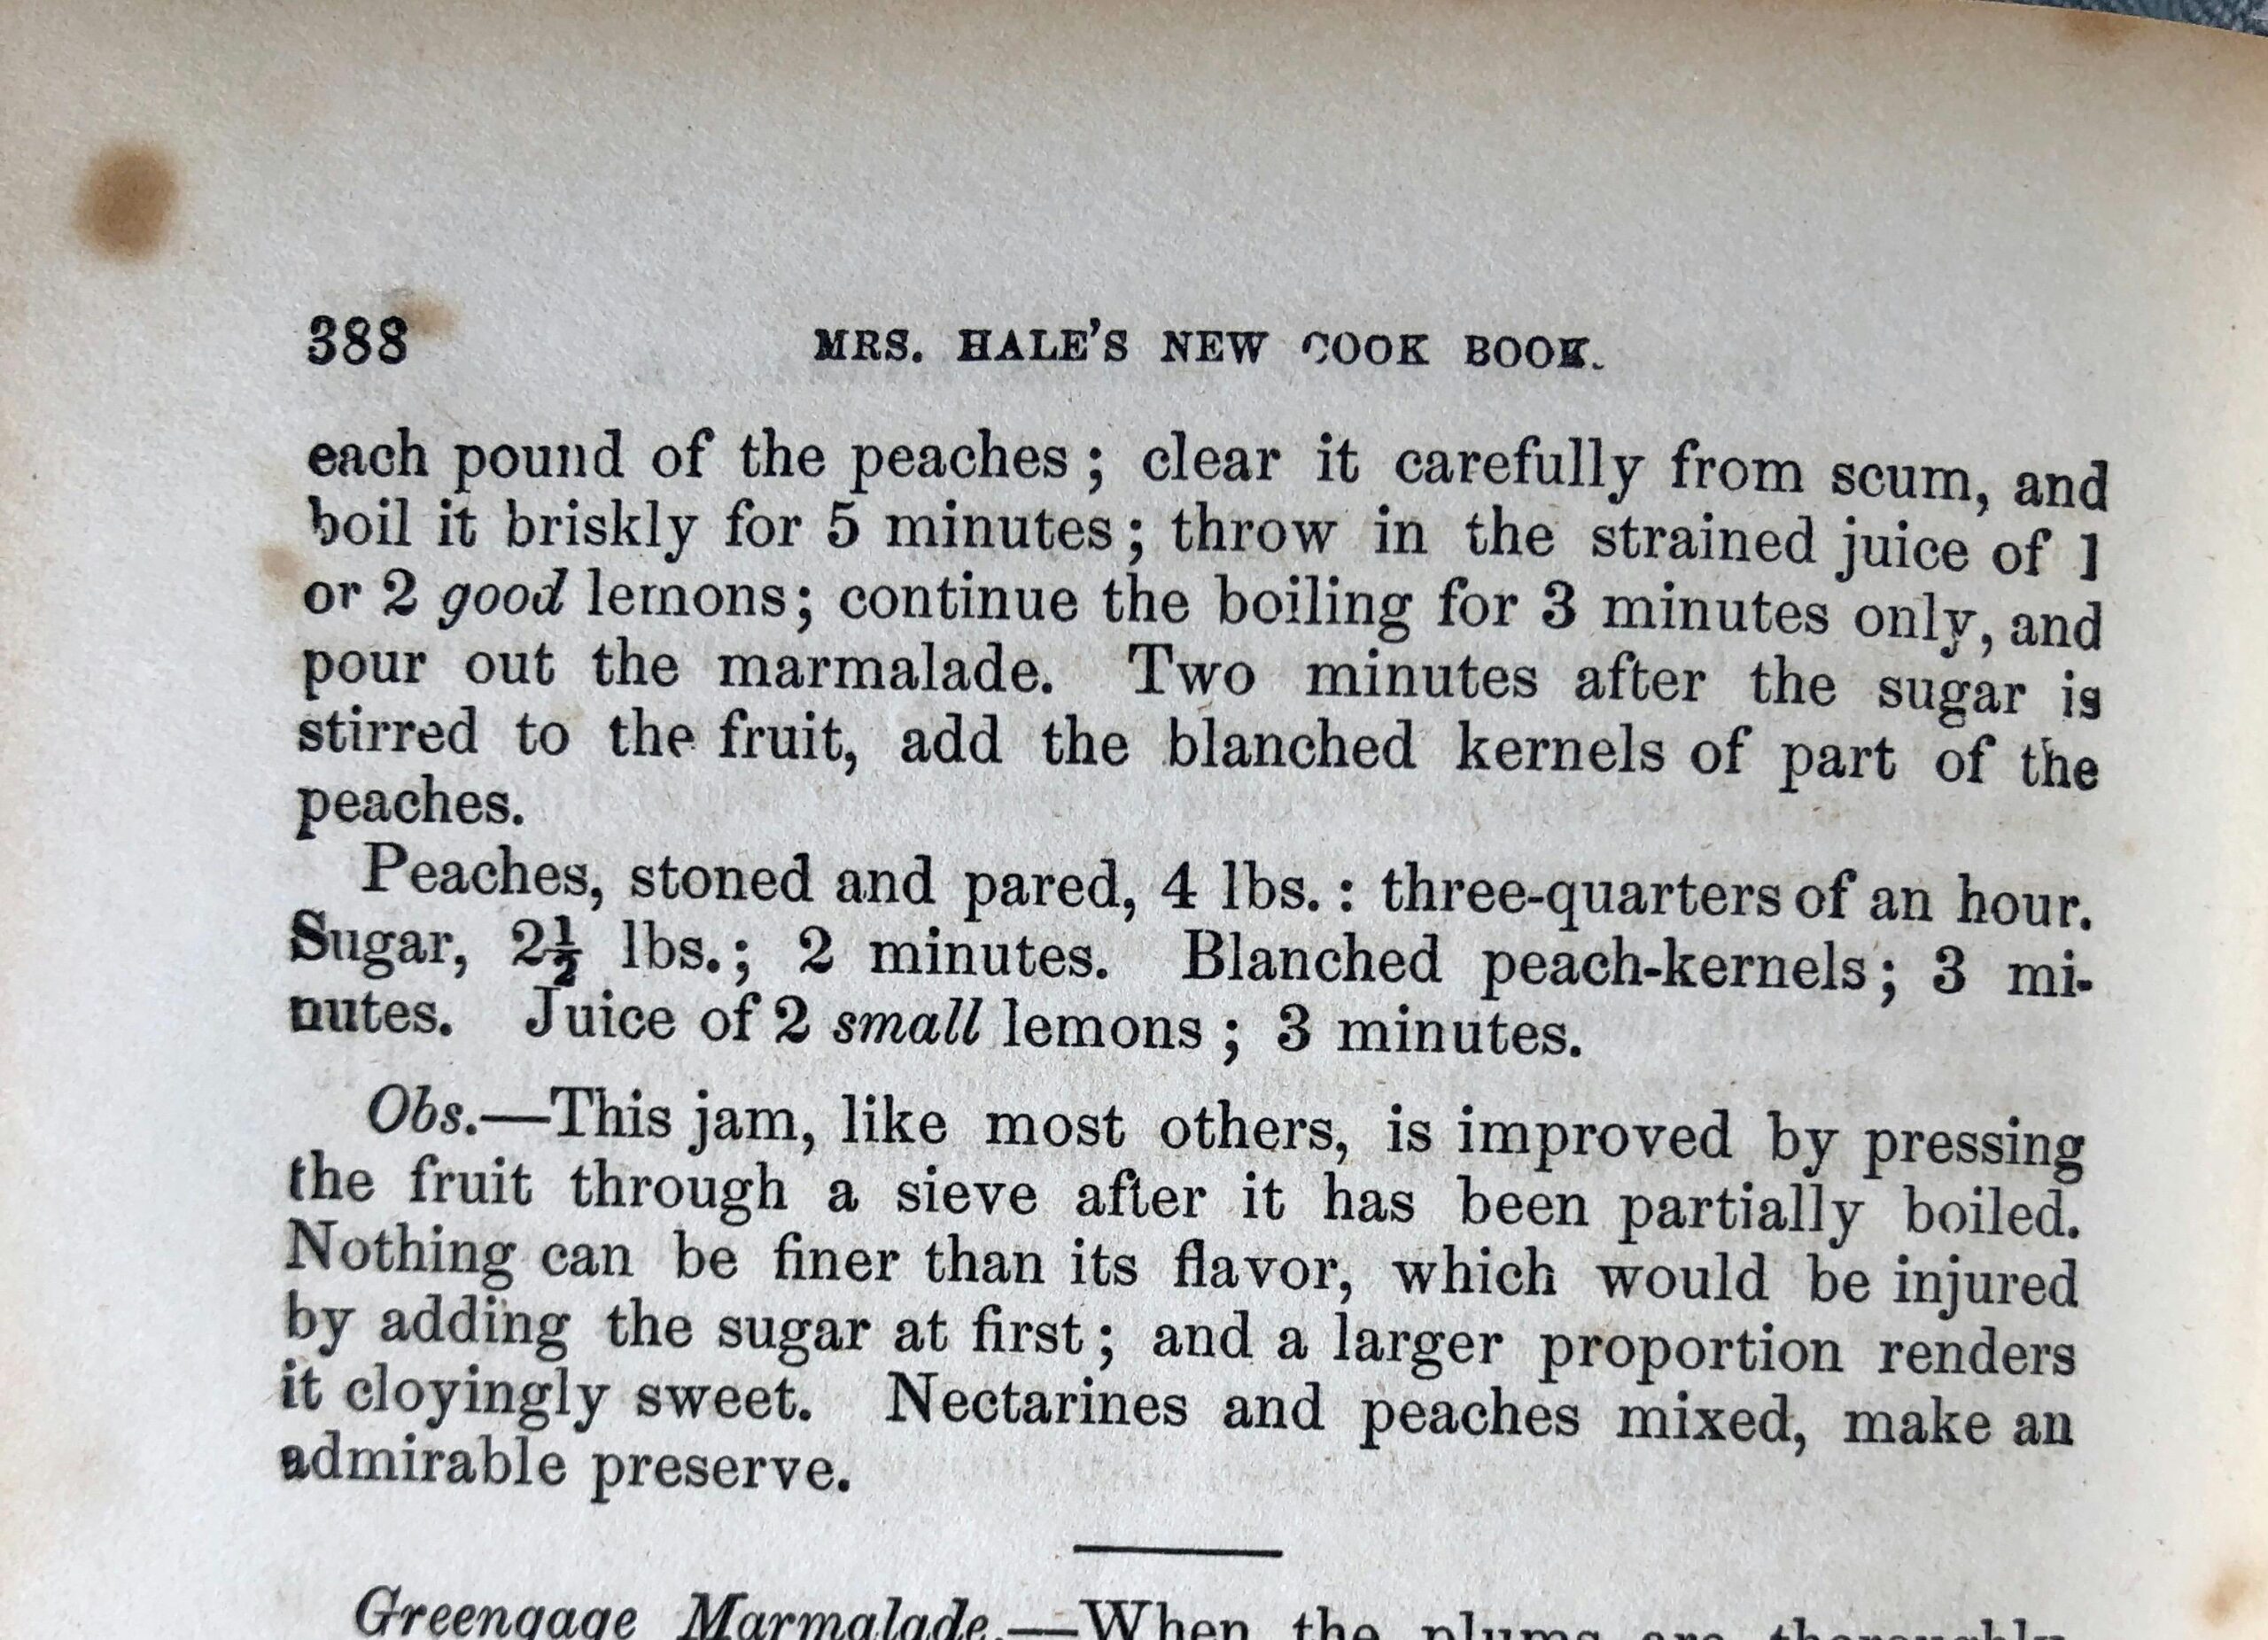
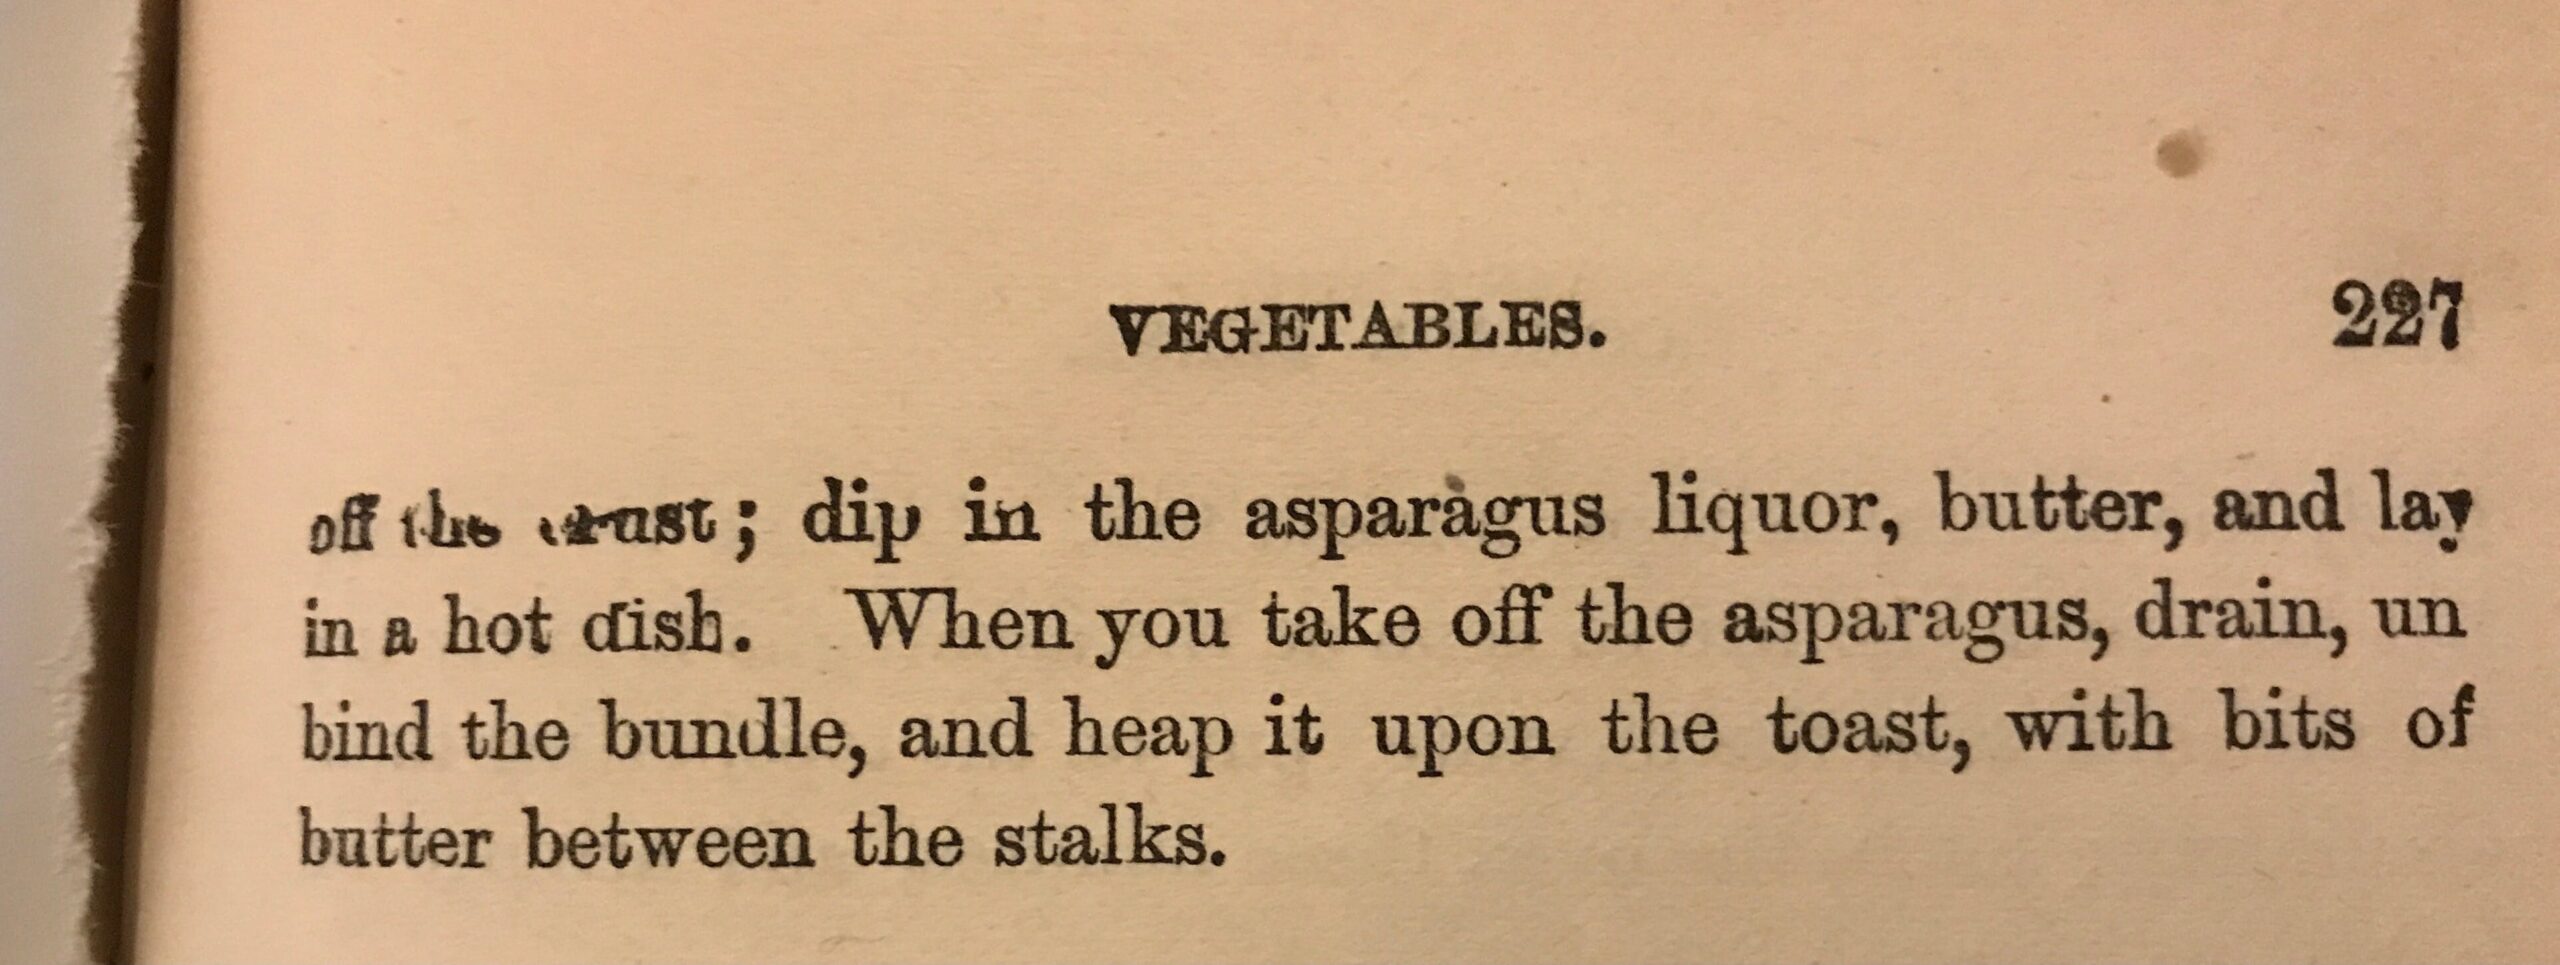
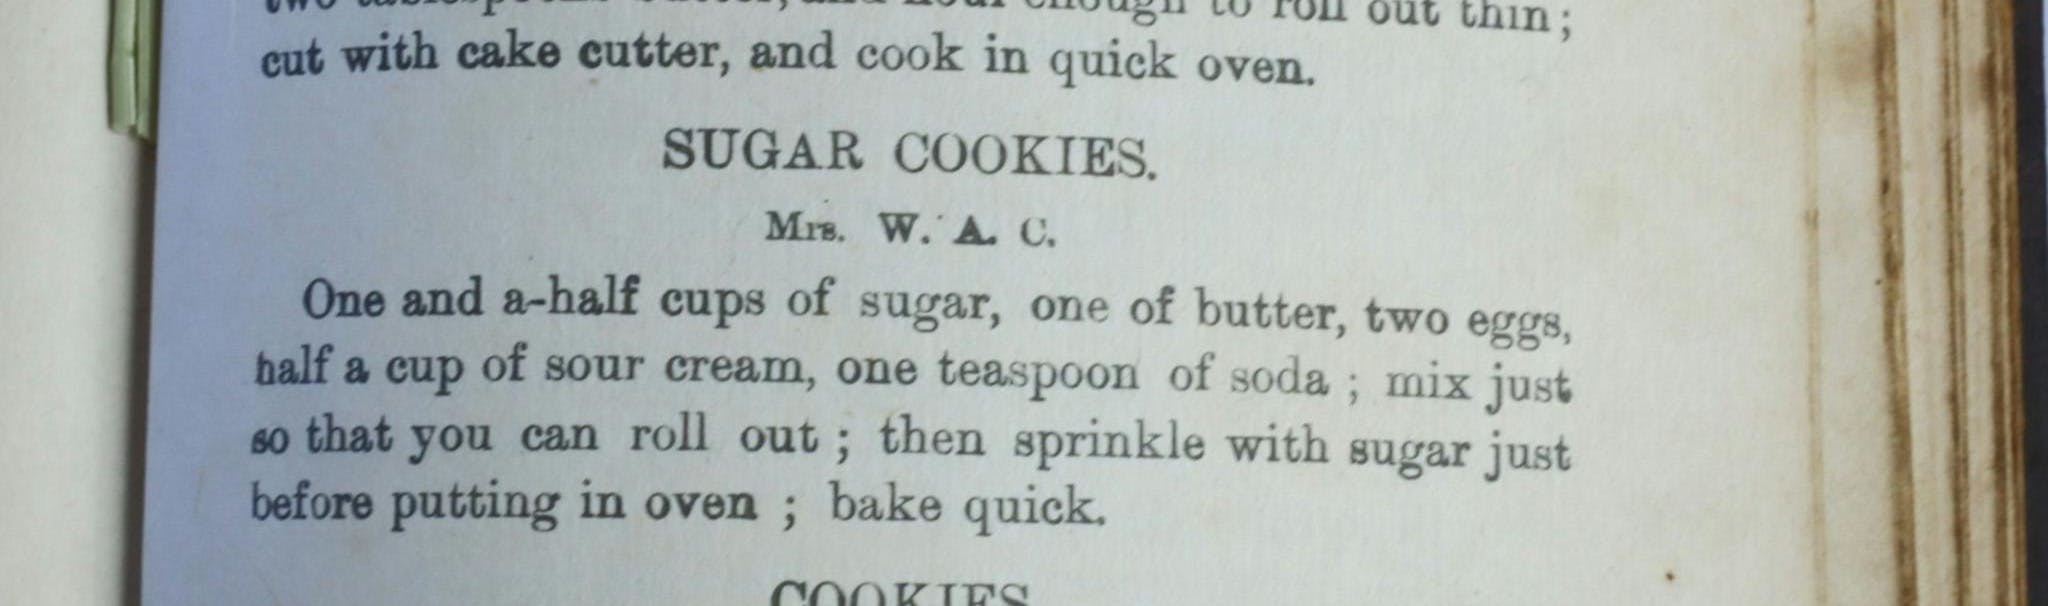
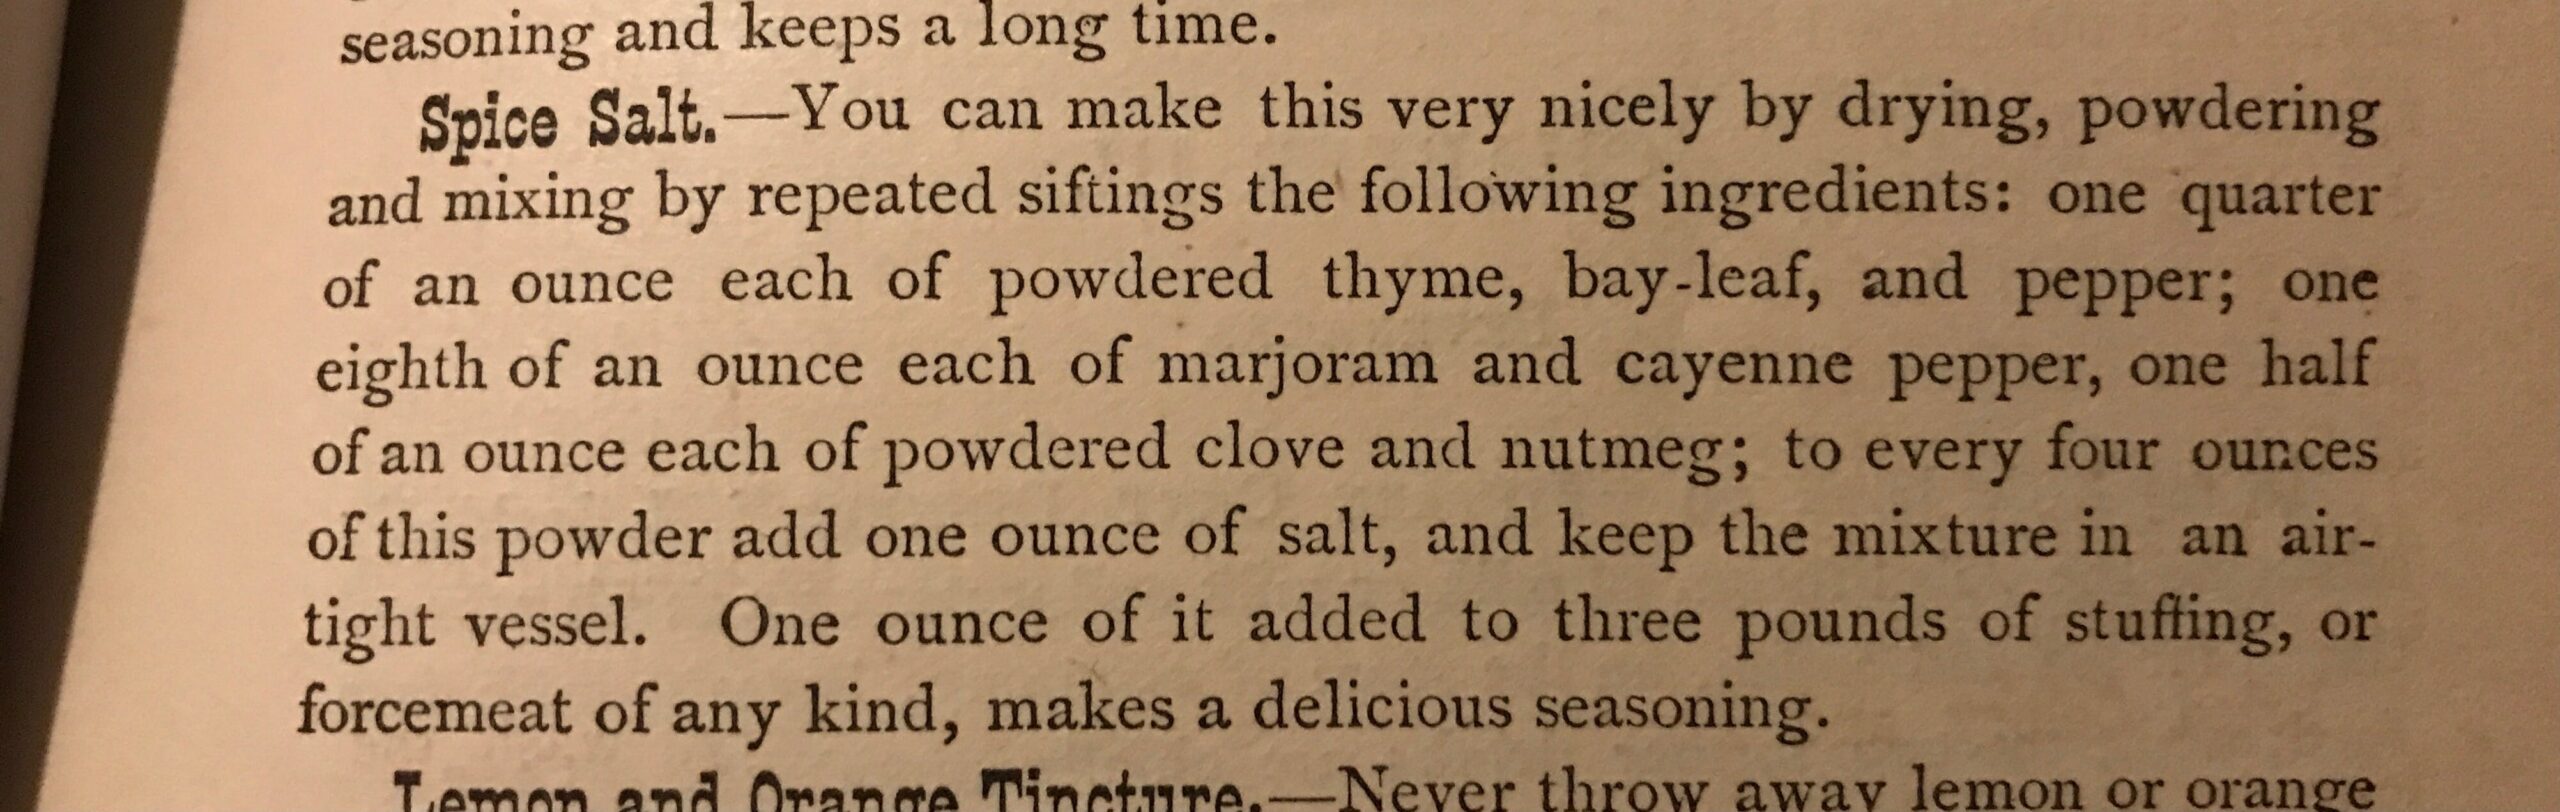
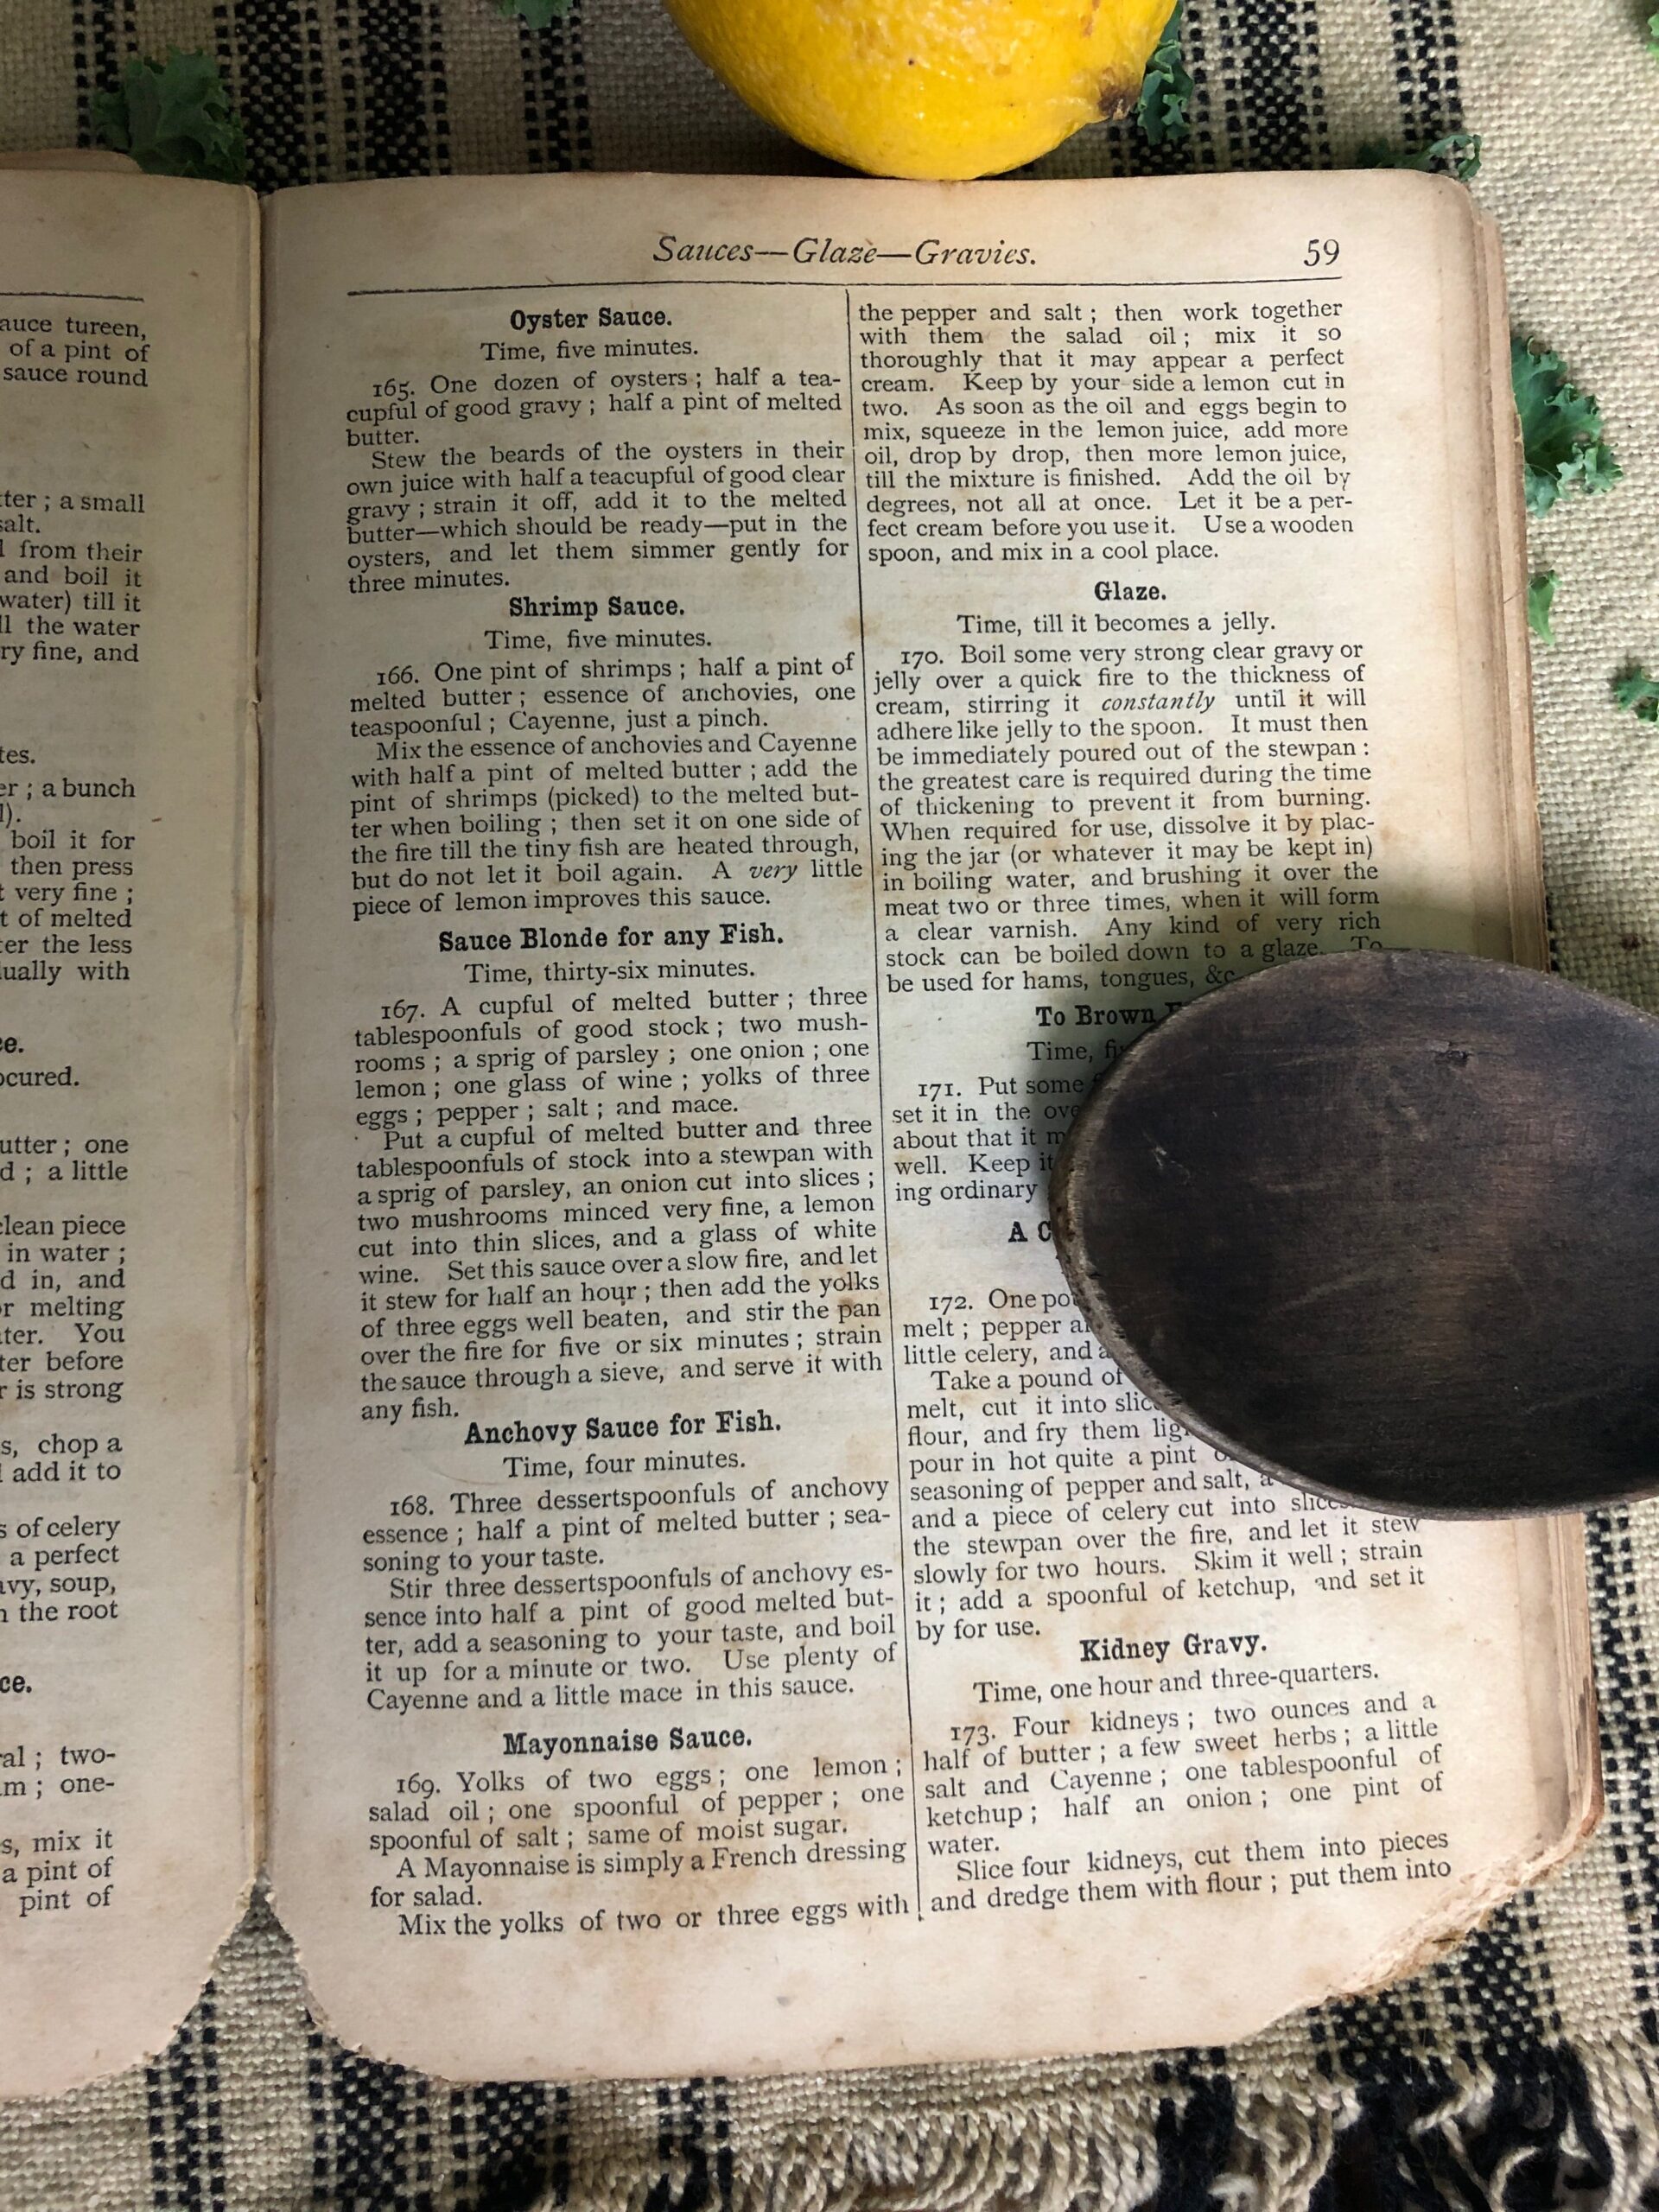
The White House Cook Book, 1887
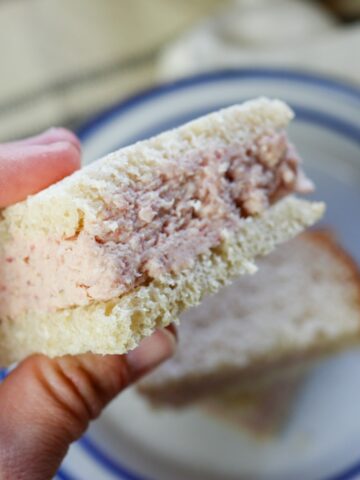
HAM SANDWICHES
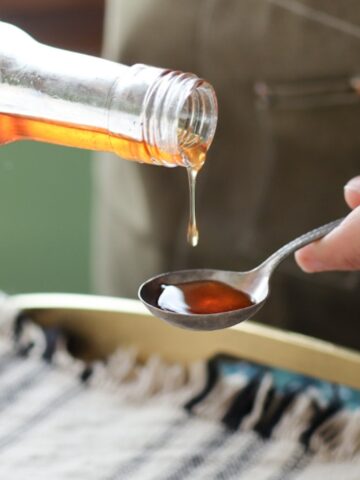
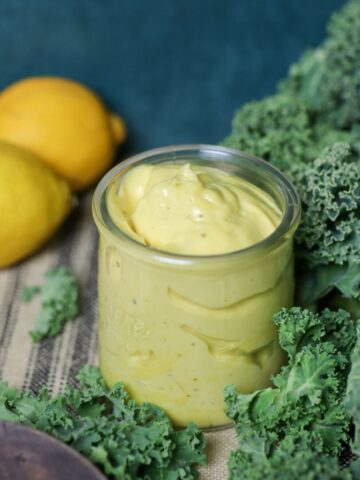
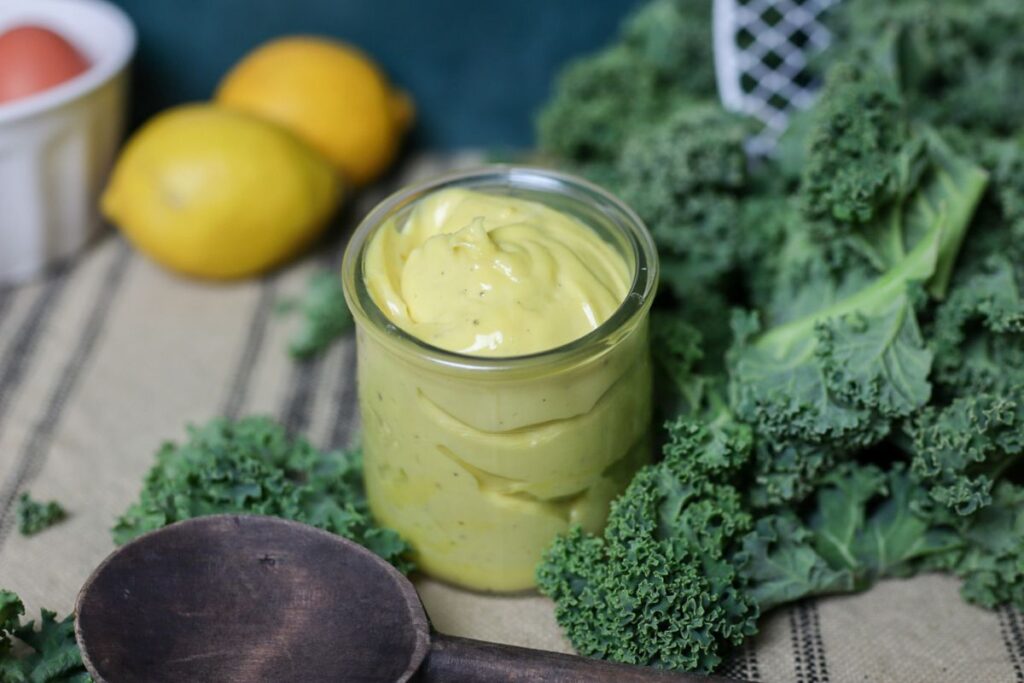
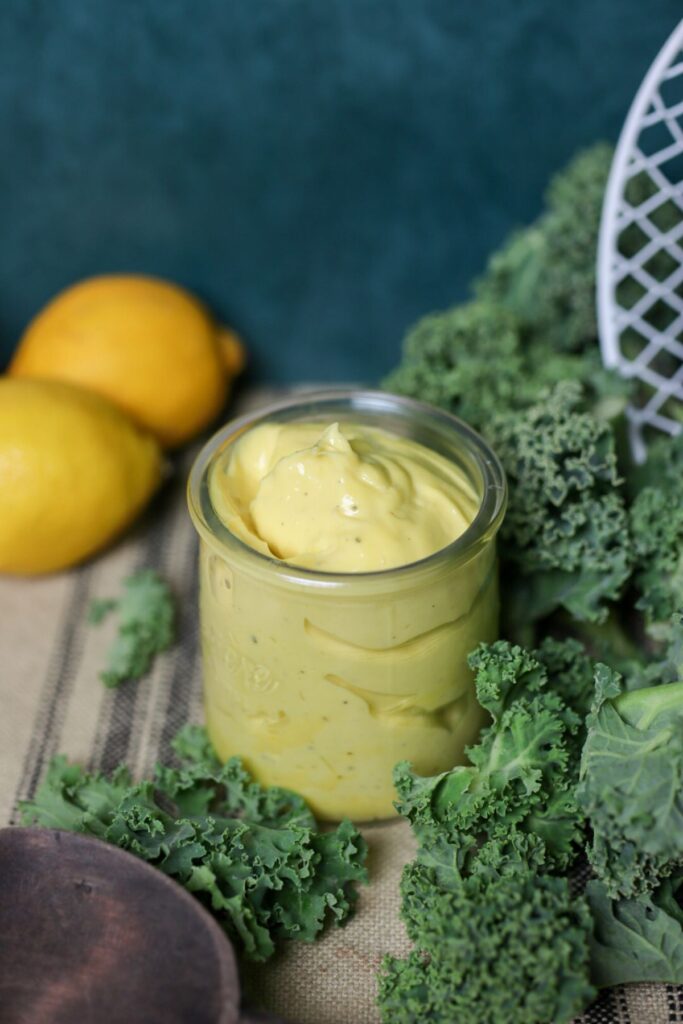
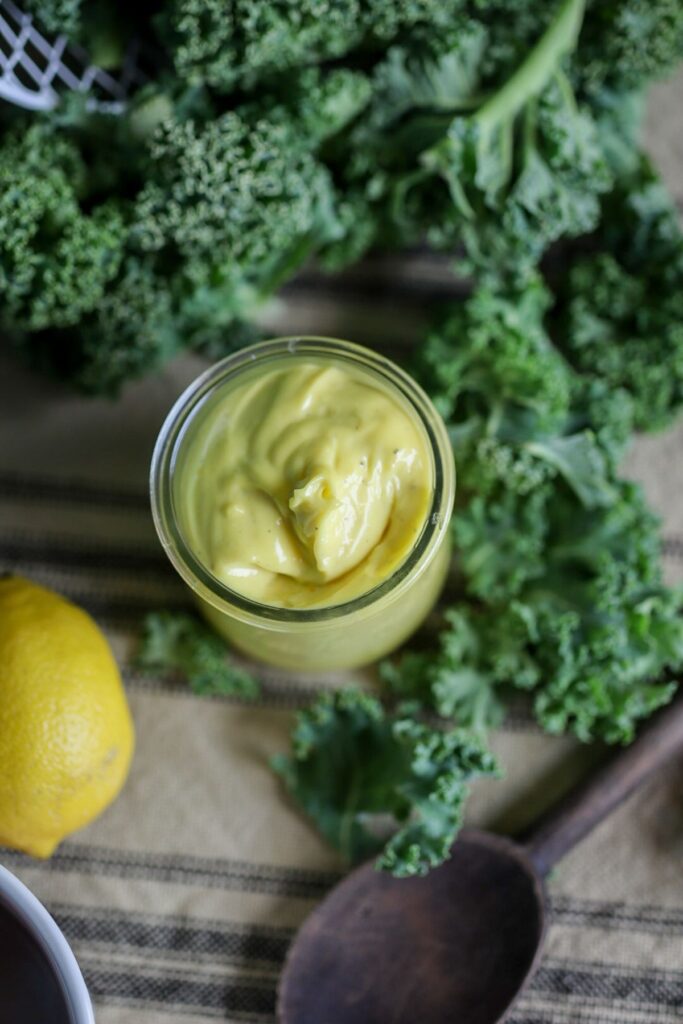
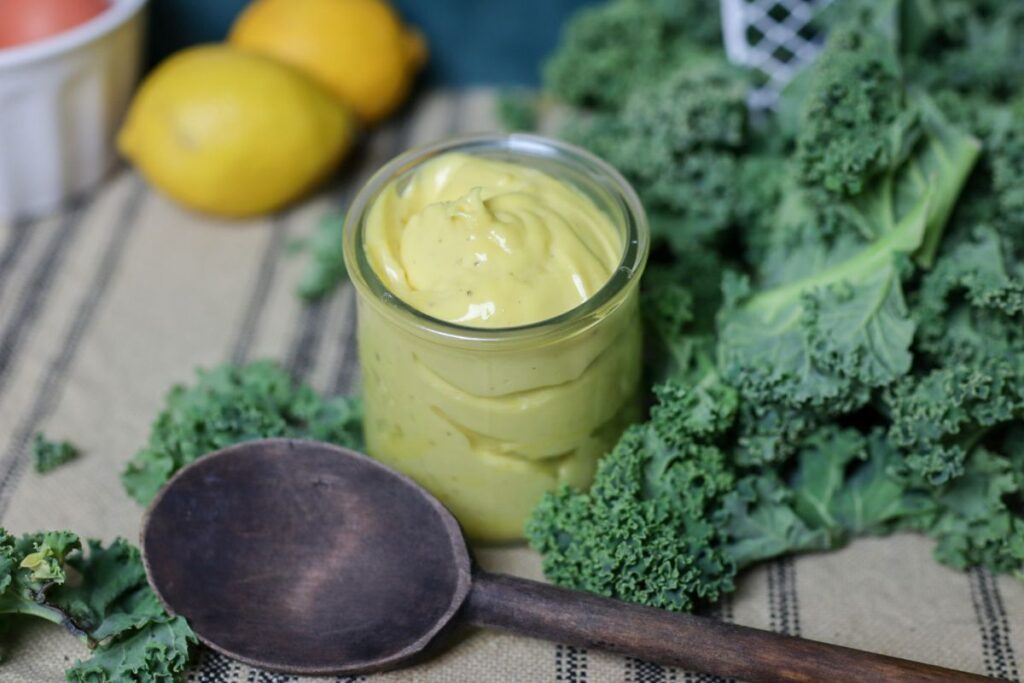
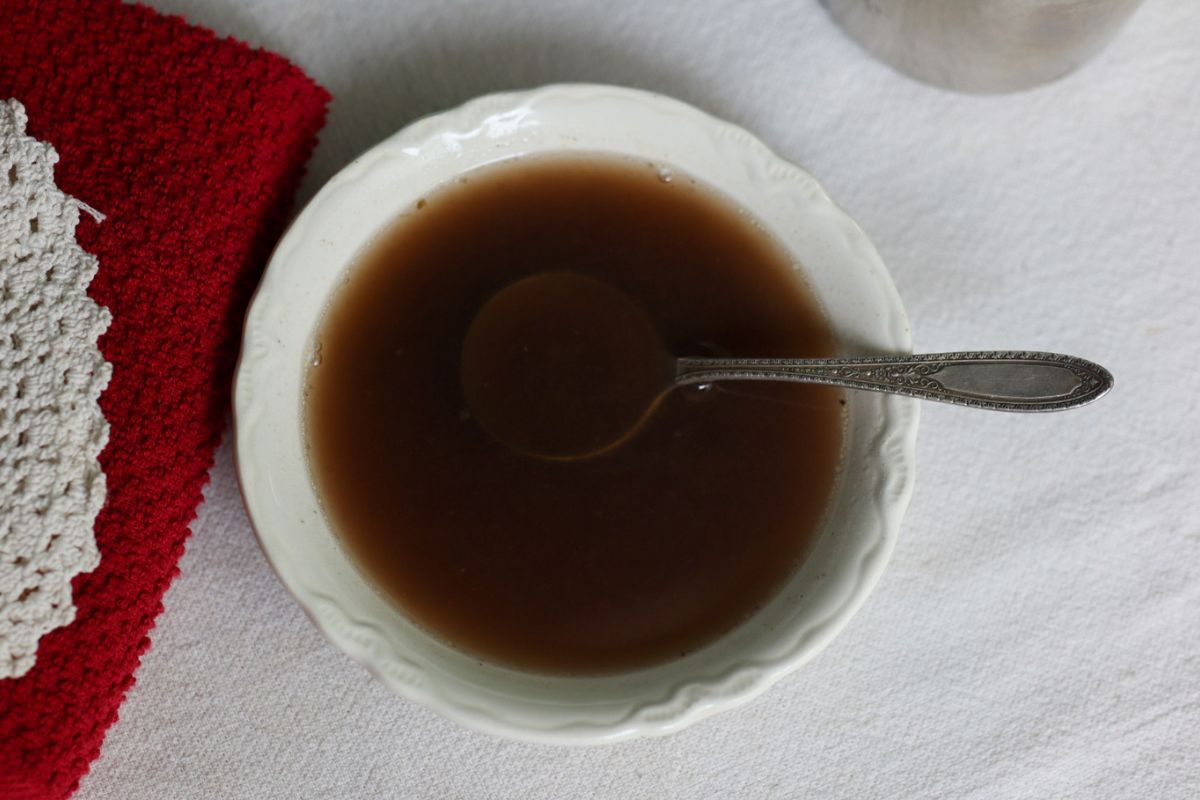
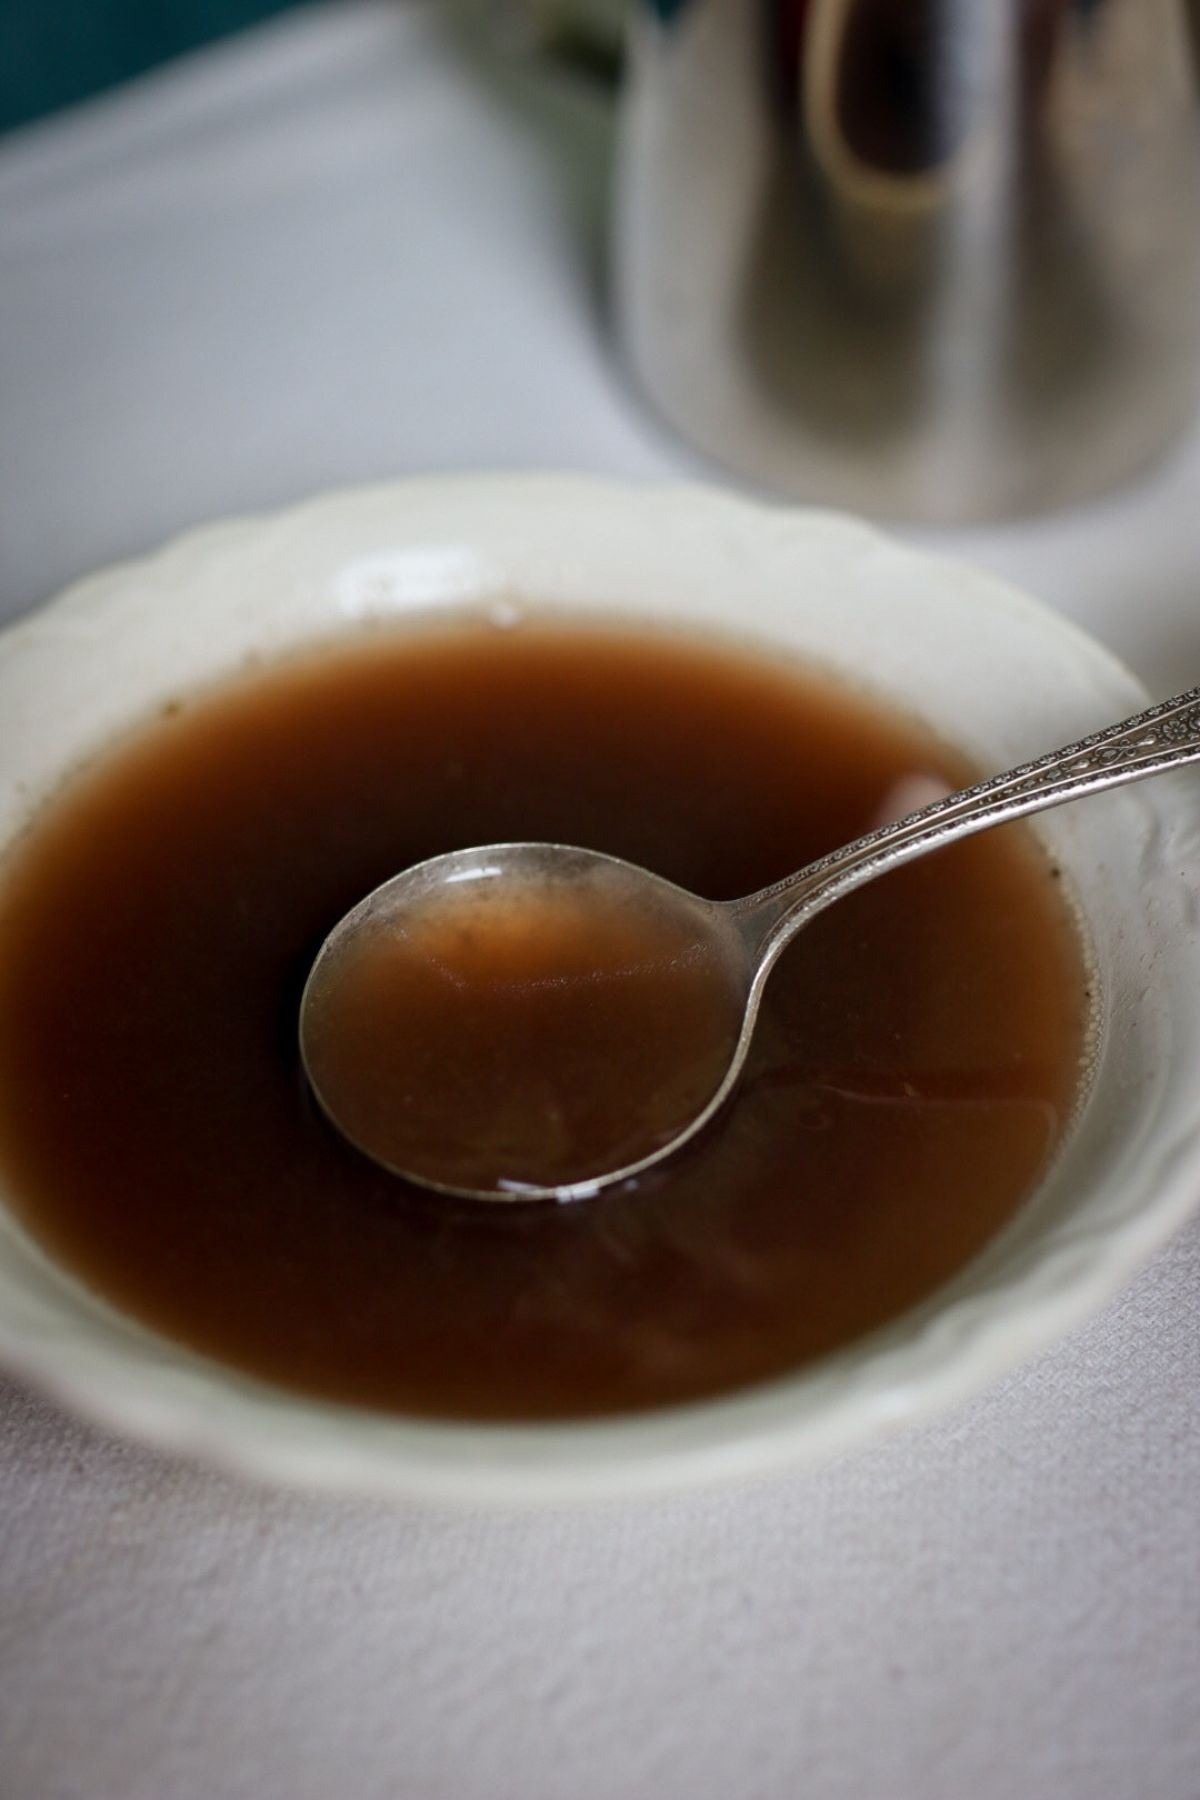
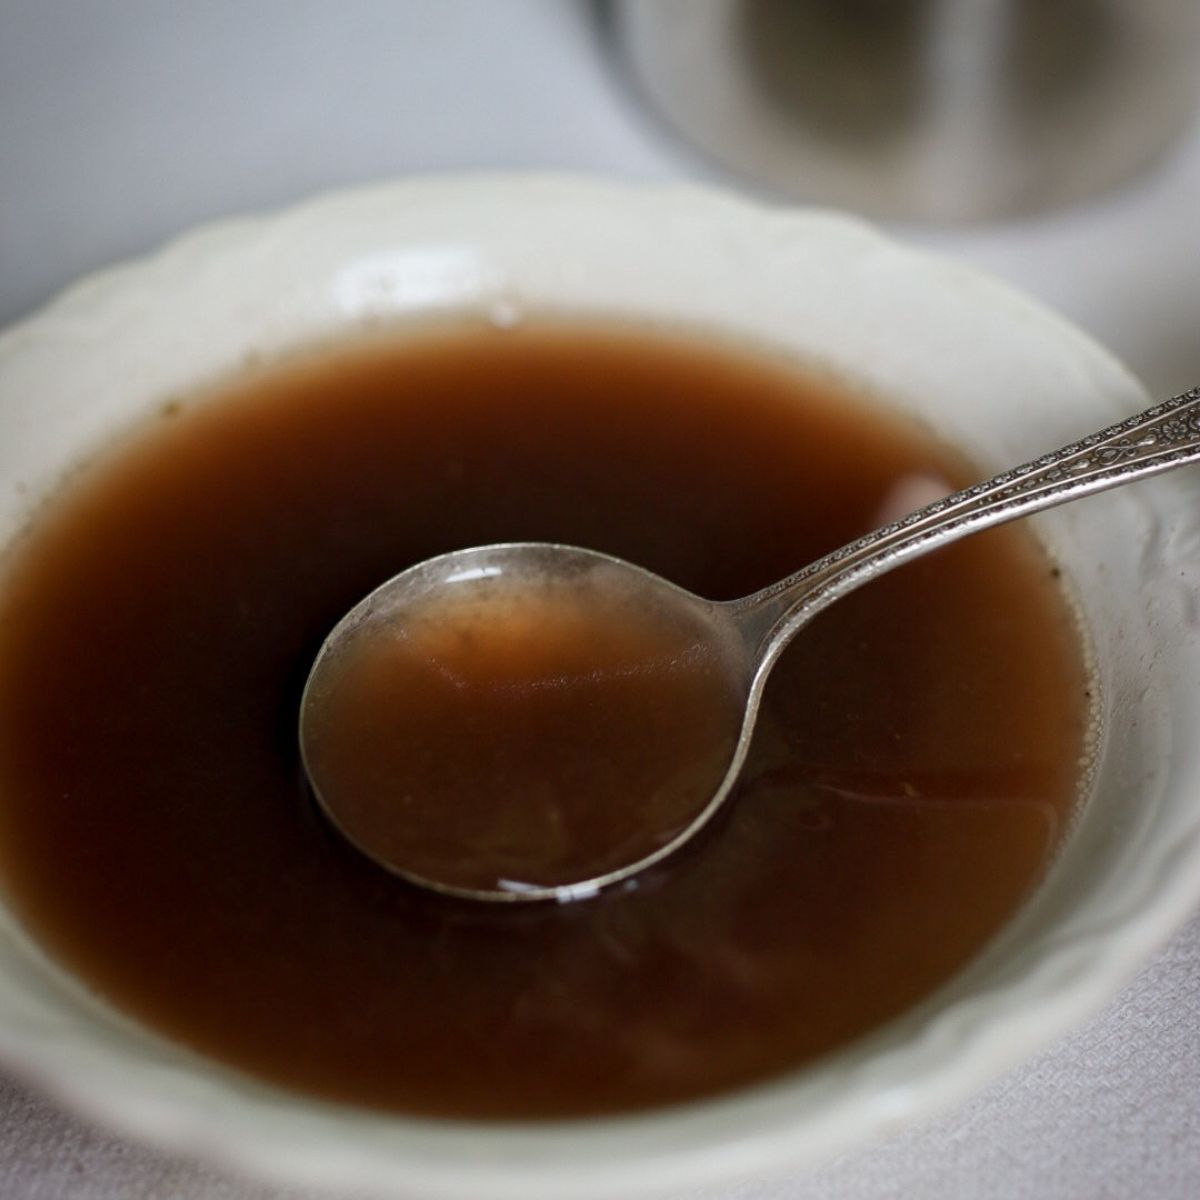
Make a dressing of half a cup of butter, one tablespoonful of mixed mustard, one of salad oil, a little red or white pepper, a pinch of salt and the yolk of an egg; rub the butter to a cream, add the other ingredients and mix thoroughly; then stir in as much chopped ham as will make it consistent, and spread between thin slices of bread. Omit salad oil and substitute melted butter, if preferred.
Here’s a photo of the recipe as it appears in the cookbook:

A FEW COOKING NOTES:
Sandwiches are hard to mess up, so minimal cooking notes today!
Salted or unsalted butter?
This recipe doesn’t specify, but it’s not uncommon to see contemporary recipes for dressings and mixed sandwich fillings like this one, specifying “sweet butter” or “good butter” which generally meant fresh butter that hadn’t been salted for storage. Since the ham is already a little salty, it would really make that “pinch of salt” just too much, if using half a cup of salted butter with this, in my opinion.
I went with unsalted butter, and recommend it. You’ll still probably want that pinch of salt, but this way you have more control over how salty the finished filling is.
The mixed mustard
This means a prepared, spreadable mustard. If not making my own, I like to use a high-quality prepared mustard, with no food dye, for putting in a recipe like this one.
The salad oil
The abomination that’s labeled “salad oil” in our grocery stores today, is not the salad oil that’s called for in this recipe. Good, light olive oil was the preferred “salad oil” of the era, and that would be the right thing to use here.

That egg yolk
This is the ingredient that could be up for debate a bit, in this recipe. Some fillings of the era call for a raw egg yolk, others for a boiled yolk beaten to a cream.
Since this one doesn’t specify, and since the proportion of other ingredients would make for a dry filling if the yolk were boiled rather than raw, I went with a nice fresh yolk from an egg laid just that morning. Do feel free to experiment here, but my feeling is that a raw egg yolk is the correct interpretation.
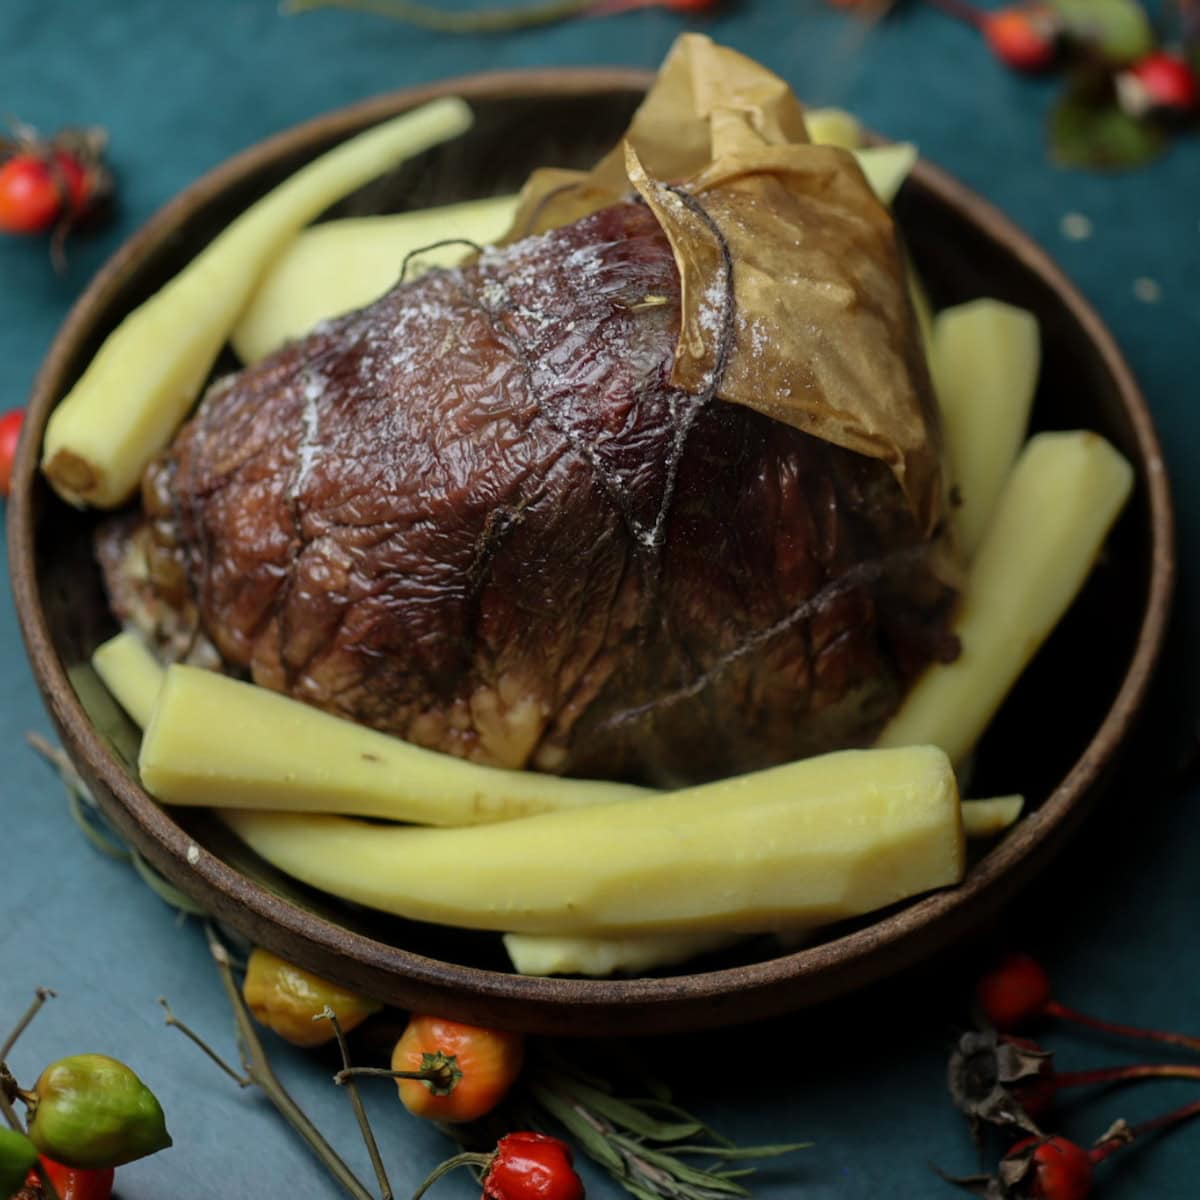
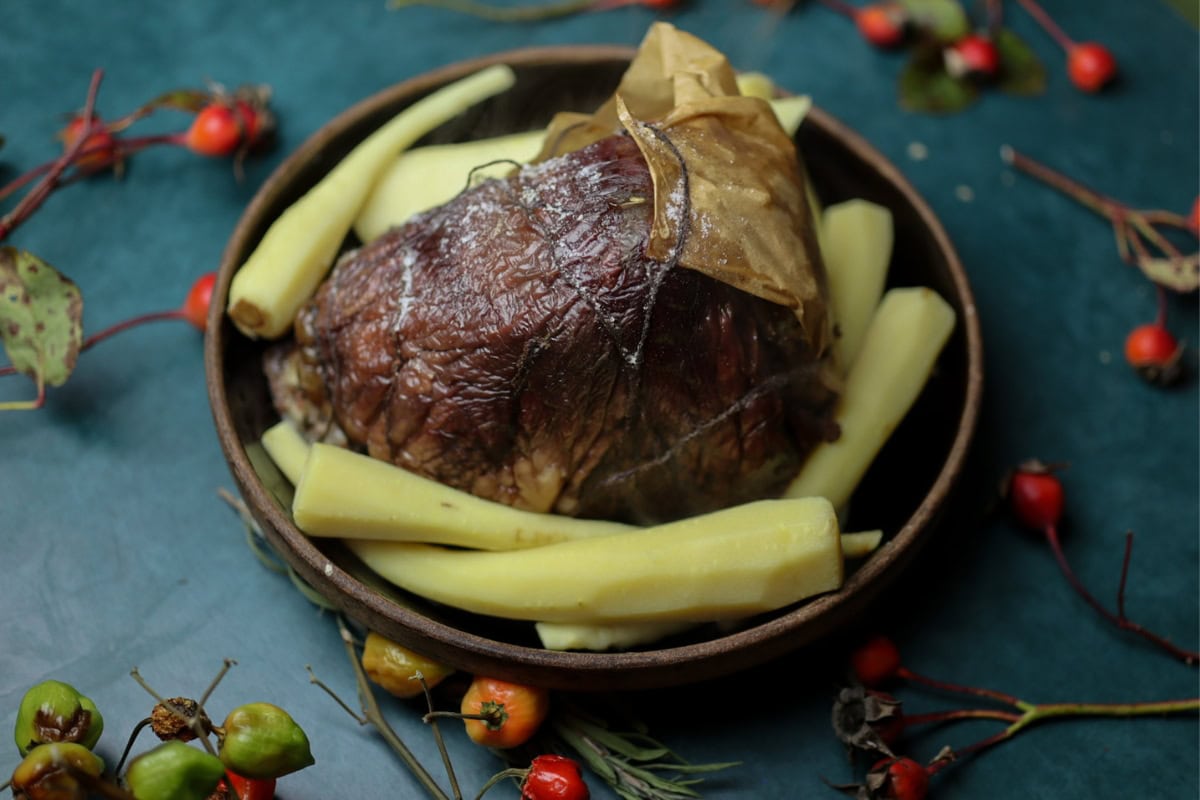
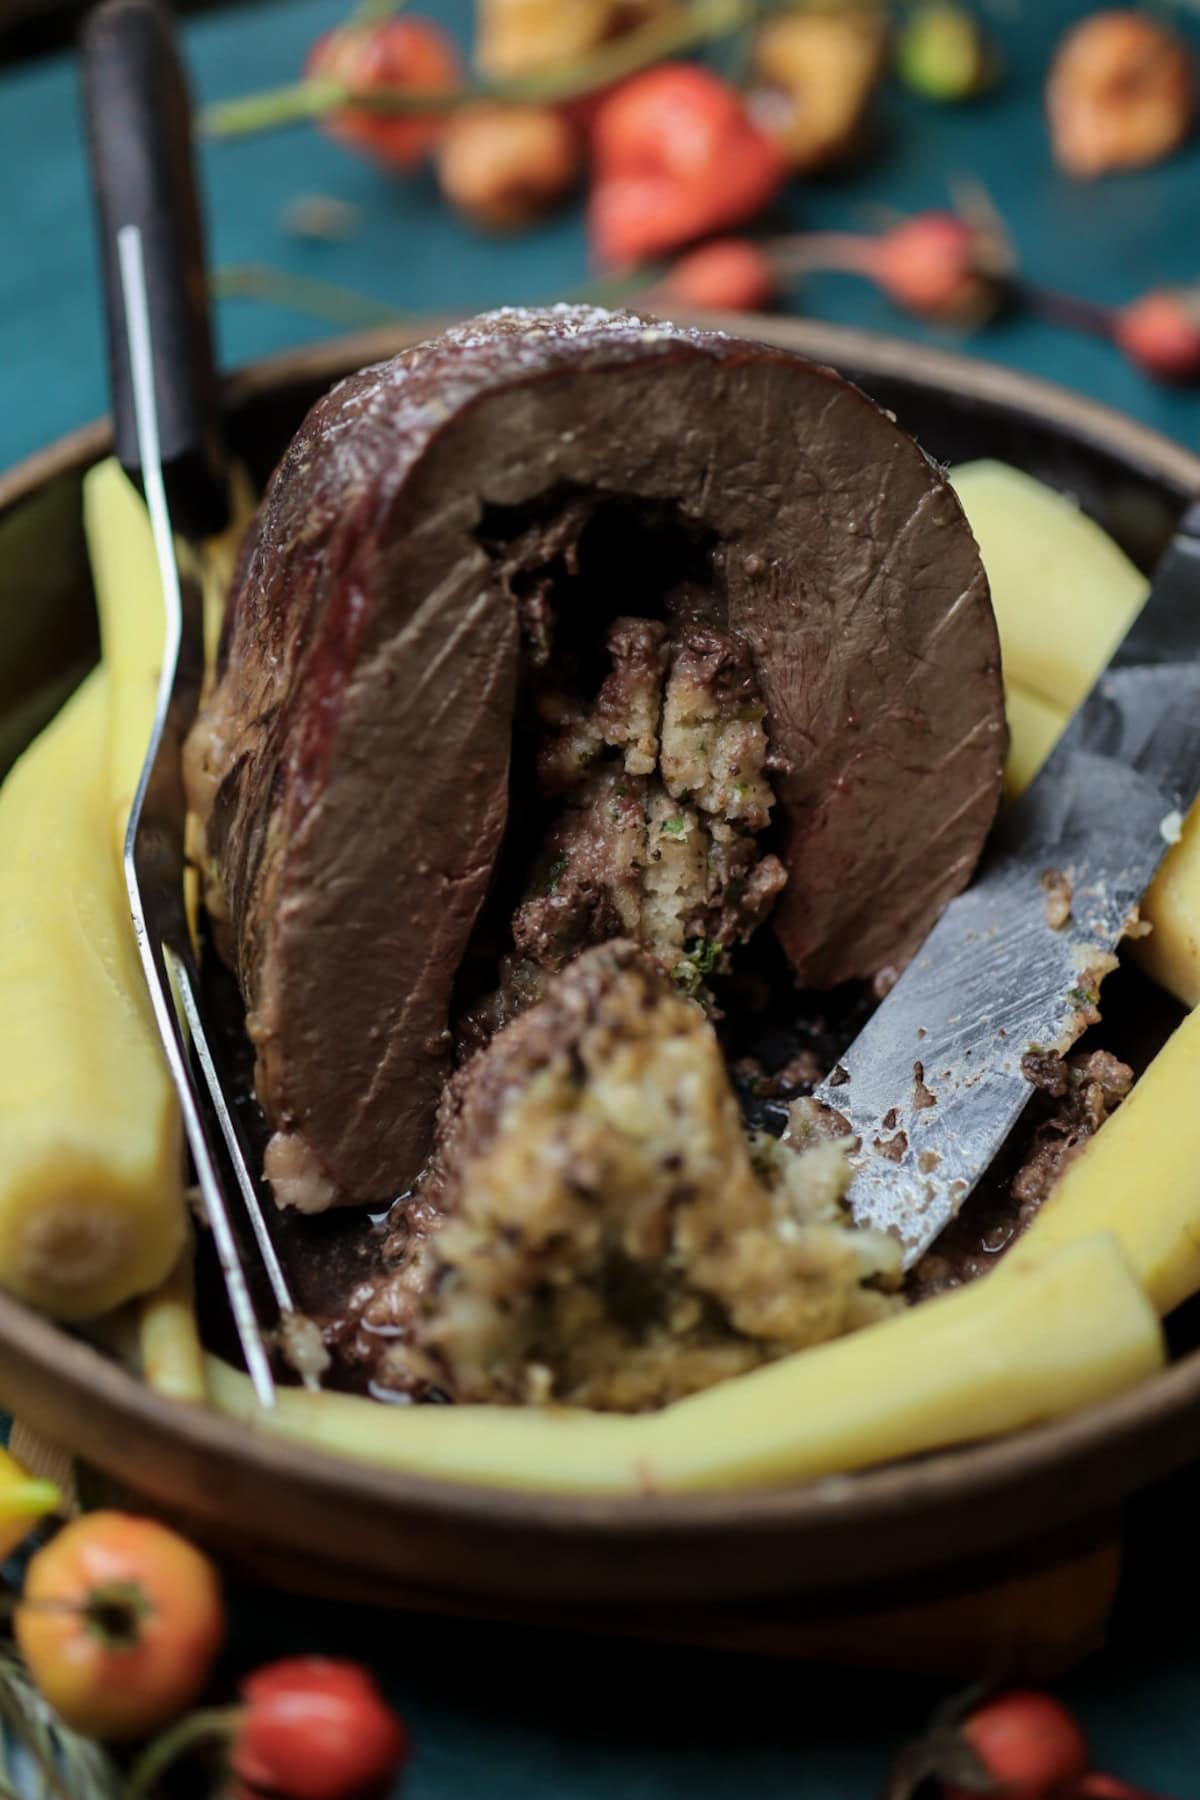
How much ham?
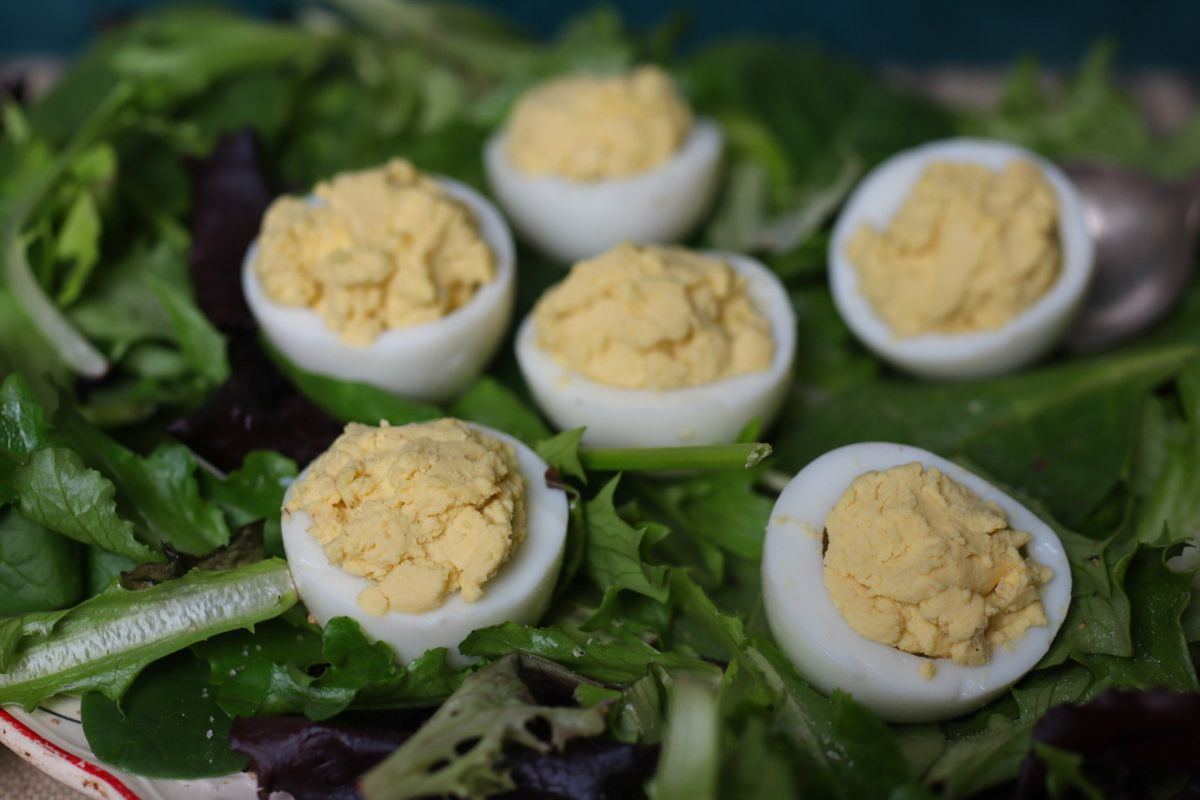
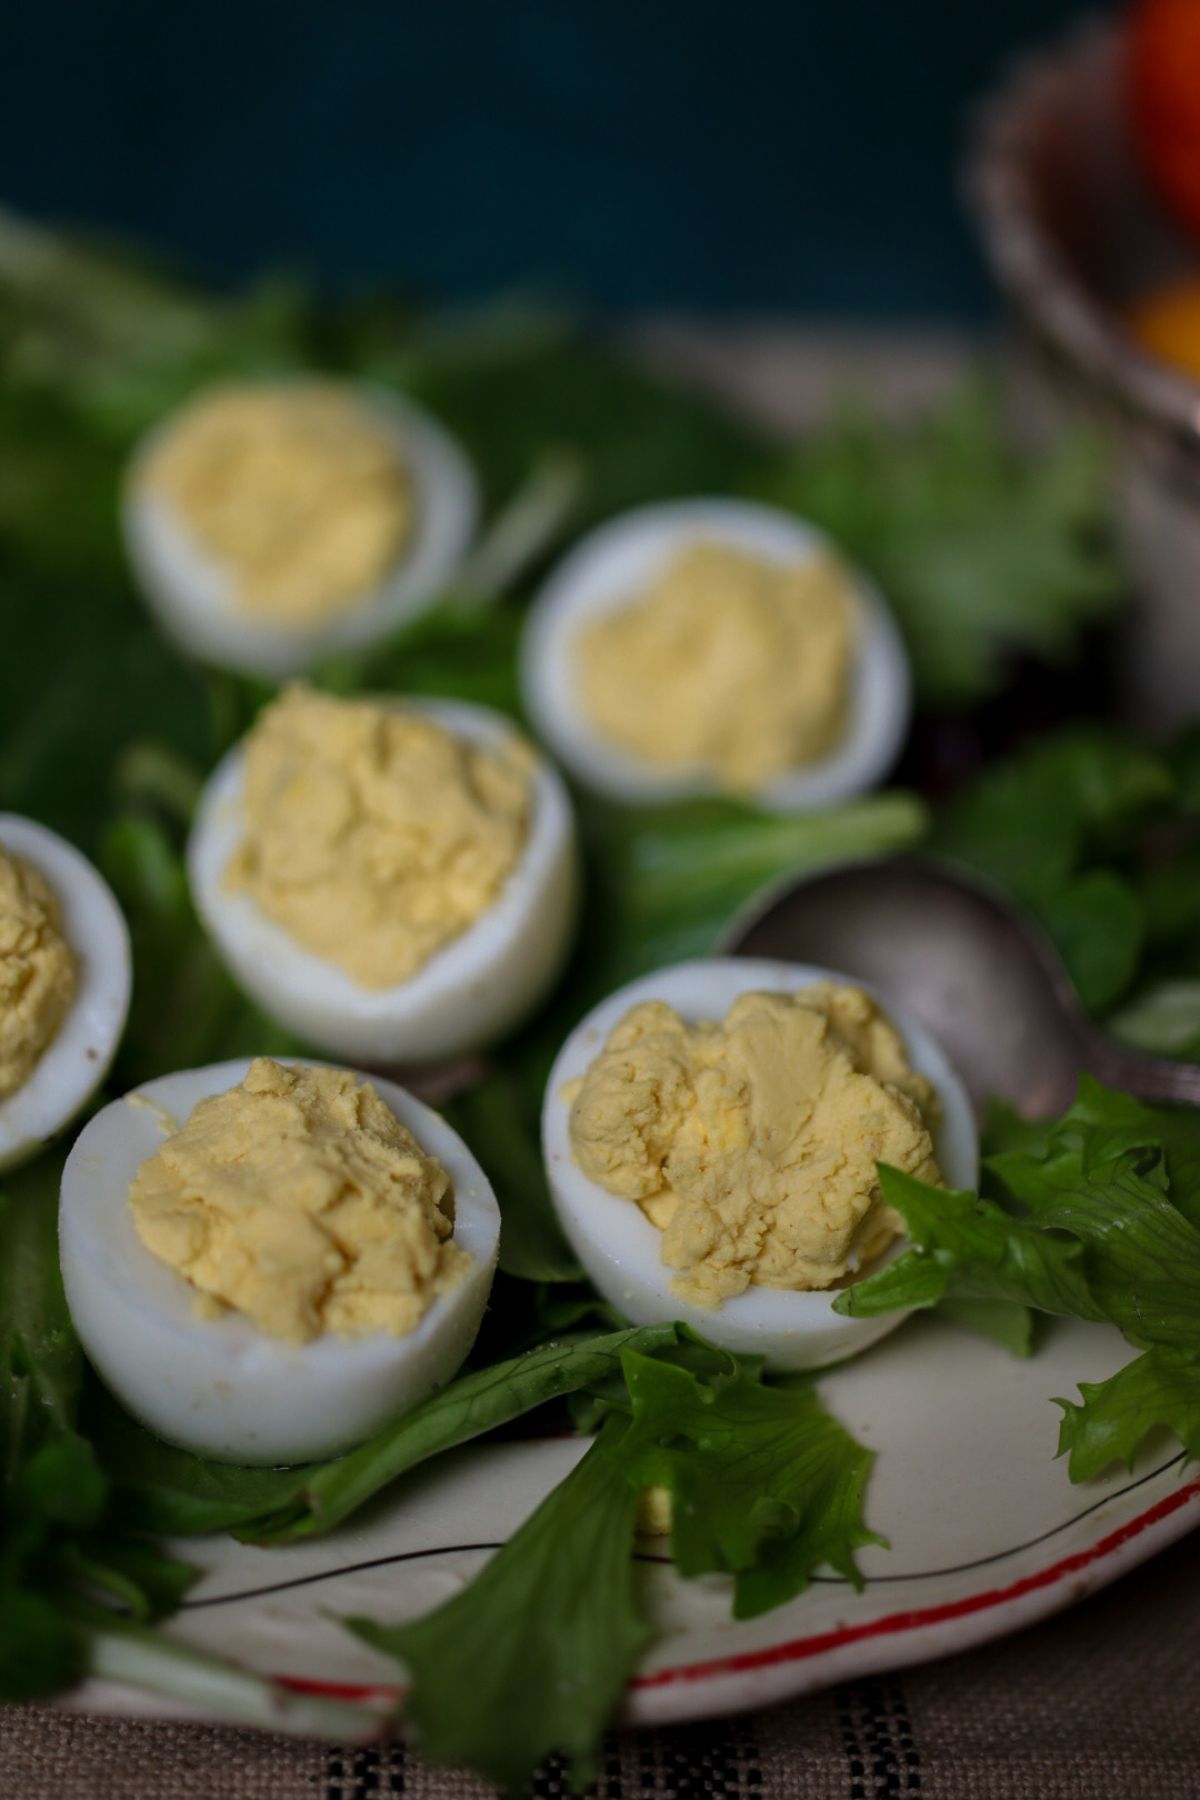
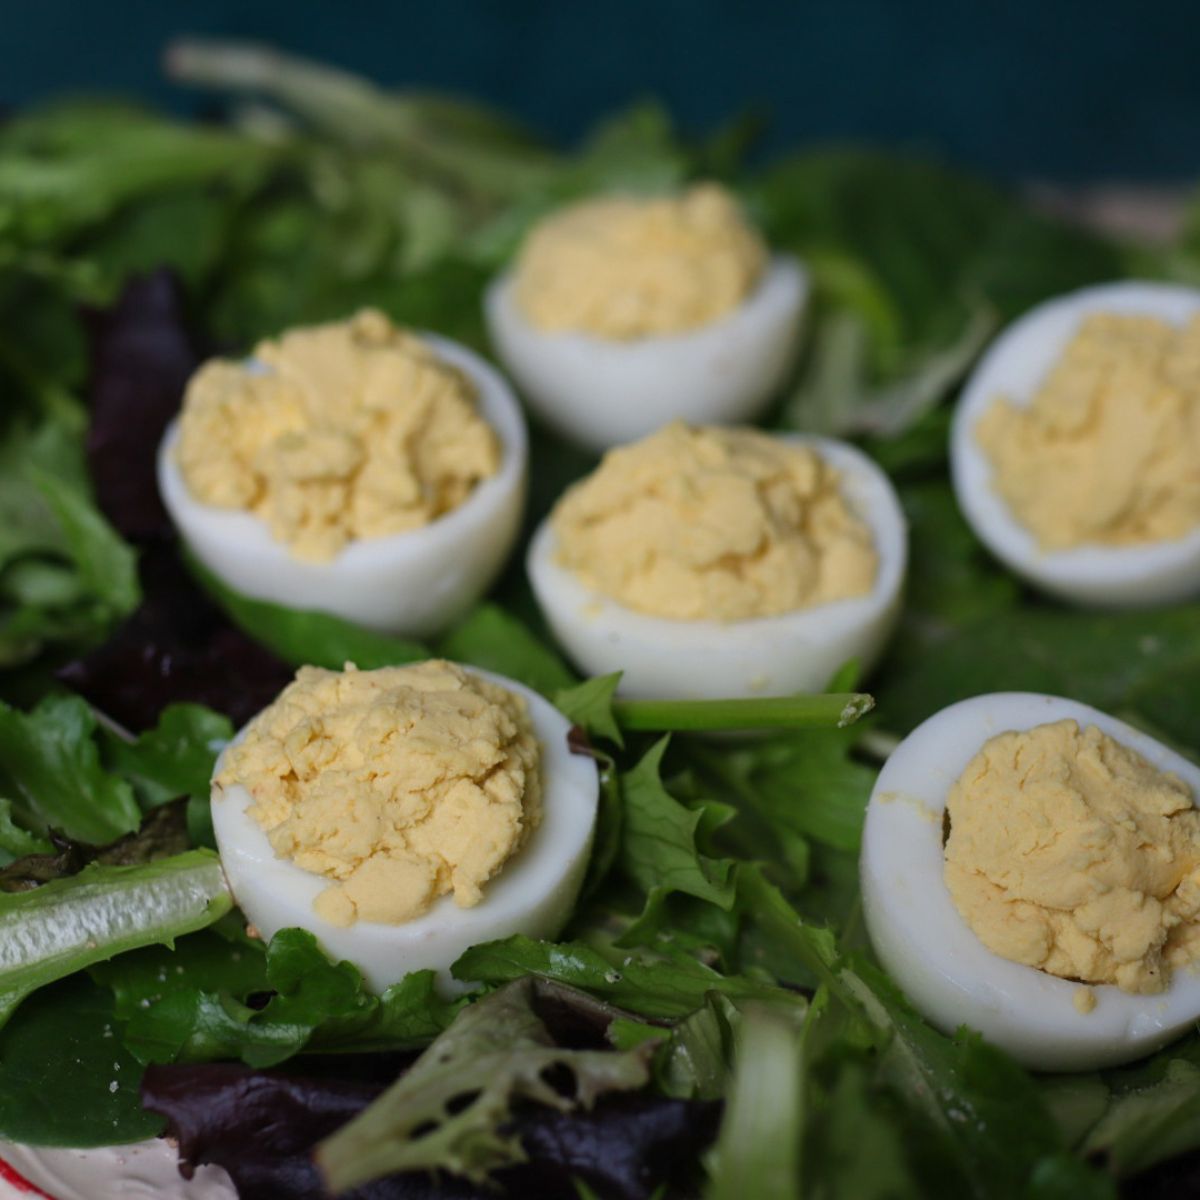
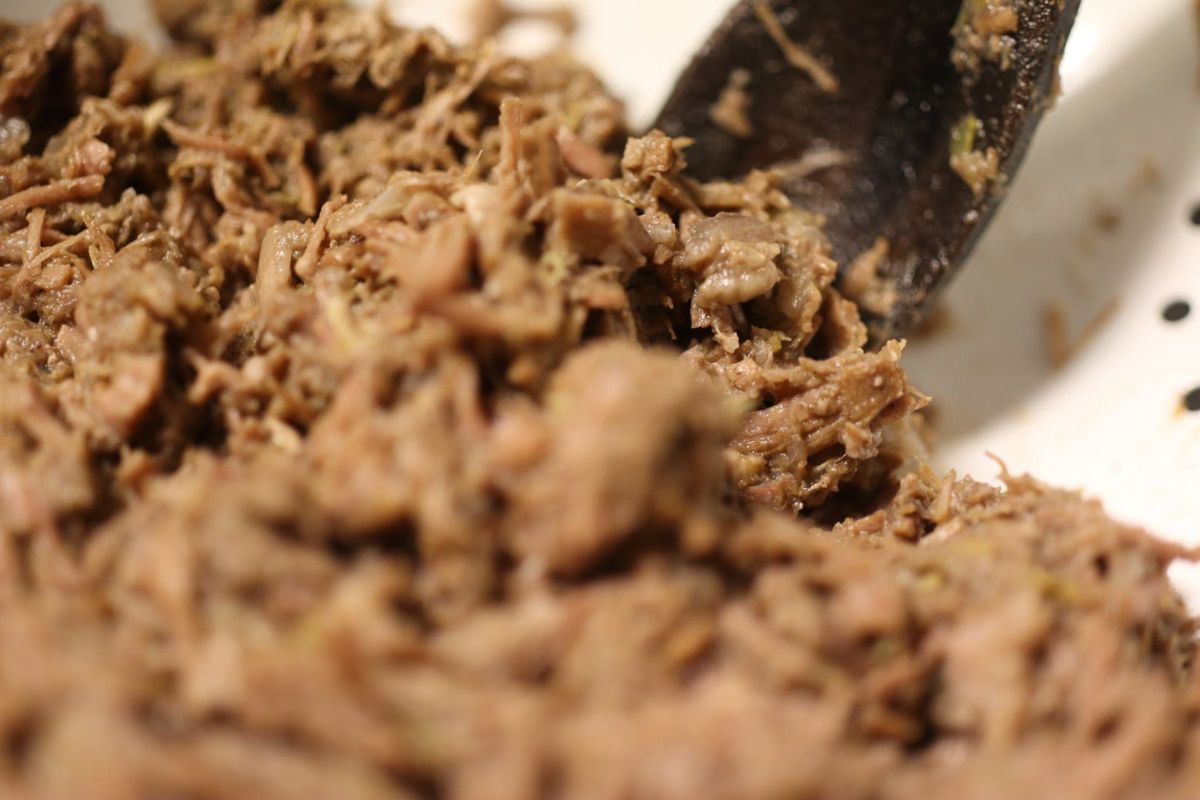
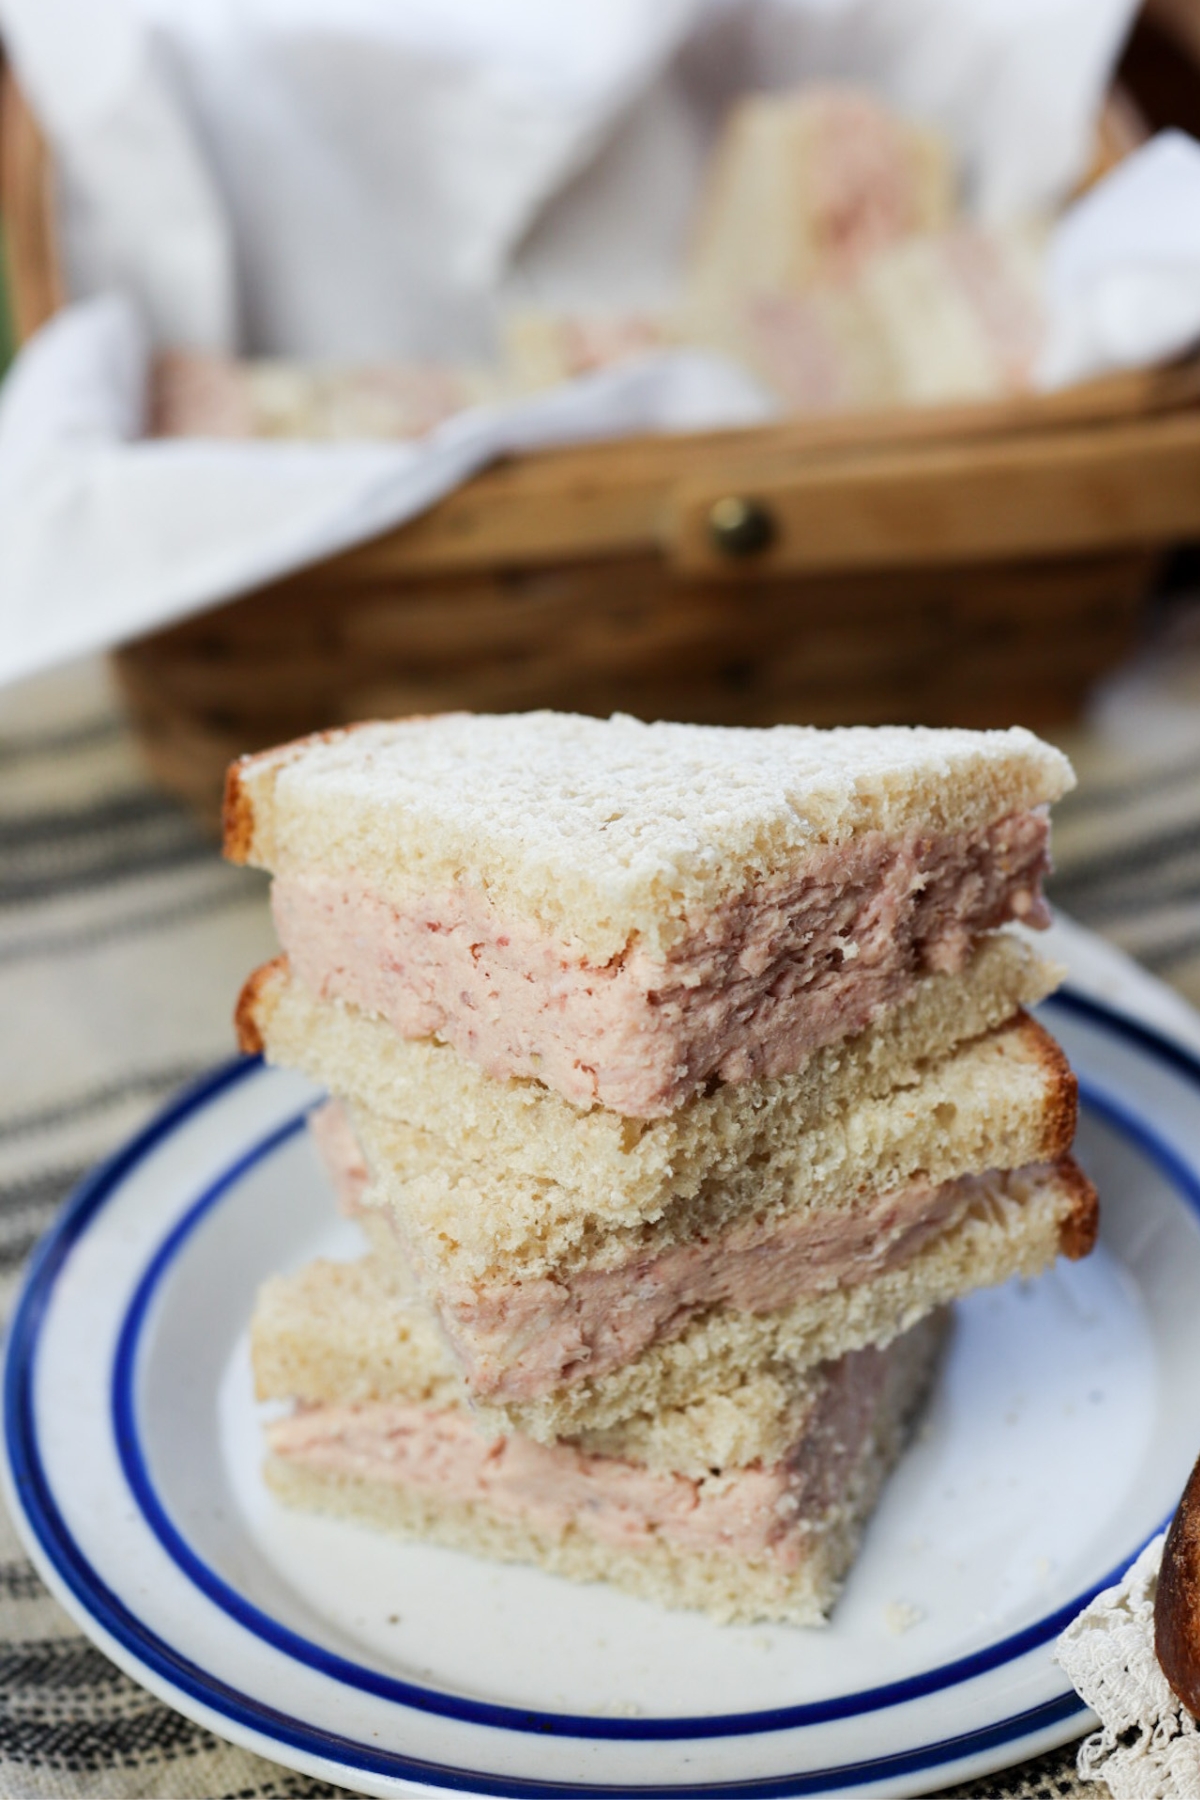
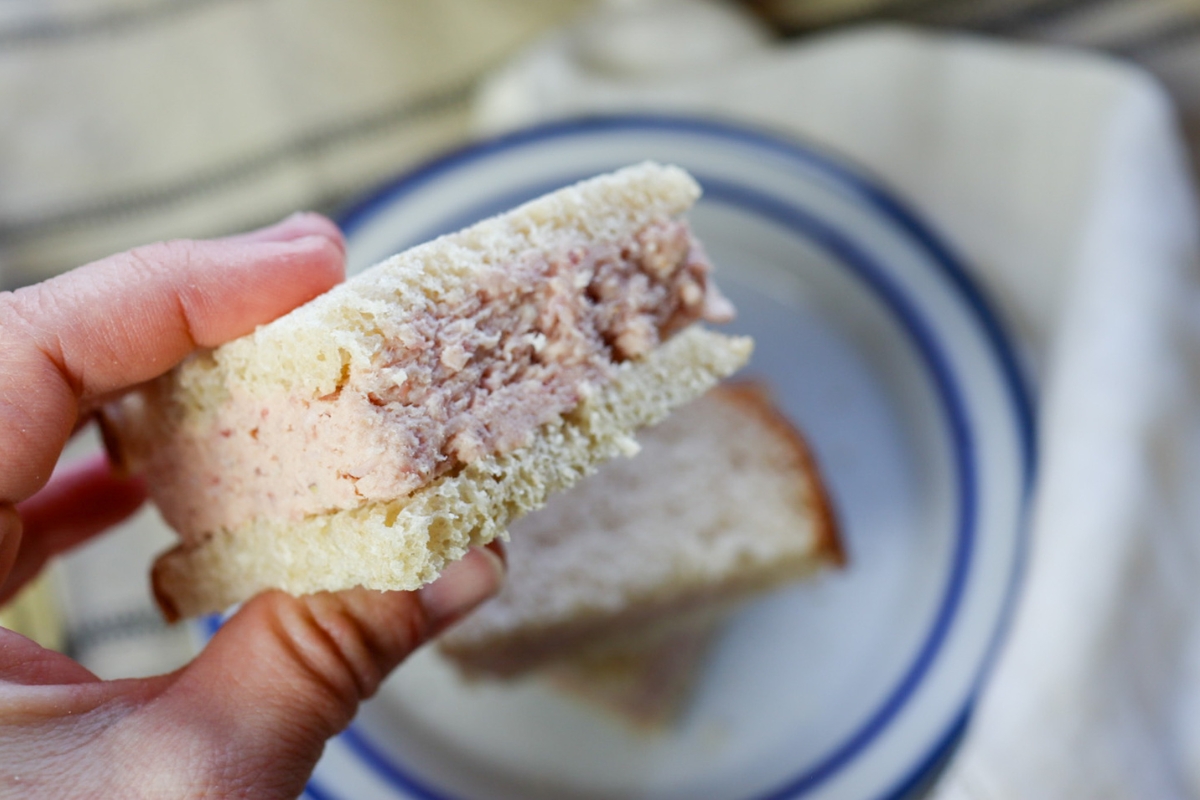
I used just a tad over 8 ounces of chopped ham, and felt like that was about right. You can chop that ham by hand, but to get this nice and smooth the way it’s intended, you’ll want to really chop it finely.
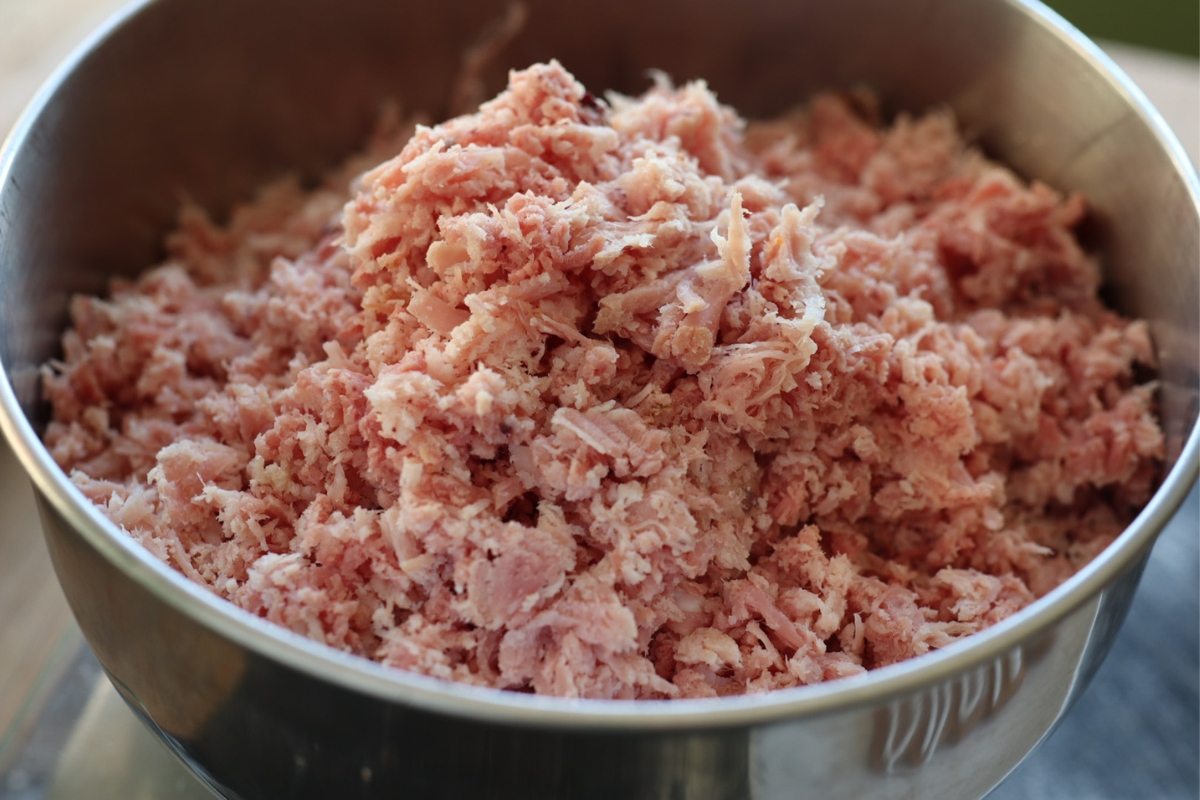
It’s not cheating to get out a good old table-mounted meat grinder for this, if you’re lucky enough to have one. My grandmother did, every time she turned leftover ham into sandwiches, and I’ll bet her mother did too. Those old hand-turned meat grinders make for a nice, evenly-textured filling. Go for a blade disc that’s somewhere between the small “grind” size, and the larger “chop” size.
How many sandwiches does this make?
It depends on the size of your bread, and how thick you like your fillings. I lost count (these sandwiches were wanted for a living room picnic by the wood stove, after all!), but I think I made 6 sandwiches, that I then cut into quarters. Plenty for a picnic, with company!


These really are lovely, old-fashioned sandwiches, that aren’t fussy, sweet, or gloppy. They’re such a nice way to use up some of that leftover holiday ham, and make a wonderful part of a low-key “finger foods” spread that people can graze on, after the Christmas festivities.
Until next time, ~ Anna
📖 Recipe
Ingredients
- ½ cup butter
- 1 tablespoon mixed mustard
- 1 tablespoon olive oil
- ⅛ teaspoon red or white pepper
- 1 pinch salt
- 1 egg yolk
- 8 ounces chopped ham
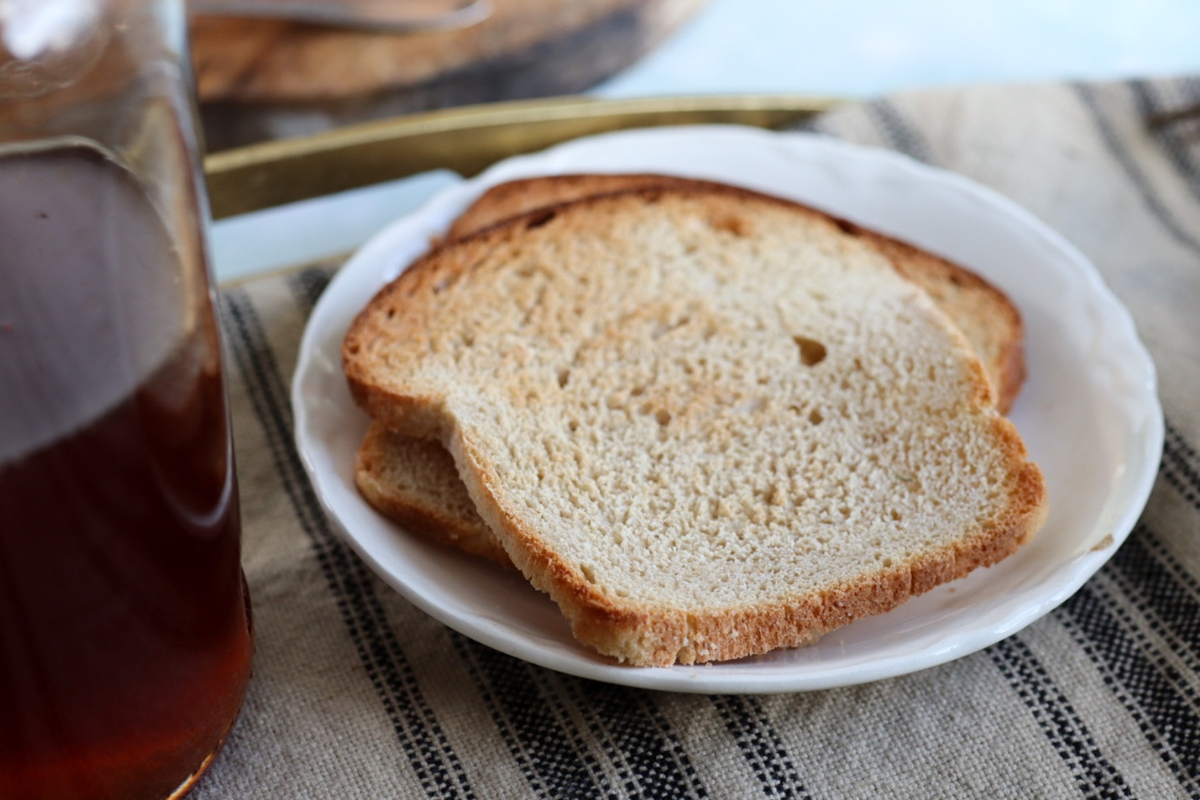
- 12 thin slices bread
Instructions
- Rub the butter to a cream,
- add the other ingredients and mix thoroughly;
- then stir in as much chopped ham as will make it consistent,
- and spread between thin slices of bread.
- Omit salad oil and substitute melted butter, if preferred.
Nutrition
If you liked this recipe, here are some others you may enjoy: