
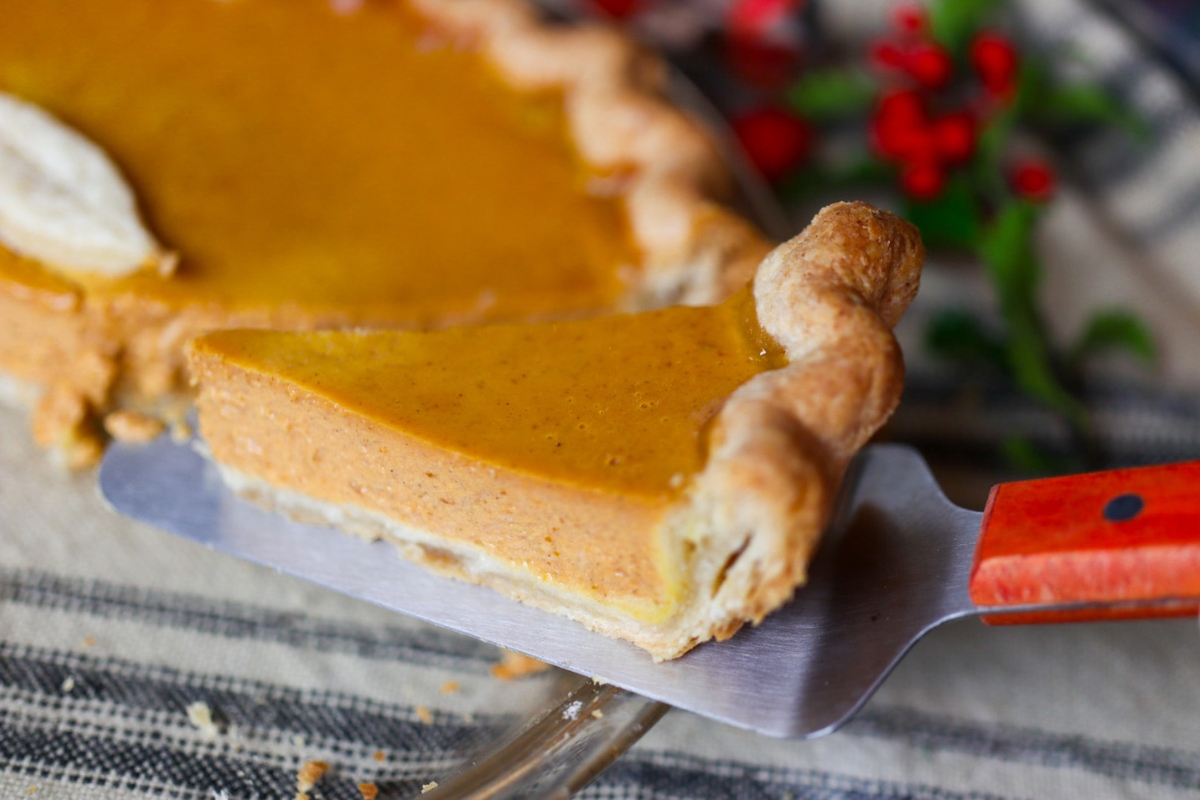
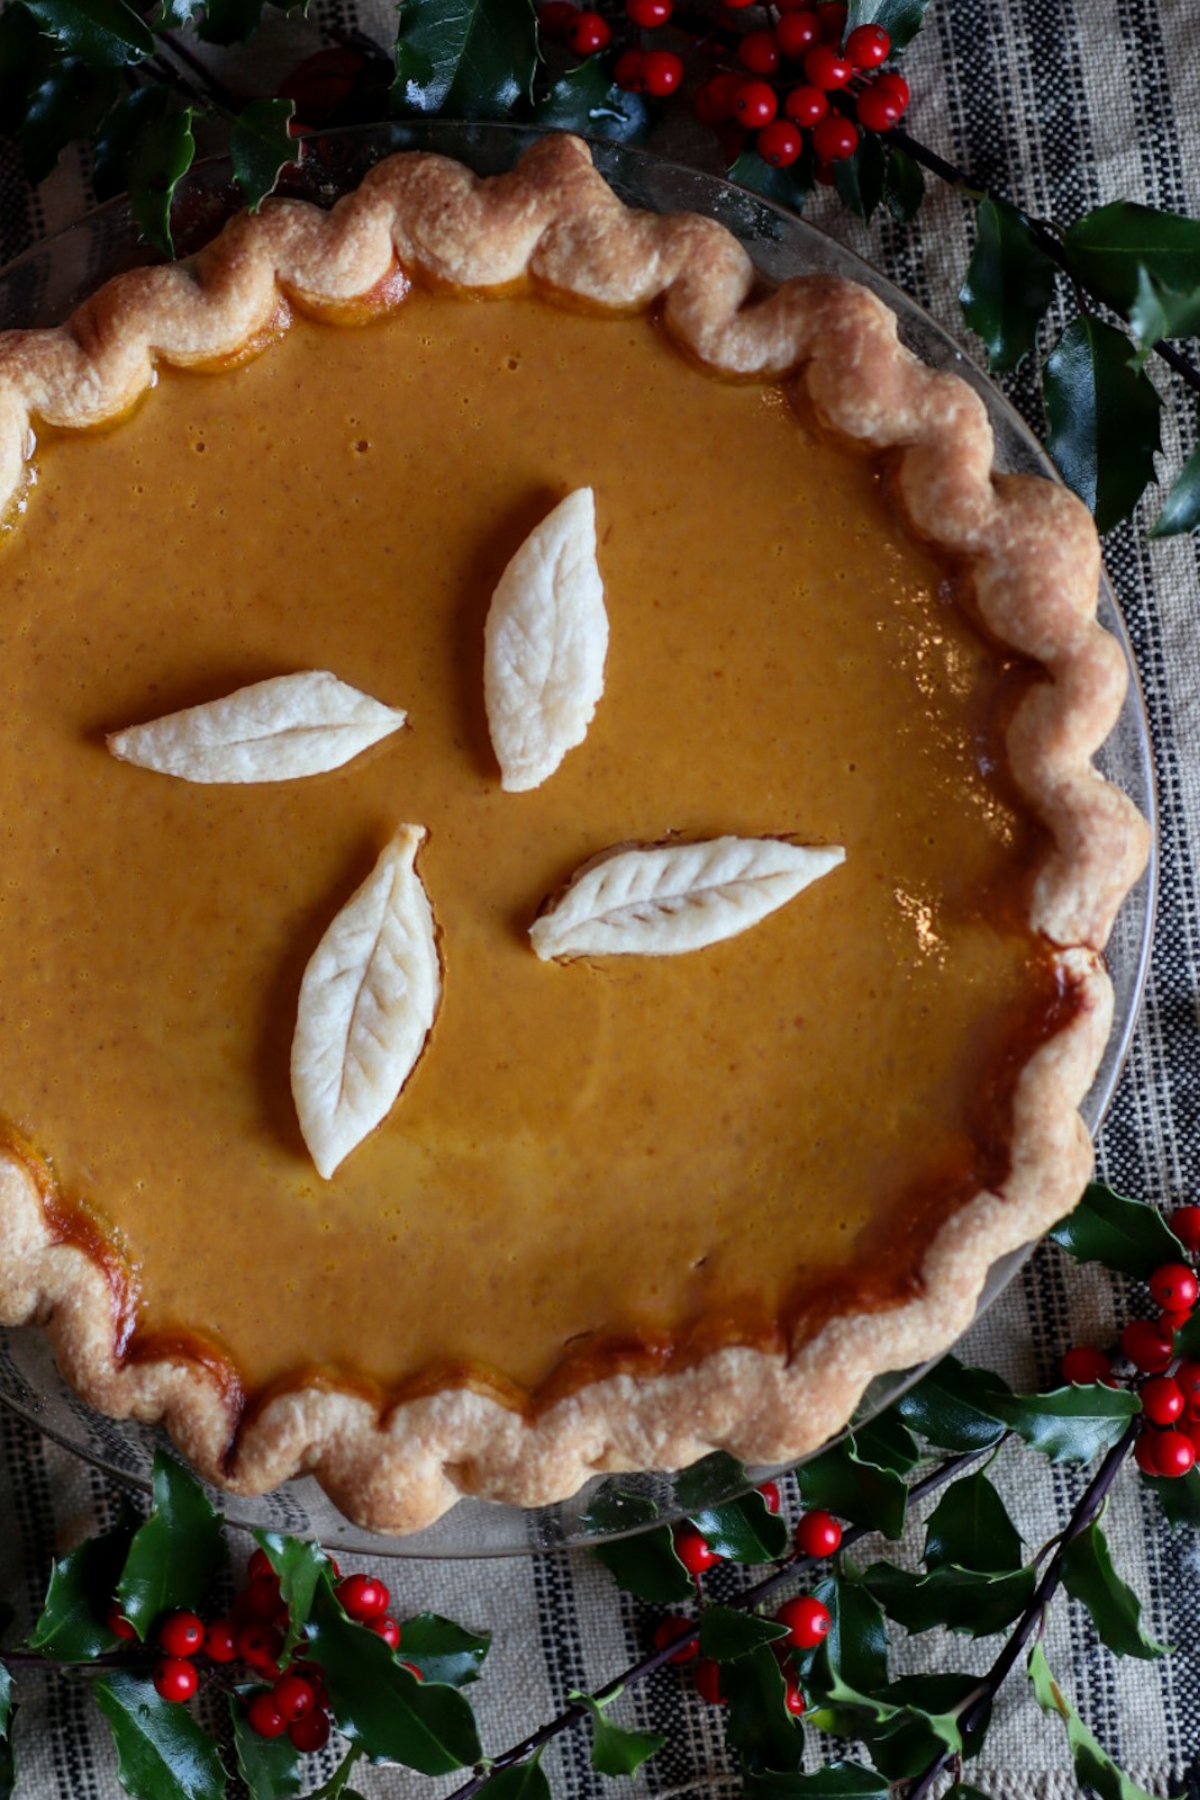
This classic Pumpkin Pie is smooth and custardy, a “rich” pie that was perfect for holiday tables then and now.
Dear friends ~
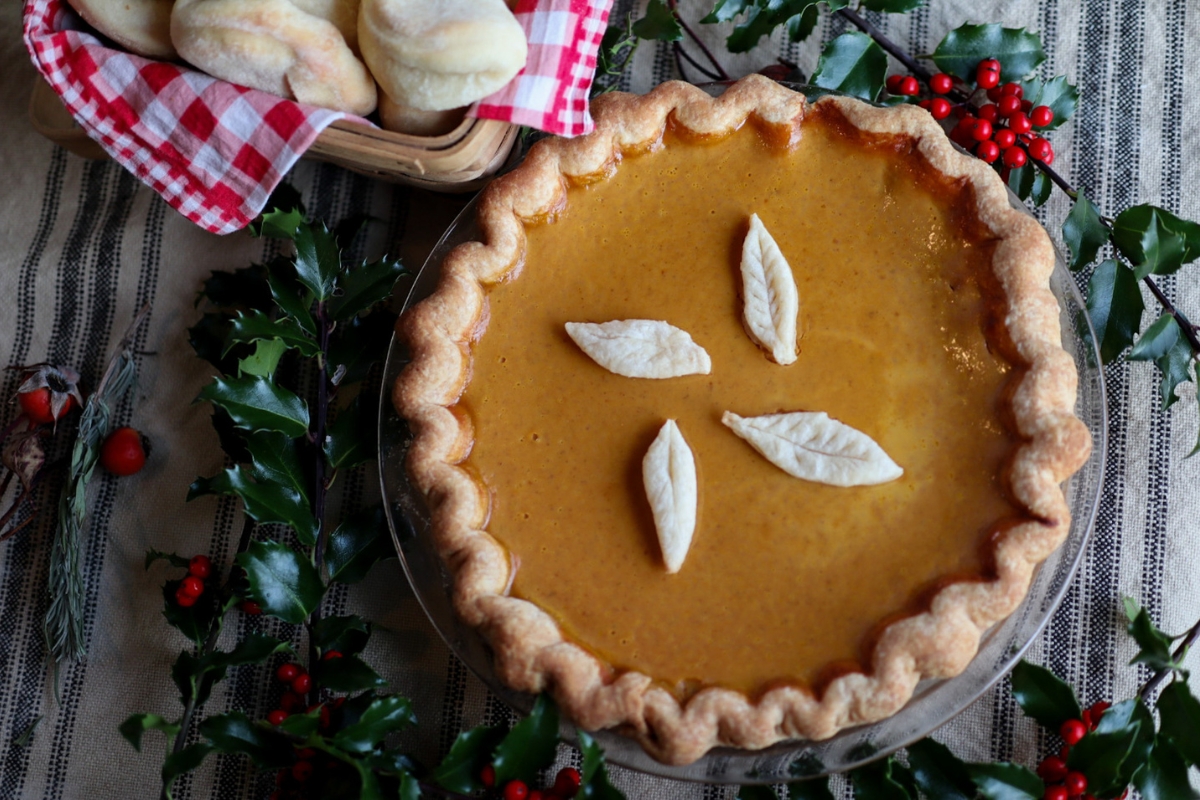
This pumpkin pie is smooth and custardy, with a top that’s so glossy it absolutely shines on a holiday dessert sideboard.
Pumpkin pie has been gracing Thanksgiving tables for a long, long time, and this recipe from 1845 was a “rich” one, by contemporary standards. Made with scalded milk and plenty of eggs, this was a celebratory pie fit for the holidays.
Squash and pumpkin pies were generally served cool or at room temperature, and especially the rich versions made with lots of milk and eggs (like this one) needed time to properly set before being enjoyed. This is a great recipe to make the day before Thanksgiving.
Hope you enjoy!
The New England Economical Housekeeper, 1845
PUMPKIN PIE
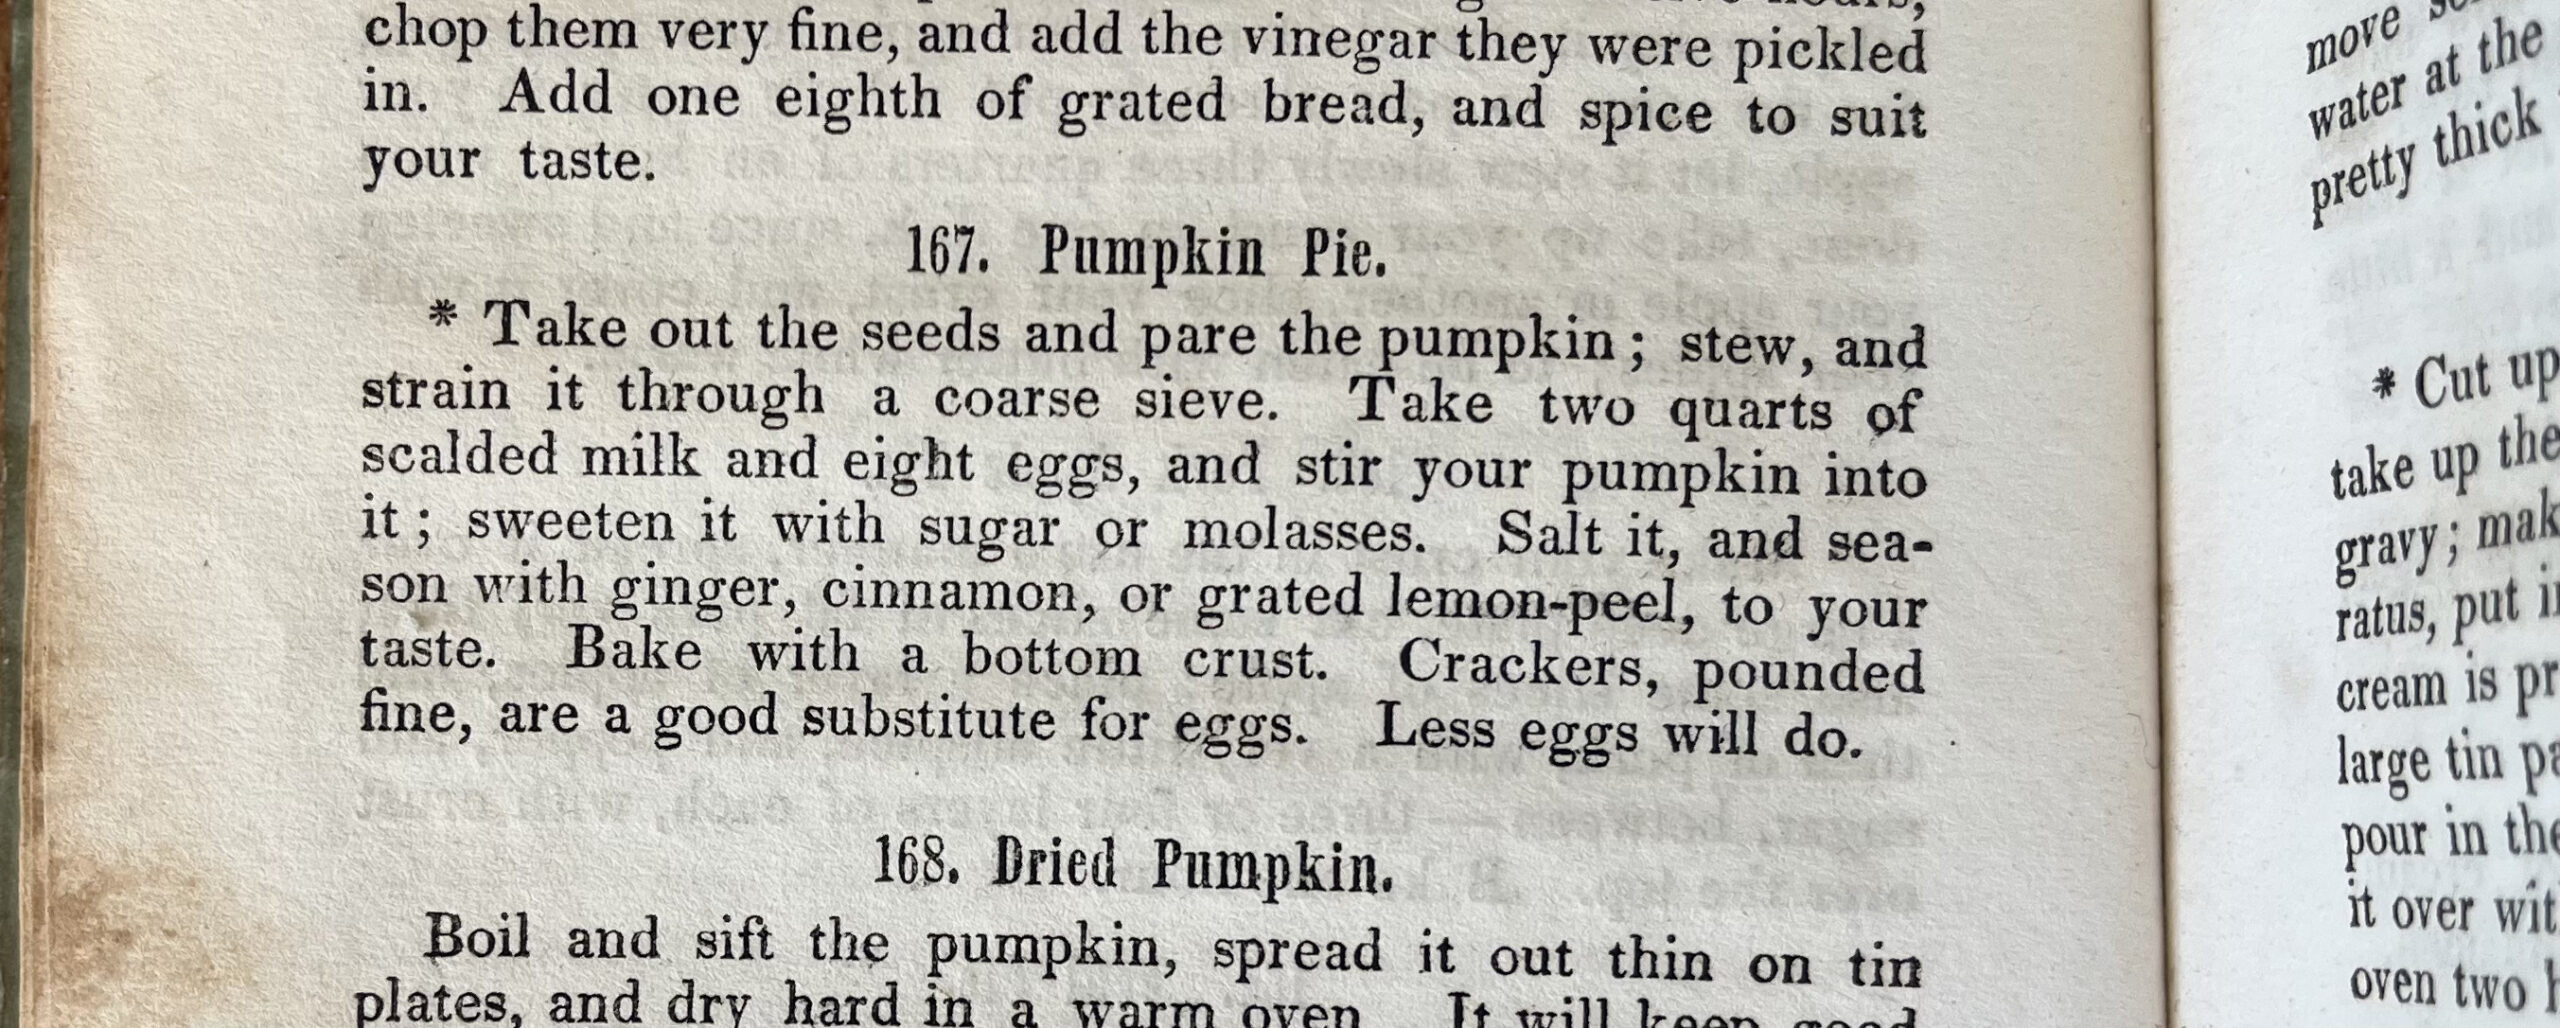
Take out the seeds and pare the pumpkin; stew, and strain it through a coarse sieve. Take two quarts of scalded milk and eight eggs, and stir your pumpkin into it; sweeten it with sugar or molasses. Salt it, and season with ginger, cinnamon, or grated lemon-peel, to your taste. Bake with a bottom crust. Crackers, pounded fine, are a good substitute for eggs. Less eggs will do.
Here’s a photo of the recipe as it appears in the cookbook:
A FEW COOKING NOTES:
This pie recipes leaves SO much to both interpretation, and personal preference.
Here are some notes from my own experience making this, which may be helpful if you give it a go.
Scalding the milk
Scalding the milk before making a custard-type pie is a pretty common step in 1800’s recipes. To do this, you’ll take whole milk, gently bring it just barely to the boiling point, and then let it cool again. It doesn’t need to be room temperature before proceeding with the recipe, but shouldn’t still be boiling hot.
This recipe makes two very large, deep pies, or three standard-depth pies, so if you’re looking to make just one pie, a single quart of milk will be plenty.
How much pumpkin?
For the amount of pumpkin to use, I referenced some other contemporary, and slightly later, cookbooks. A very common wording from pumpkin pie recipes of the era, is to use just enough pumpkin to let it stir around easily. When precise amounts are specified, anywhere from 2 to 4 cups of pumpkin per quart of milk was called for, with more eggs being used in the recipes that called for a higher proportion of milk.
As you might infer from the wording “less eggs will do”, recipes that called for lots of milk and eggs were considered rich. If you couldn’t afford those eight eggs, you could use fewer, and if eggs were just too dear altogether, a pie could be made by thickening it with cracker crumbs.
For this recipe, based on the number of eggs, I went with 2.5 cups of pumpkin, for every quart of milk.
To make the full recipe exactly as it’s written, that would be about 5 cups of pumpkin, or just a little more. That’s enough for two large, deep pies, or three standard 9 or 10 inch pies. This is a big recipe!
If you’re following the recipe exactly, and stewing the pumpkin yourself, do be sure to drain the pieces of pumpkin very thoroughly before putting them through the sieve, since you don’t want any extra moisture. I used a foley food mill rather than an actual sieve, when preparing my pumpkin, and found that it really worked well.

Can you use canned pumpkin for this recipe?
Absolutely. If you’re not looking to experience every step of this, from pumpkin to table, there’s no reason not to let yourself use canned pumpkin for this.
I do this often myself, actually. After I’ve tried a historic pumpkin recipe the authentic way, stewing or baking the pumpkin from scratch, if it’s a recipe I love enough to make often, it’s not uncommon for me to just reach for a can of pumpkin to make it easy when re-making the recipe for daily fare.
There’s a bit of a perceptible difference, since canned pumpkin is so very smooth, but it’s pretty negligible.
Please don’t skip trying a recipe like this one just because you feel it’s “all or nothing”…if you don’t have time to cook a pumpkin, by all means, grab a couple of cans!
How much sugar?
I used one cup of white sugar to one quart of milk, and 2.5 cups of stewed pumpkin, for a half batch of this recipe. I based that on referencing other 1800’s pumpkin pie recipes, some of which called for a little more sweetening than this, and many of which called for a little less. Many indicated that since some pumpkins are sweeter than others, personal taste really must be the guide.
I felt that one cup for a half-batch was just about perfect, and plenty sweet enough. It’s still less sweet than many modern pumpkin pie recipes, though, so if you love a very sweet pumpkin pie, you could bump that up a little.
The salt and spices
I used half a teaspoon of salt, for a half-batch of this recipe. For spices, I used two teaspoons of cinnamon, and ¼ teaspoon of ginger. That’s much less ginger than I usually put in a pumpkin pie, but it did allow the pumpkin flavor to really shine through. The recipe allows so much scope for personal taste with making this!
Next time around, I’ll be trying the lemon peel, but in the future when I use ginger and cinnamon, I’ll probably opt for my usual heaping teaspoon of ginger and two teaspoons of cinnamon. I really do love a spicy pumpkin pie!
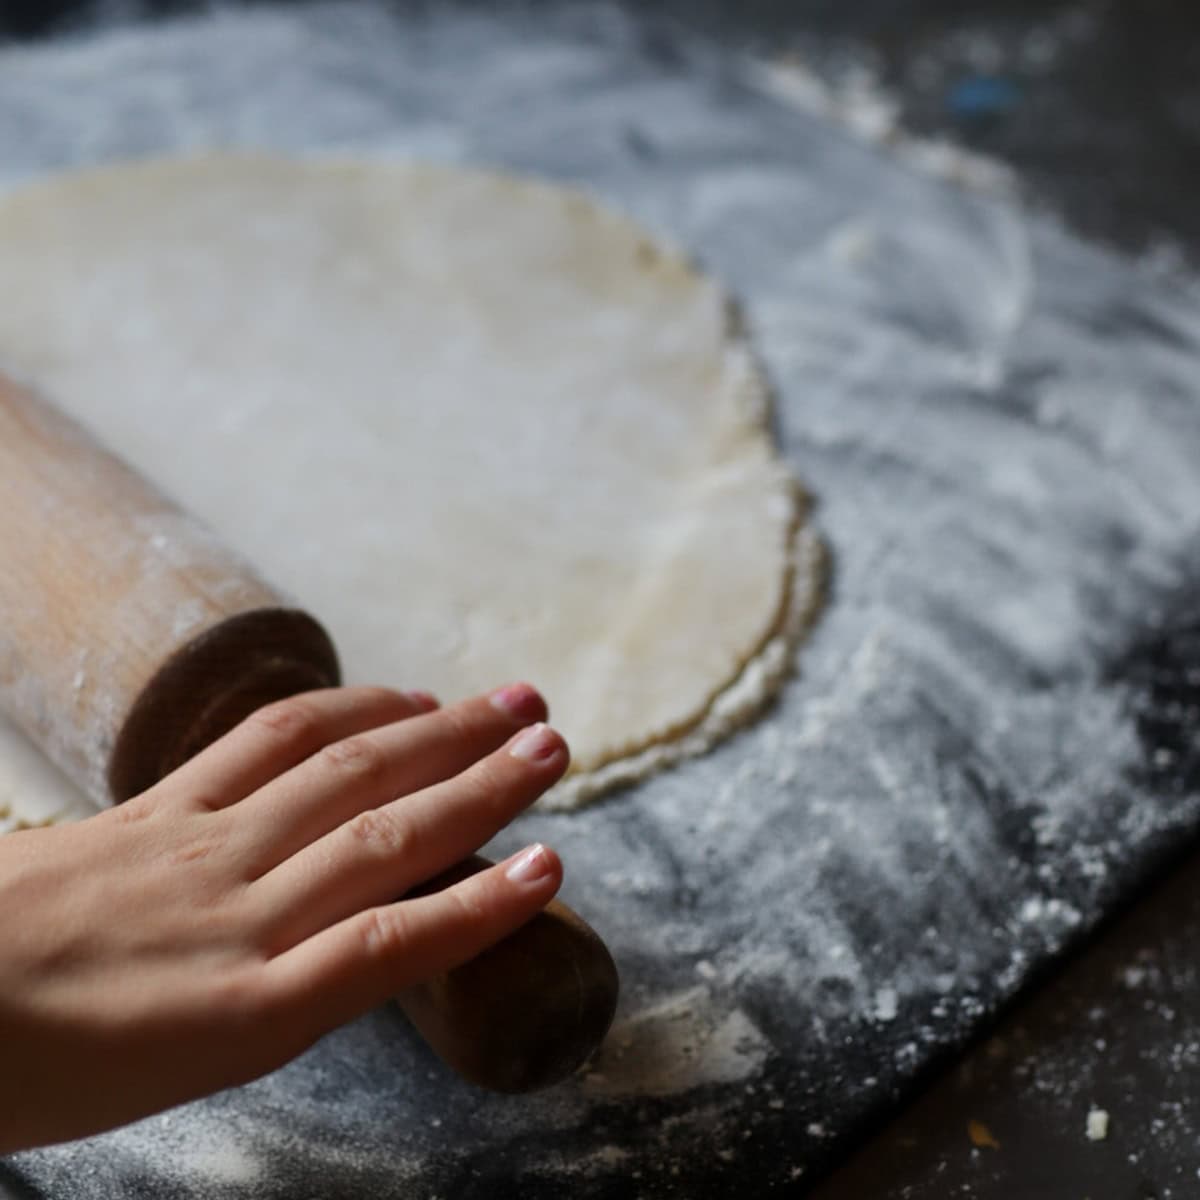
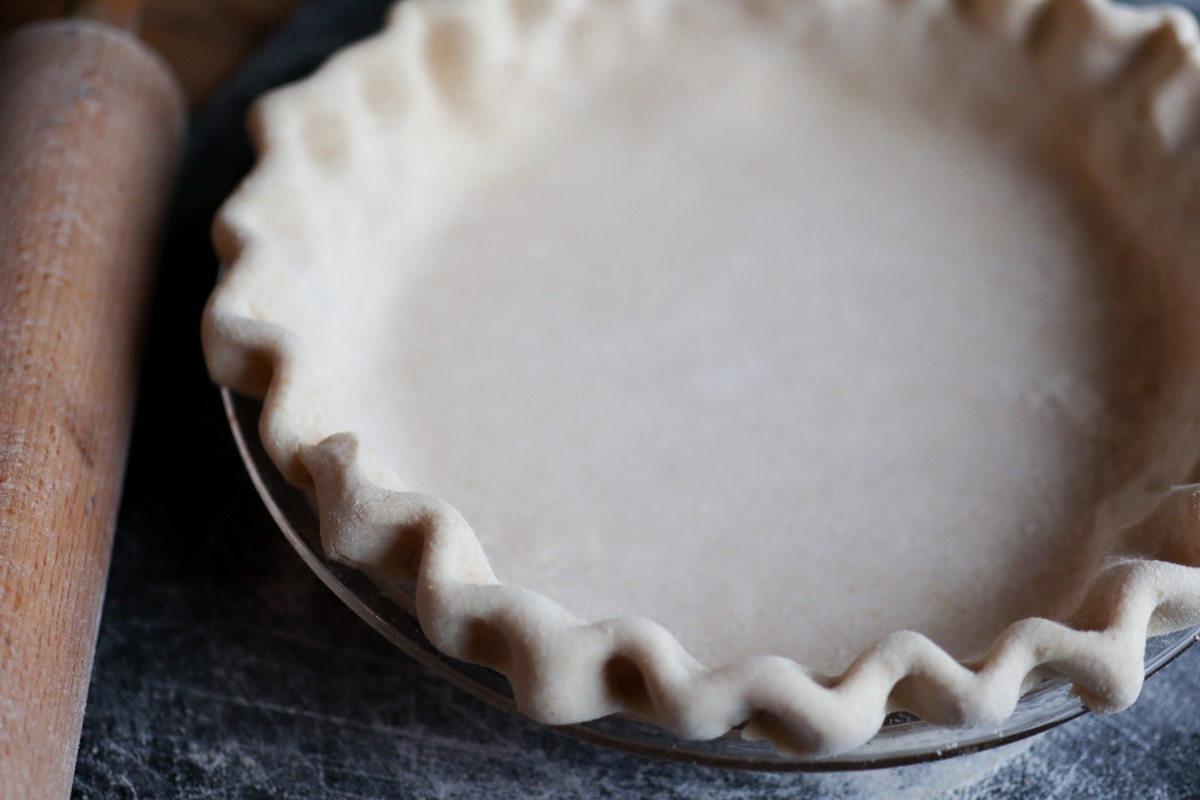
What kind of crust to use?
I used this Family Pie Paste, from 1873. It’s my usual go-to crust recipe, and works well for both sweet and savory pies.
Baking the pie
Pumpkin pies were generally baked fairly hot if they were being baked by themselves, hotter than an apple pie or other fruit pie. I find that 370° works well, if you want to keep the oven at the same temperature for the entire baking time.
For a deep 9″ pie, it will take nearly an hour to bake, or perhaps a little more. If you’re finding that your crust is getting a little dark, it’s ok to lower the oven to 350°, for the last half of the baking time. You can also cover that crust with a strip of foil, if you’re concerned about it getting too dark…you can tell that mine got a just a little darker than would have been ideal. Cheap notepaper is what they used in the 1800’s, for covering a crust to prevent over-darkening, if they felt it was necessary.
Modern recipes say that a pumpkin pie is done when a knife inserted in the center comes out clean, and you can certainly do this.
If you’ve made pumpkin pie before though, you’ll know what I mean when I say that you can tell a pumpkin pie is done, but giving it a little jiggle. If the center is well set, and doesn’t jiggle differently than the areas closer to the crust, the pie is done.
Serving this pumpkin pie
If you really want to be authentic, serve this at room temperature, at least a few hours after it’s made. A pumpkin pie often would have been prepared the day before it was wanted, which really is as convenient today as it was then. Nothing like getting some of the baking out of the way before that turkey needs to go in!
If you’d like to buck tradition and enjoy your pie warm, this is one of those pies that’s much better when it’s been allowed to cool and set, before you re-warm and serve it, rather than freshly warm from being just baked.
One week until Thanksgiving my dear friends. Hard to believe it’s already upon us, but my heart is so ready. Lots to be thankful for this year.
I hope the holiday magic is starting to find you, and if there are any historic recipes you’d like to make for the holidays, but you haven’t seen here yet, shoot me a line. I’ll try to see what I can do!
Until next time, ~ Anna
This recipe was originally shared in the 1800’s Housewife newsletter. Not on the mailing list? You can join here to receive full recipes with cooking notes straight to your inbox!
📖 Recipe

Ingredients
- 2.5 cups stewed pumpkin pureed
- 1 cup granulated sugar
- 1 quart milk scalded
- 4 eggs
- 1 teaspoon ginger
- 2 teaspoon cinnamon
- 1 pie crust for single-crust pie
Instructions
- (Modern directions for half-batch of original recipe)
- preheat oven to 370℉
- Stir pureed pumpkin into scalded milk. Gently whisk in eggs.
- Stir in sugar and spices until thoroughly mixed.
- Pour filling into prepared pie plate, lined with single bottom crust.
- Bake until center is fully set, and crust is golden brown. About 1 hour, or a little more.
- Cool before slicing and serving.
Notes
The New England Economical Housekeeper, 1845
Nutrition
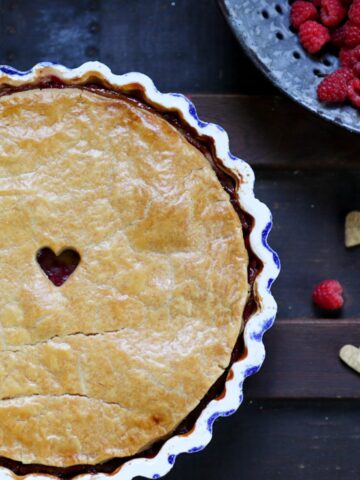
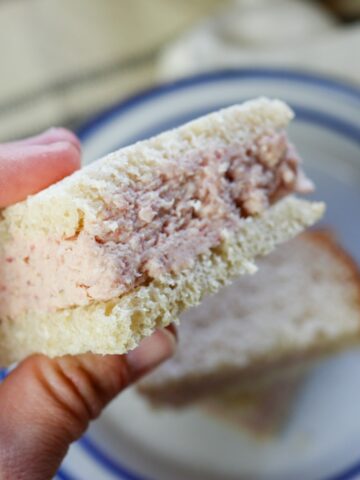
If you liked this recipe, here are some others you may enjoy:


Comments
No Comments