
All of the 1800s recipes for yeast call for using some of a previous batch of yeast. But what if you didn’t have any? Here are directions from 1885 for getting that first yeast going, and it’s very easy!
Dear friends,
It’s soccer season once again, and this year the kids’ weekend game schedule has us at the field from 8:30am to 2pm every Saturday. Needless to say, gallons of water and bushels of snacks are requisite for making it through the day!
I had the idea that I’d love to show up with homemade donuts for the teams next weekend, but–if one is going to make doughnuts, why not do it right and make them from an 1800’s recipe?
However, to make authentic 1800’s raised doughnuts, one needs a lively batch of yeast, and I tossed mine out with the bucket of chicken scraps, back at the beginning of summer. (In hot weather, I would rather grill in the rain than turn on the oven and bake. A terrible confession for someone who spends as much time as I do immersed in 1800’s homemaking advice, I know.)
All this to say, I need to get a nice yeast going again.
Funny thing about yeast recipes from the 1800’s. Most call for potatoes or hops, but virtually ALL of them call for…”a cup of yeast”. It is assumed that when you’re making yeast, you’ve either saved, borrowed, or bought, some already-existing yeast to get it going.
So what was a person to do if they had no old yeast?
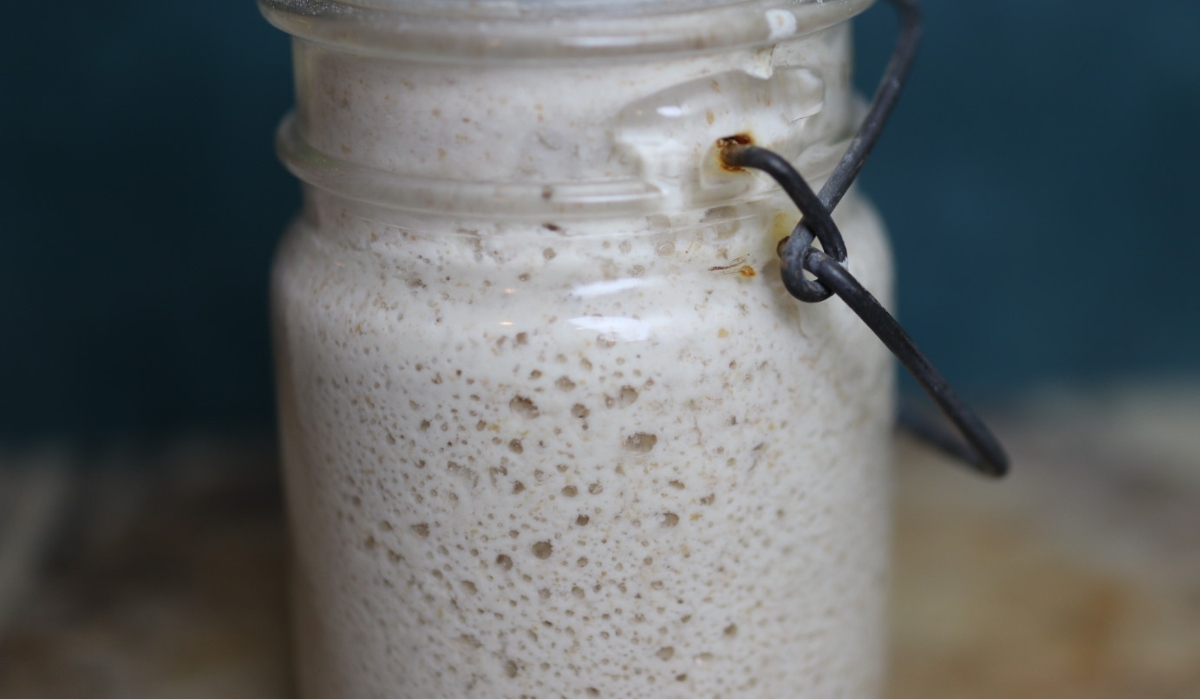
Mrs. Lincoln talks about this very dilemma in her 1885 Boston Cook Book, and the answer was to make a “ferment” with flour and water, then use twice as much of this as usual, in whatever yeast recipe you’re making.
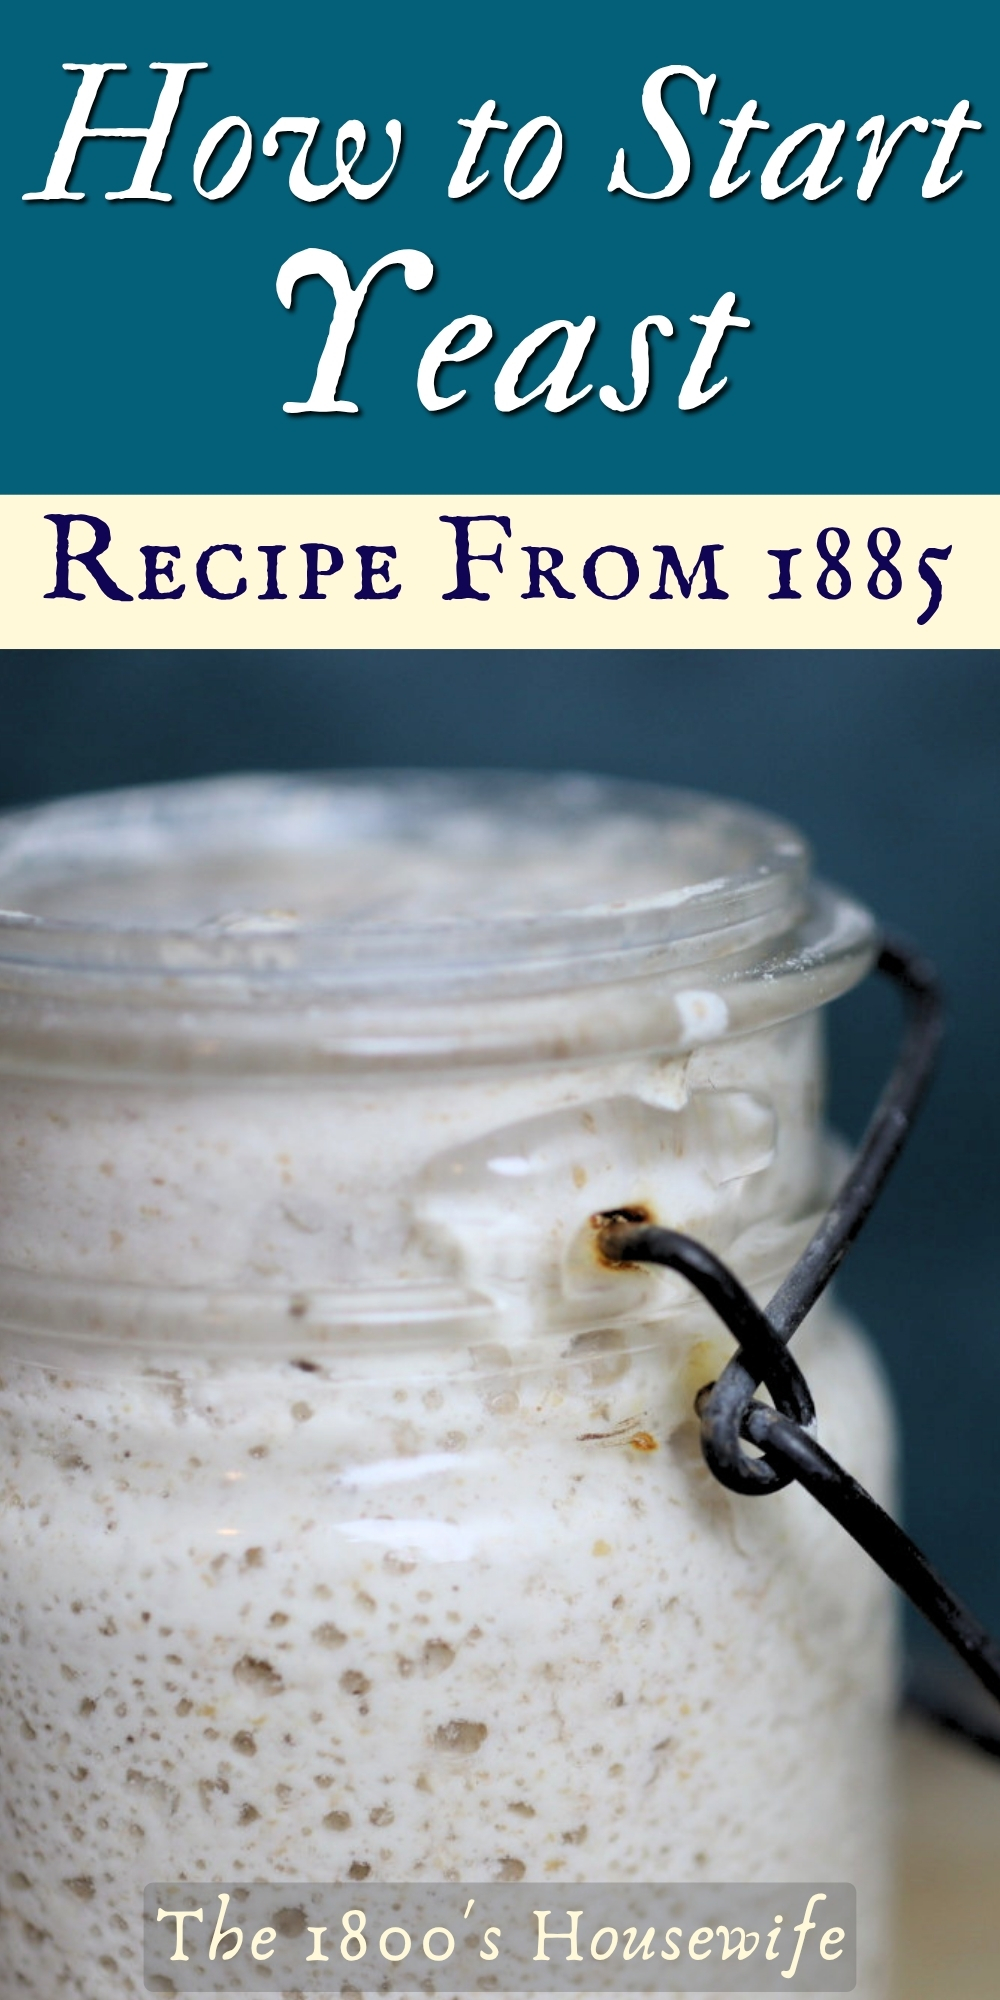
If, like me, you’re starting from scratch–this is step one for getting ready to make 1800’s breads, doughnuts, raised muffins, and many types of “loaf cake”. It’s easy, only takes a day or two, and once you see those bubbles start to form–it kind of feels like making magic.
Doughnuts, breads, and raised cakes, here we come!
~ Anna
Mrs. Lincoln’s Boston Cook Book, 1885
TO START YEAST
“Simply make a thin batter with flour and water, and let it sand in a warm place till it ferments, and is full of bubbles. A pint of this ferment is equal to one cup of old yeast in starting the new.”
Here’s a photo of the recipe as it appears in the book:
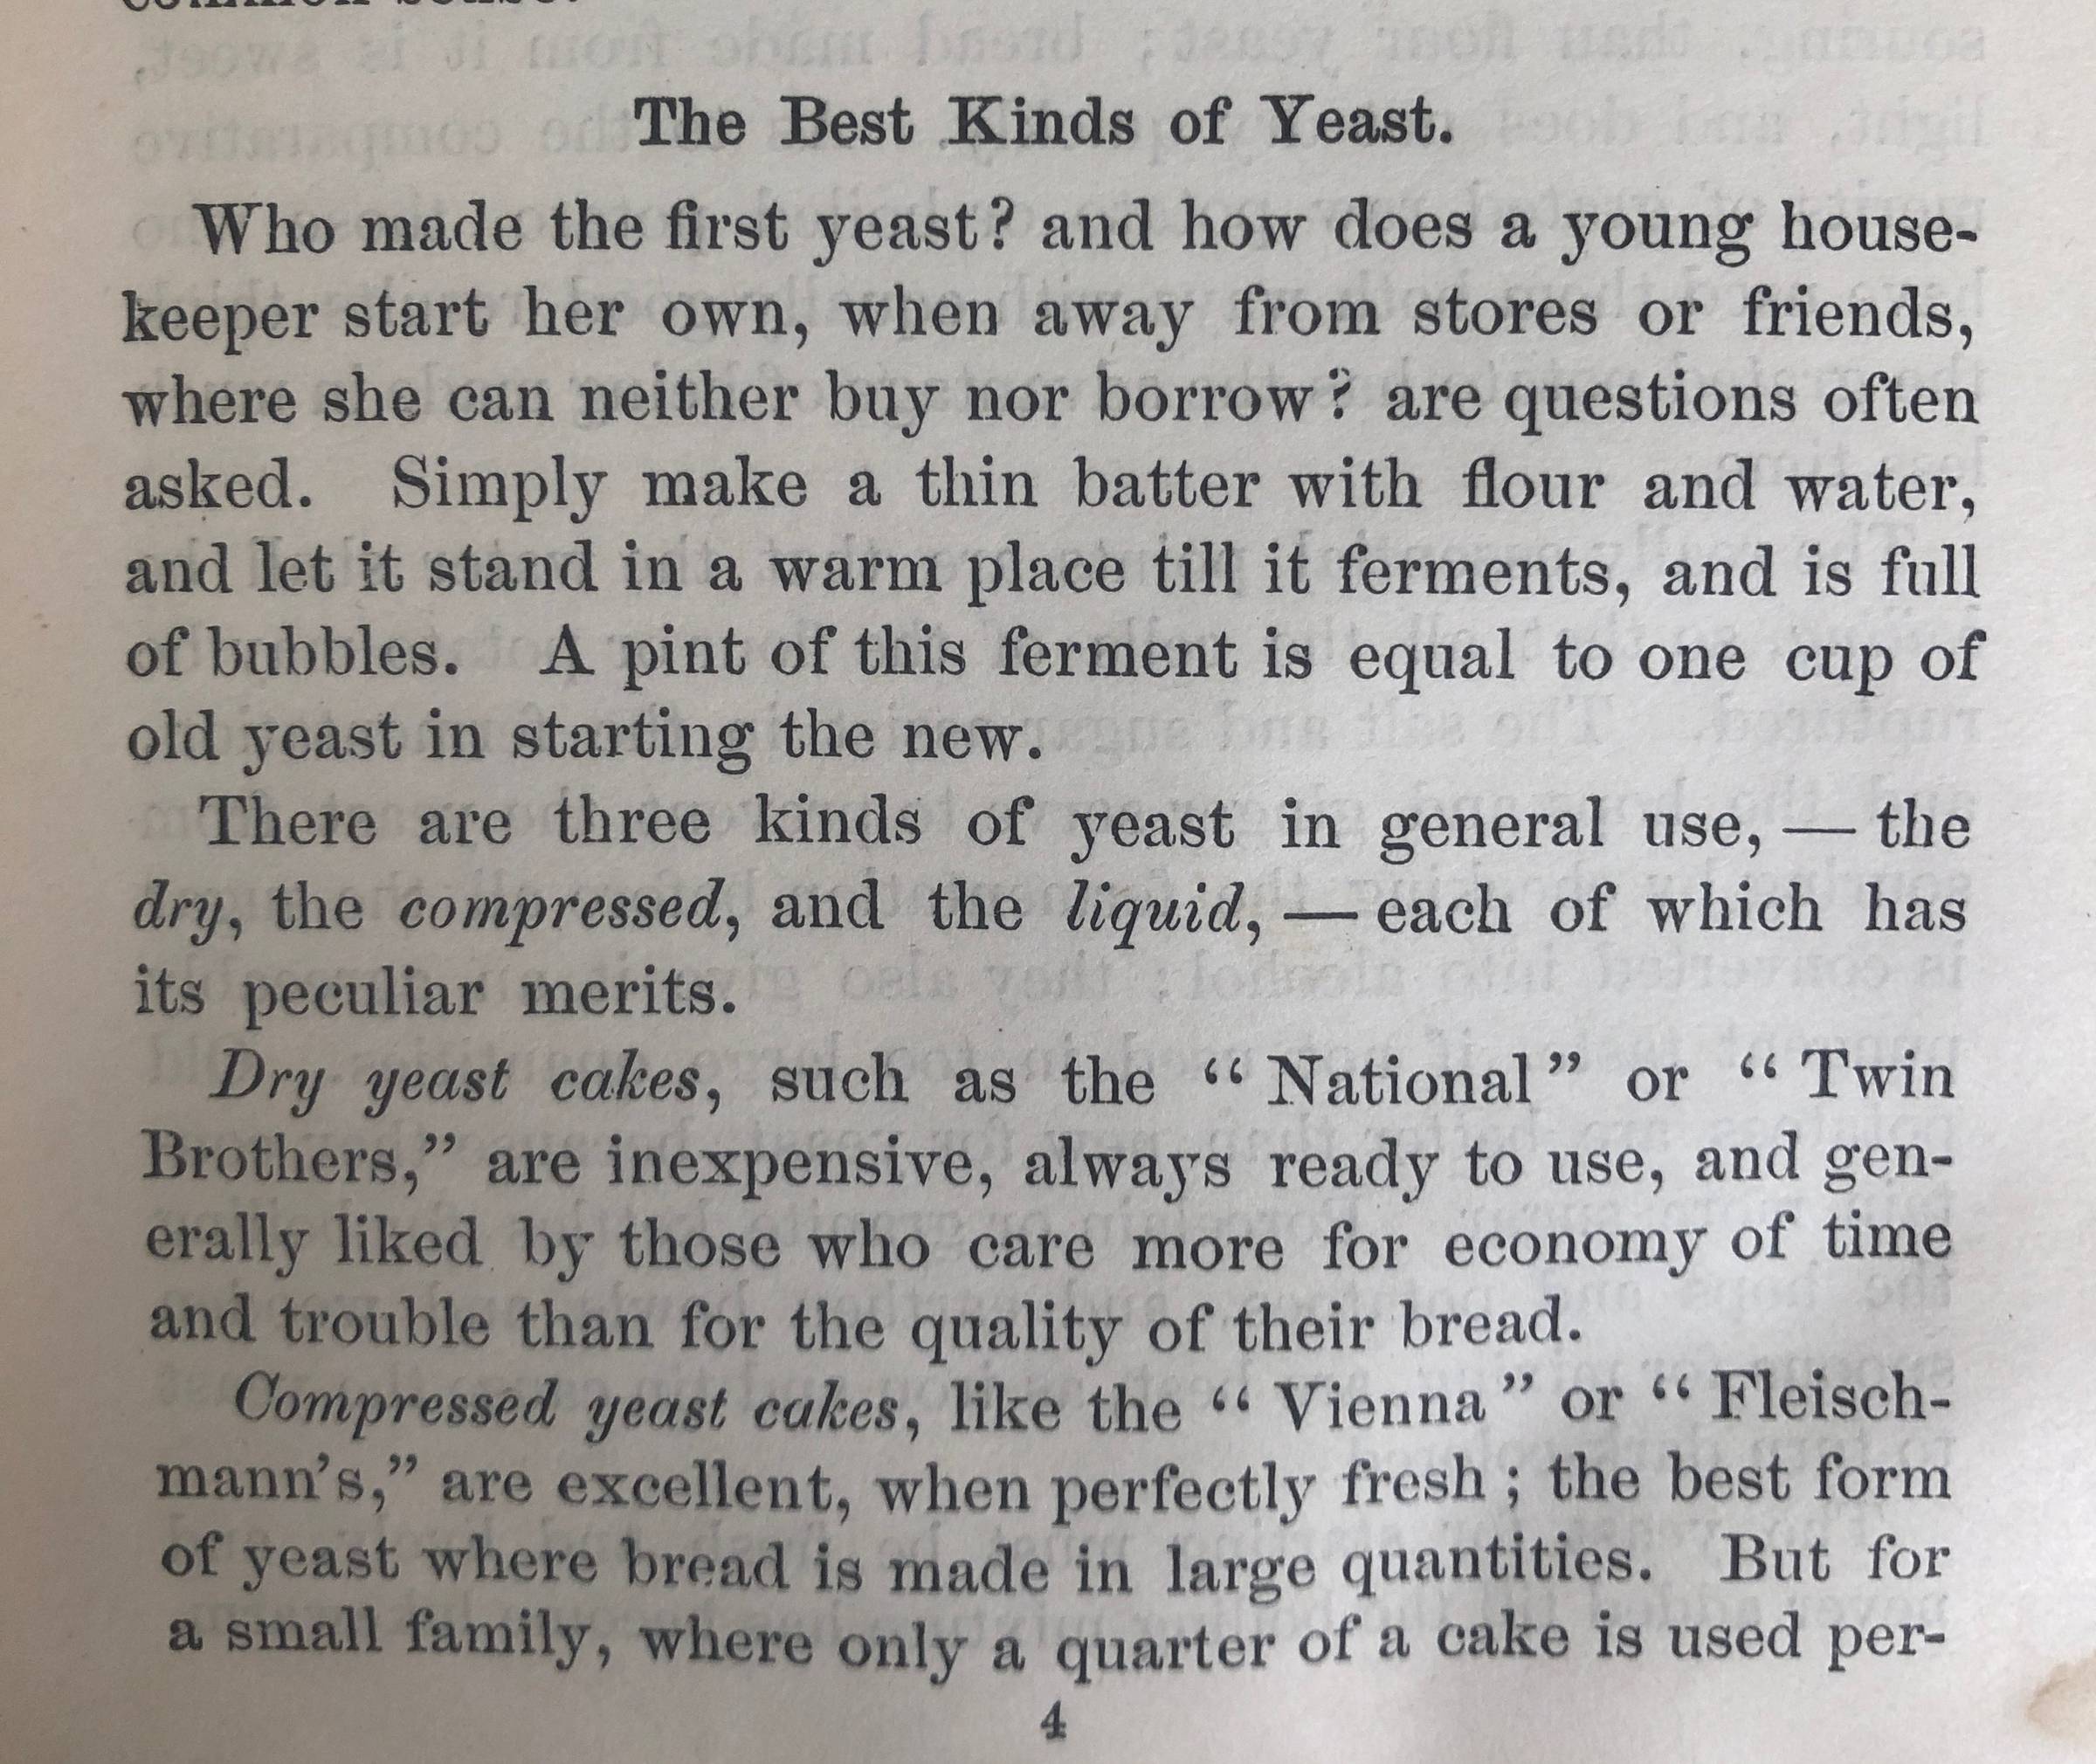
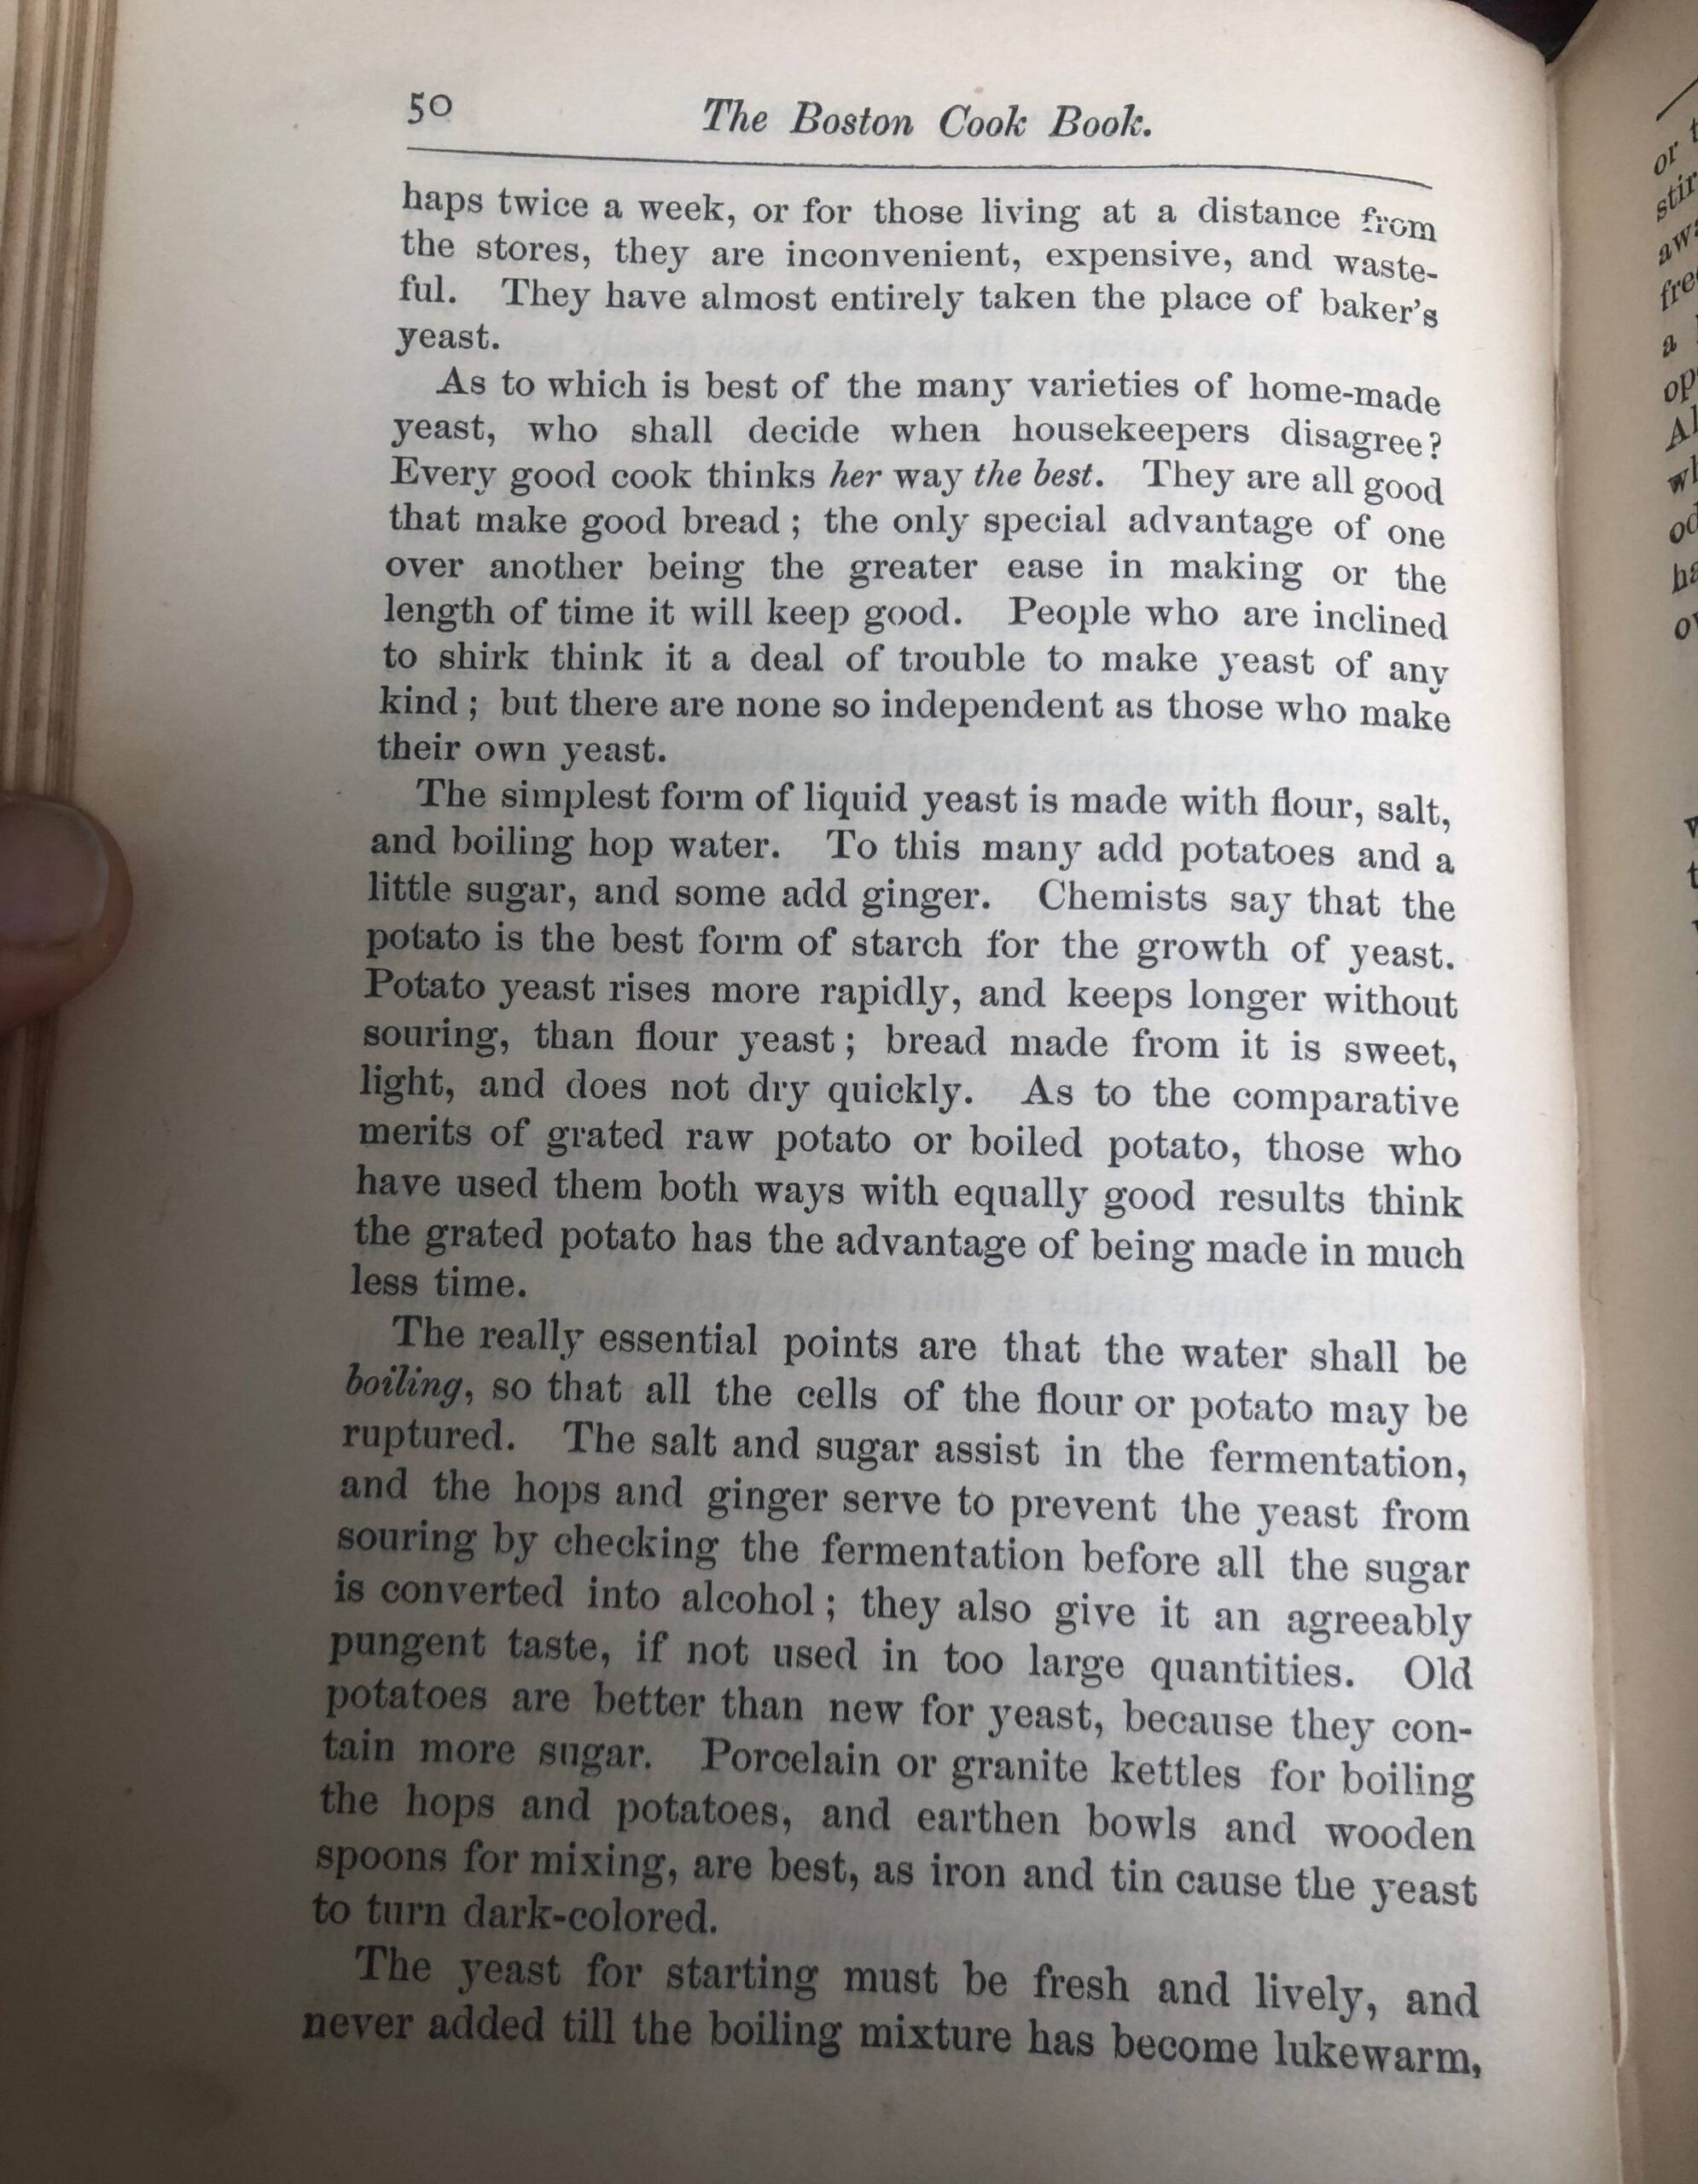
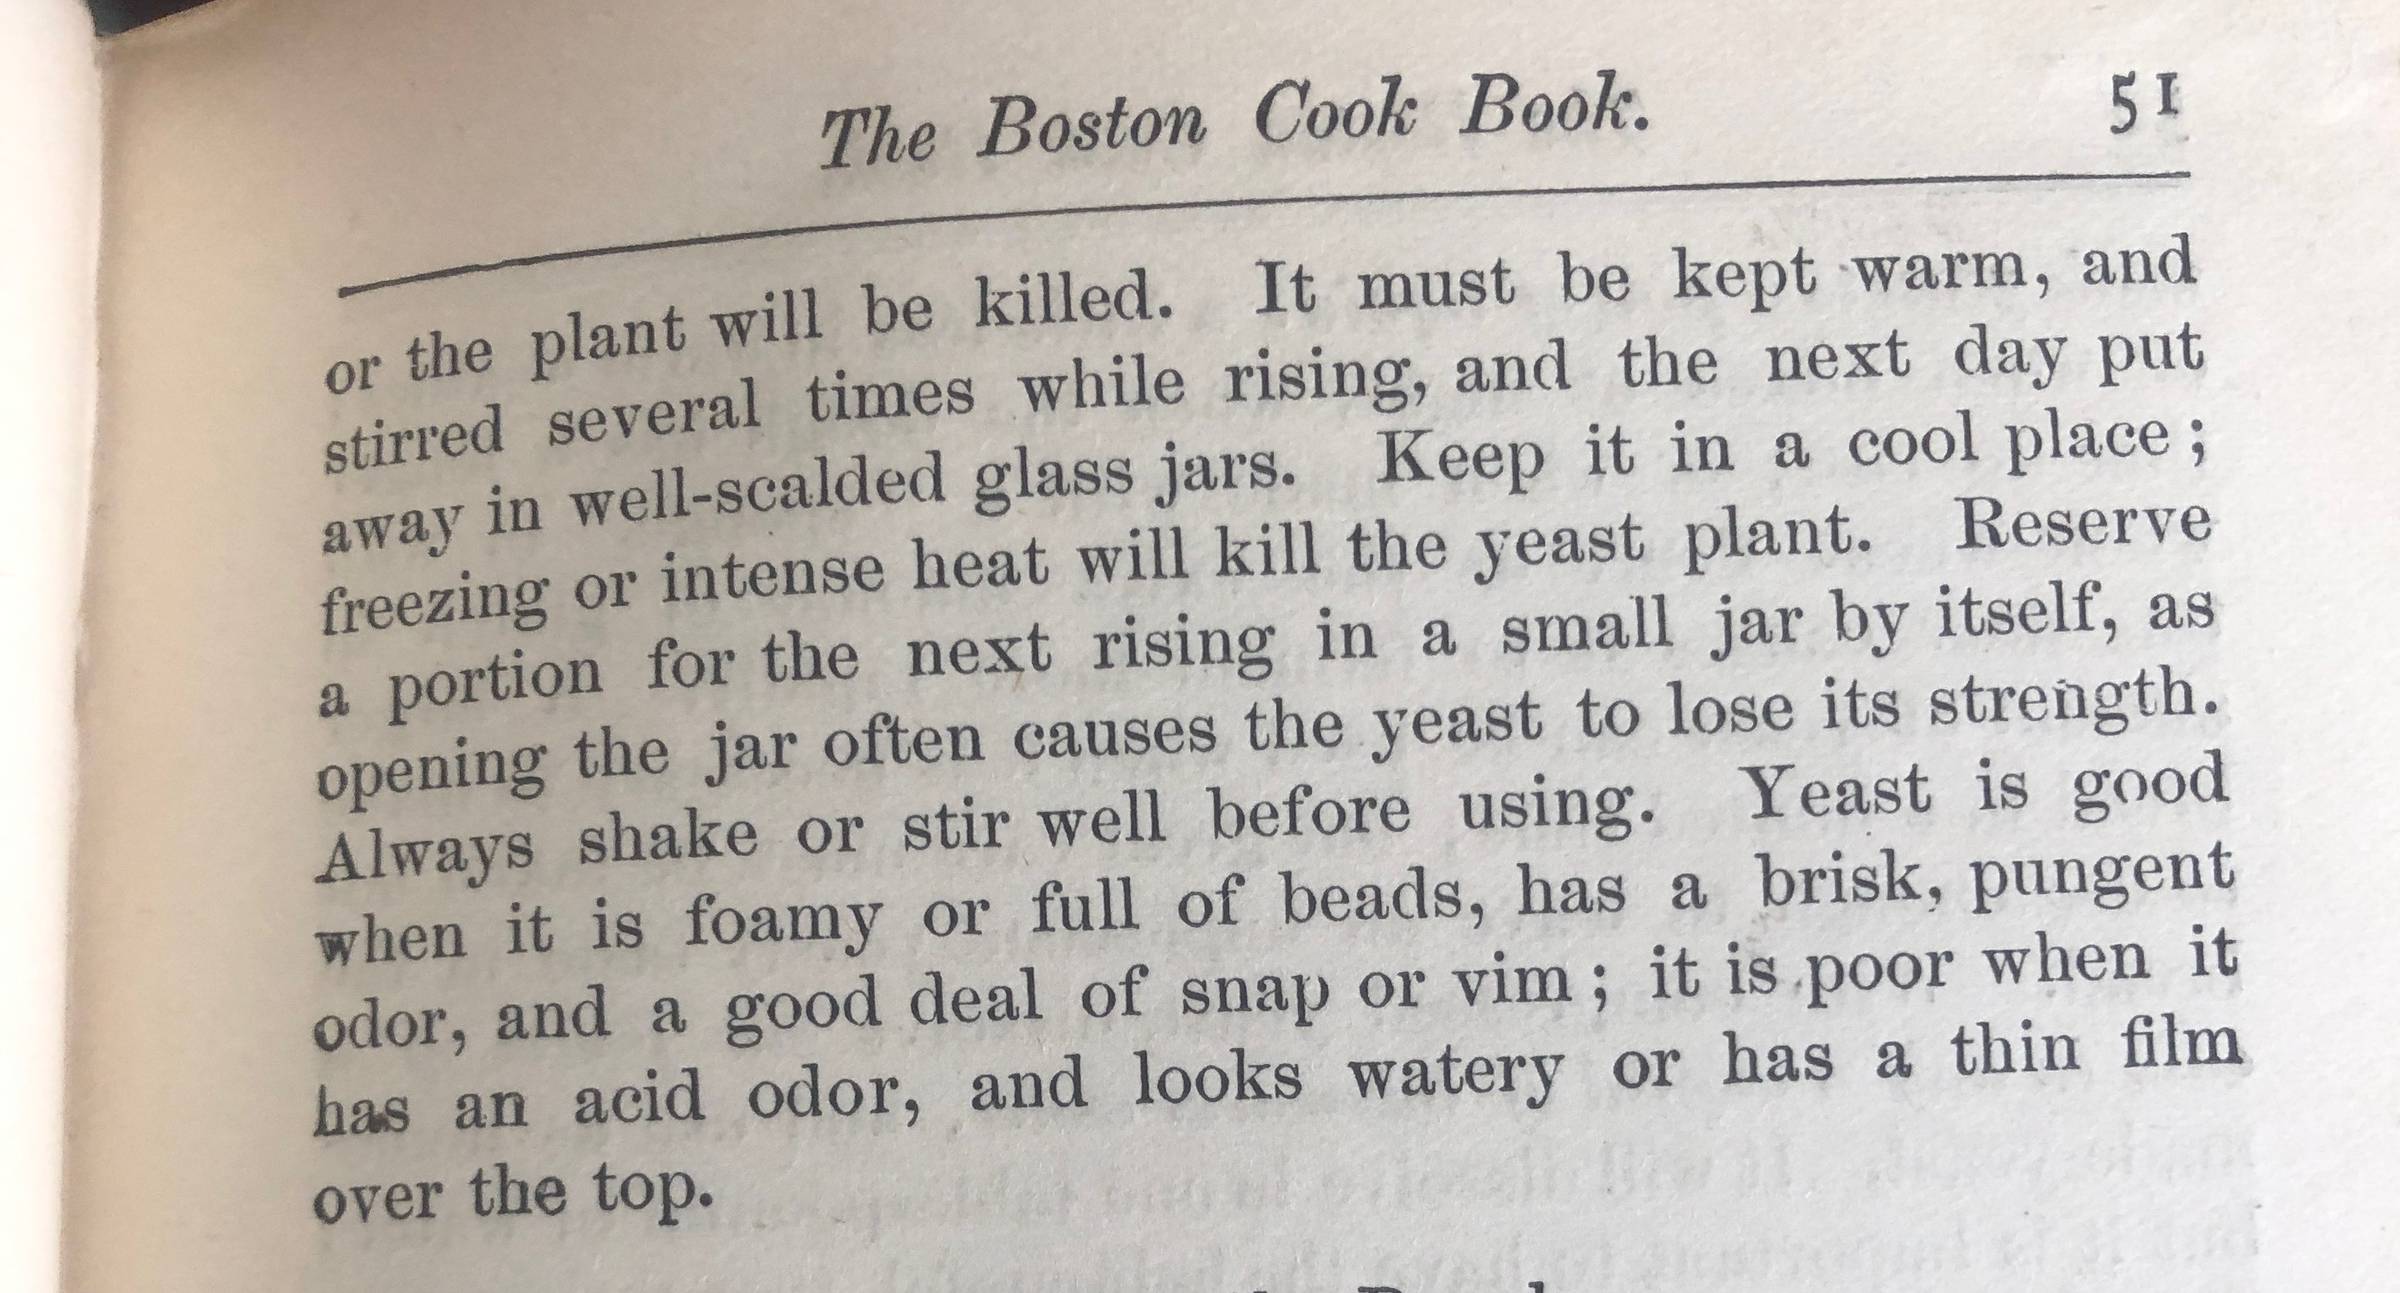
I thought I’d include all three pages of her section on yeast, since you might find it as interesting as I do!
This line especially jumped out to me:
“People who are inclined to shirk think it a deal of trouble to make yeast of any kind; but there are none so independent as those who make their own yeast.” ~ Mrs. D. A. Lincoln

A few cooking notes:
I’ve followed these directions for starting yeast from scratch quite a few times now, at all times of the year. Here are a few things I’ve noticed.
What kind of flour to use
I find that freshly milled flour seems to get “lively” faster than something like King Arthur off the grocery shelves. That said, almost any unbleached flour is going to give you perfectly fine results.
How much flour and water?
To have enough of this starter to use in most yeast recipes, you want to end up with at least a cup. I like to put about ½ of unbleached flour in a pint jar, then mix in warm water until it’s like a thin pancake batter.
It’s really impossible to give an exact amount on the water, since flours can vary so greatly in the amount of water they absorb. It’s ok for this to not be an exact science, and just add water until it’s a just a nice thin batter that would feel too “runny” if you were making pancakes with it.
How warm is a “warm place”?
I’ve found that 80-90 degrees really works well, for helping that ferment to get going nicely. That said, even at 70 degrees, this will eventually get started, it will just take a little longer.
If your house is cold, setting the jar on a seedling mat can be a great way to generate just enough gentle warmth!
How long does this take?
I find that with a nice steady warmth, this generally is lively enough to use in a yeast recipe in anywhere from 12-36 hours. Yes, that’s a quite a range of time, I know. Warmth, flour quality, and natural yeasts present in the air and flour will all play a role. It’s a good idea to start this slurry a day or two before you want to make up your yeast recipe.
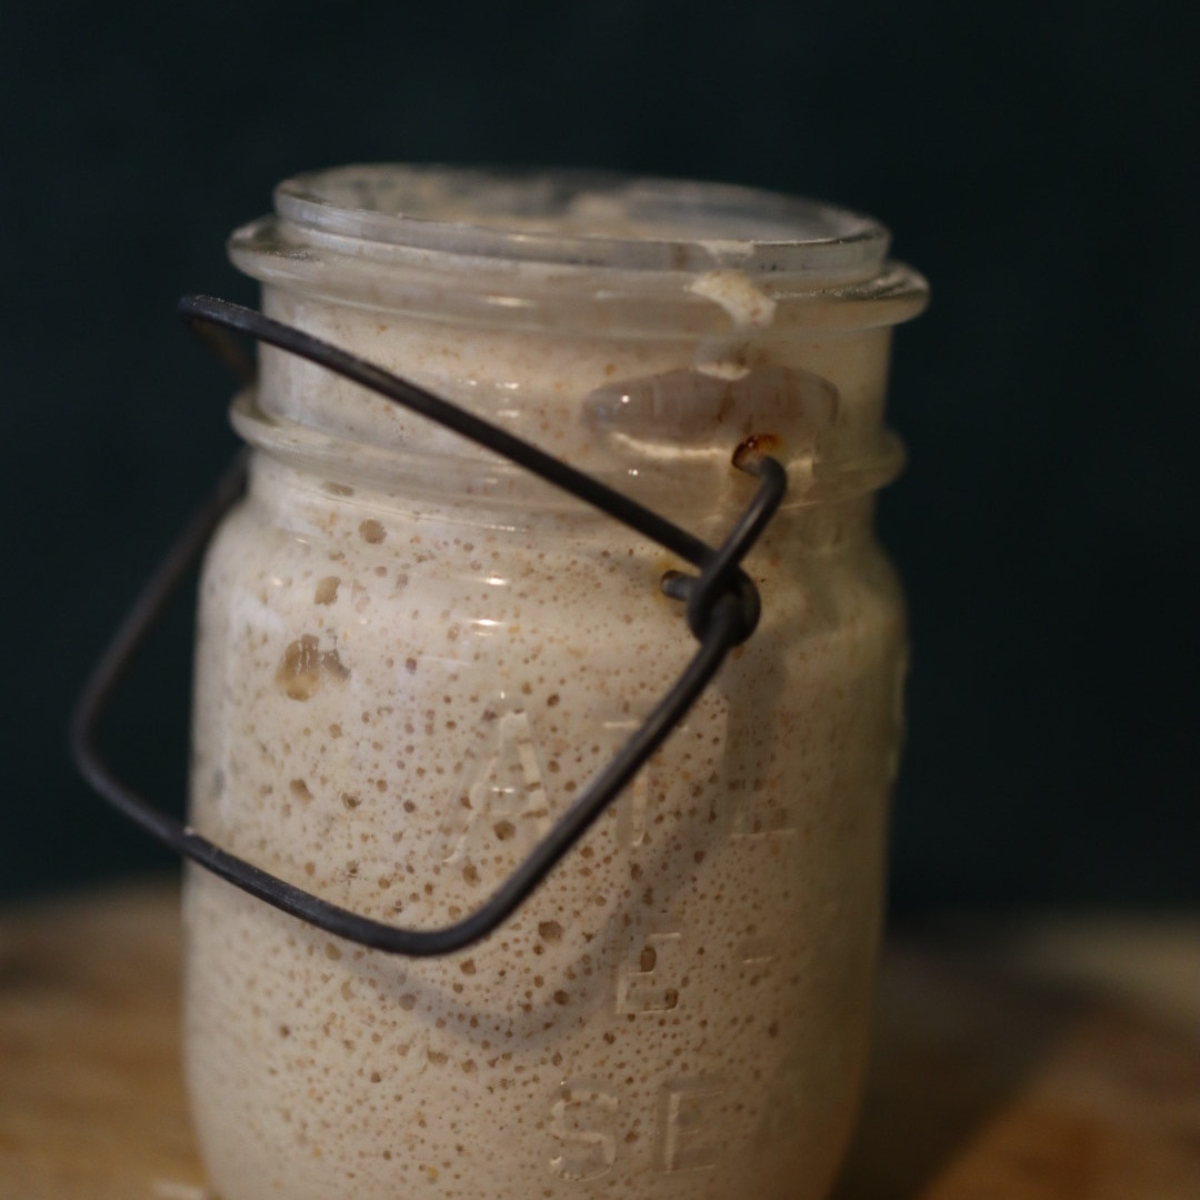
Now that we’ve got a nice ferment in the works, the next step will be to make a proper batch of yeast! First we’ll make a hop yeast, then a potato yeast that doesn’t require hops. For something as “simple” as yeast, there are quite a few different recipes for it, and they all have different character and qualities!
Until next time, ~ Anna
Some 1800s recipes you might enjoy:
- Maine Manuscript Cook Book (mid-late 1800s)
- Pumpkin Pie (1845)
- A Weekly Meal Plan (1885)
- New Year’s Cakes (1871)
- Huckleberry Cake (1871)
- Potato Soup (1892)
- Peach Tapioca Pudding (1876)
- Peach Butter (1892)
- Raspberry Cordial (1838)
- Vanilla Ice Cream (1881)
- Mrs. Rundell’s Raspberry Jam (1859)
- Quick Sally Lunn (1892)
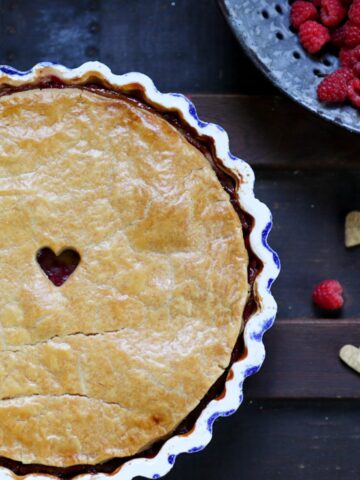
- Raspberry Tart With Cream (1856)
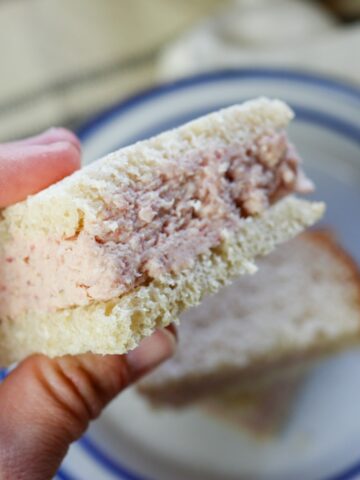
- Ham Sandwiches (1887)
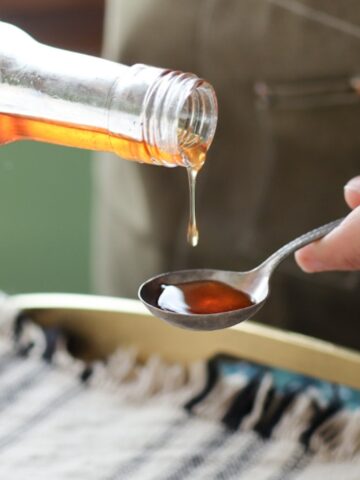
- Syrup for a Cough (1868)
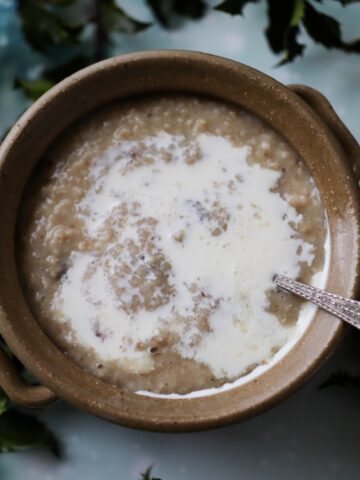
- Oatmeal (1883)

Pin for later:
Holly B says
Hi Anna!
I just wanted to let you know that I’m really enjoying these recipes and the recipe inserts from these 1800’s cookbooks. I have been drawn to this era, prior to the “Industrial Food Revolution” to a time of simplicity of ingredients. It really is amazing the types of food that were standard fare and that currently show no place at our tables and how this has effected our health as a collective.
Please keep sharing.