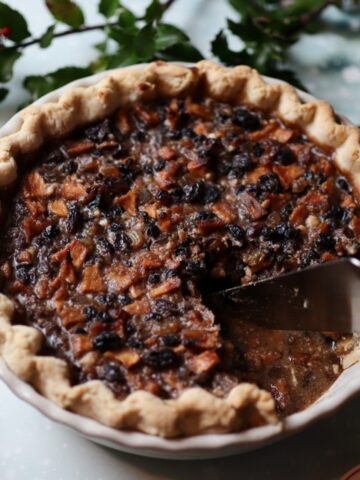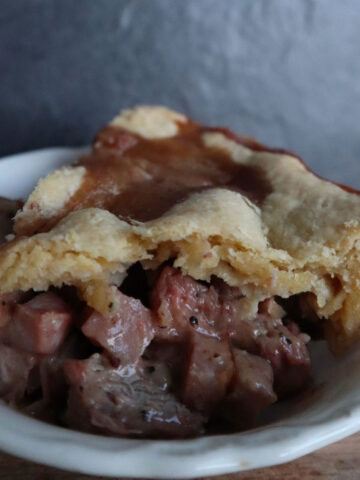

If you only try one 1800’s recipe this Thanksgiving, I’d suggest it be this apple pie from 1845!

Dear friends ~
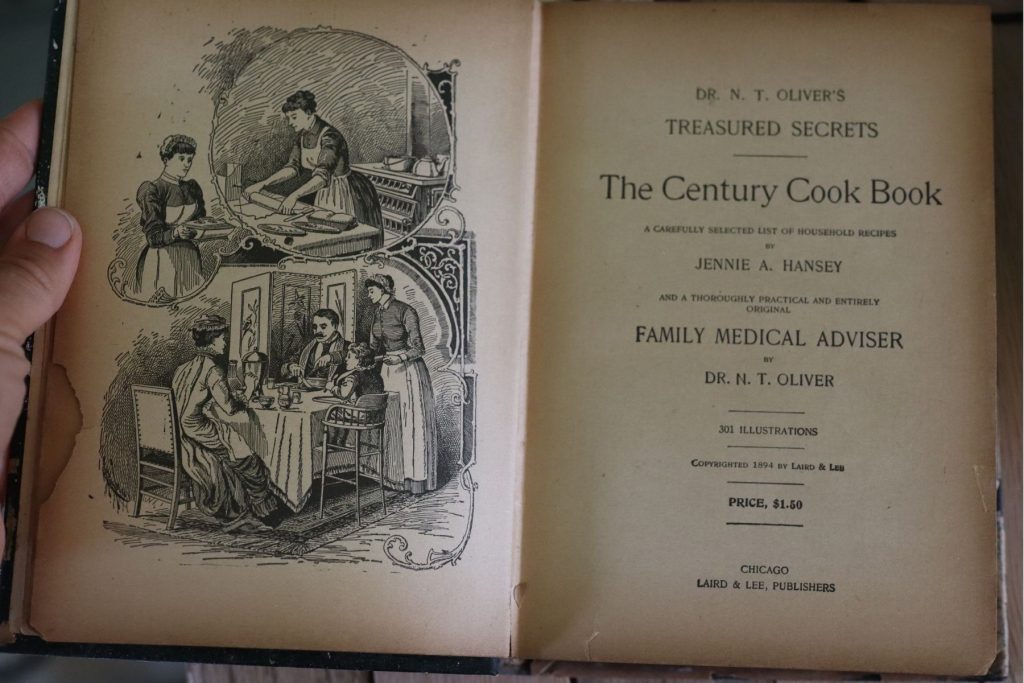
This apple pie recipe is from an 1845 cook book called The New England Economical Housekeeper.
It’s one of the cook books that lists a suggested menu for Thanksgiving Day, which I shared in a recent newsletter. (You can find those menus from 1845 and 1887 here.)
Now, I’ve never in my life put molasses into an apple pie, and let me tell you, it did give me pause. However, the result was flavorful, comforting, perfection.
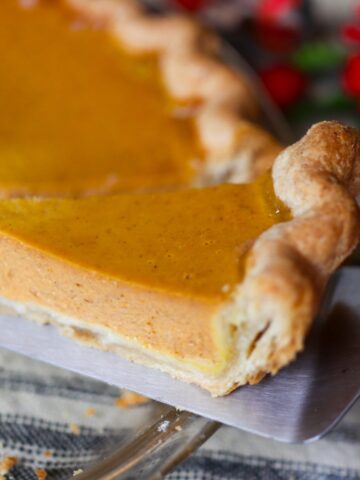
It’s probably worth saying that apple pie has never really been my thing. If you turned me loose with the Thanksgiving dessert sideboard, and a miraculously endless appetite, those mince and pumpkin pies would be history before I’d ever bother touching the apple pie. Unless it was THIS apple pie.
The flavor of this pie, with the grounding earthiness of the molasses, is just different…delightfully different.
If you’re looking for a holiday recipe that’s comfortingly familiar, while still being unique enough to wow your friends with a noticeably “un-modern” flavor profile, this apple pie recipe would be a perfect choice. Hope you enjoy it as much as I do!
~ Anna

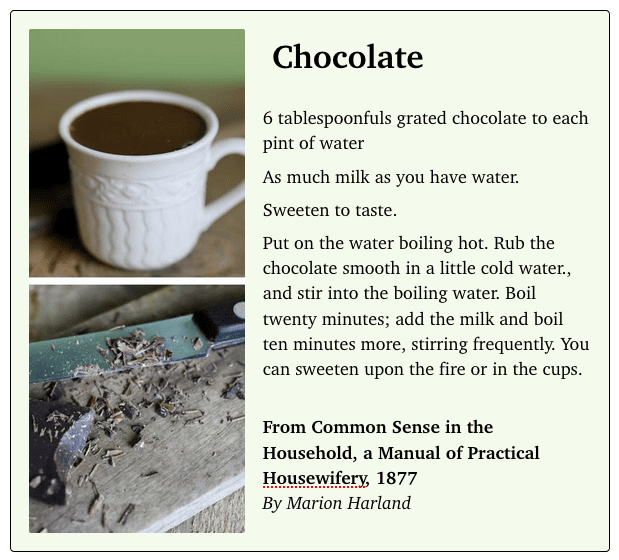
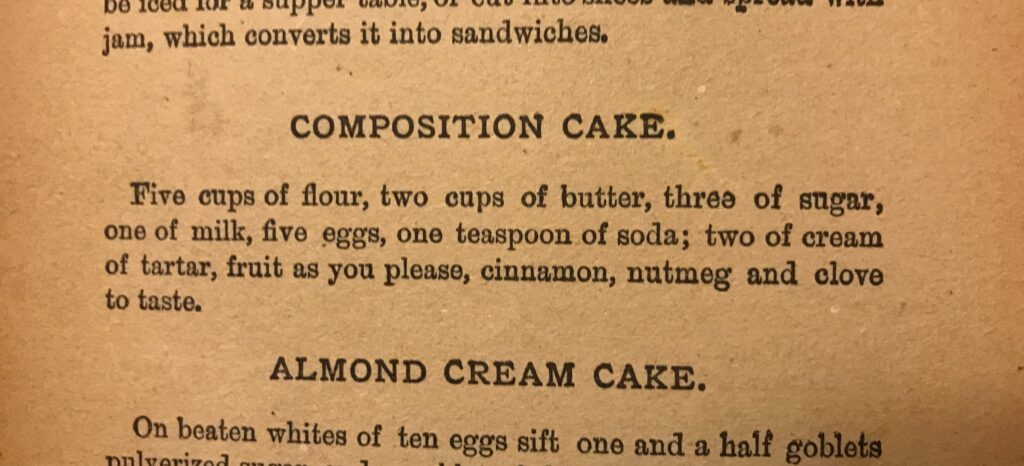
The New England Economical Housekeeper, 1845
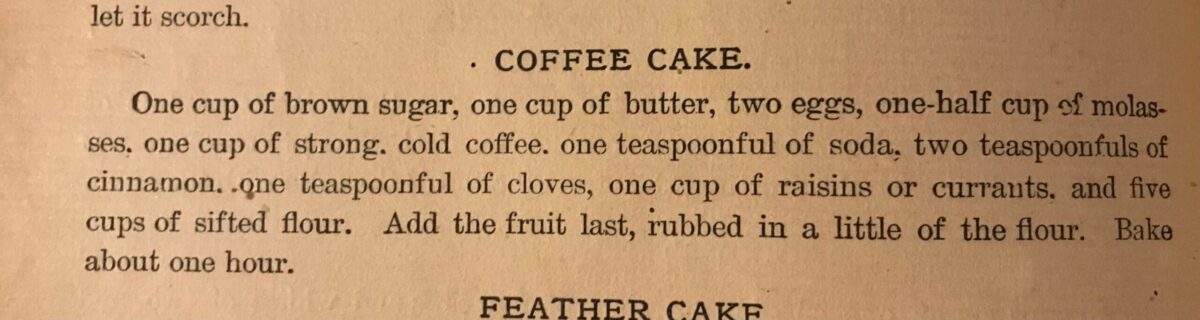
APPLE PIE
Peel the apples, slice them thin, pour a little molasses, and sprinkle some sugar over them; grate on some lemon-peel, or nutmeg. If you wish to make them richer, put a little butter on the top.
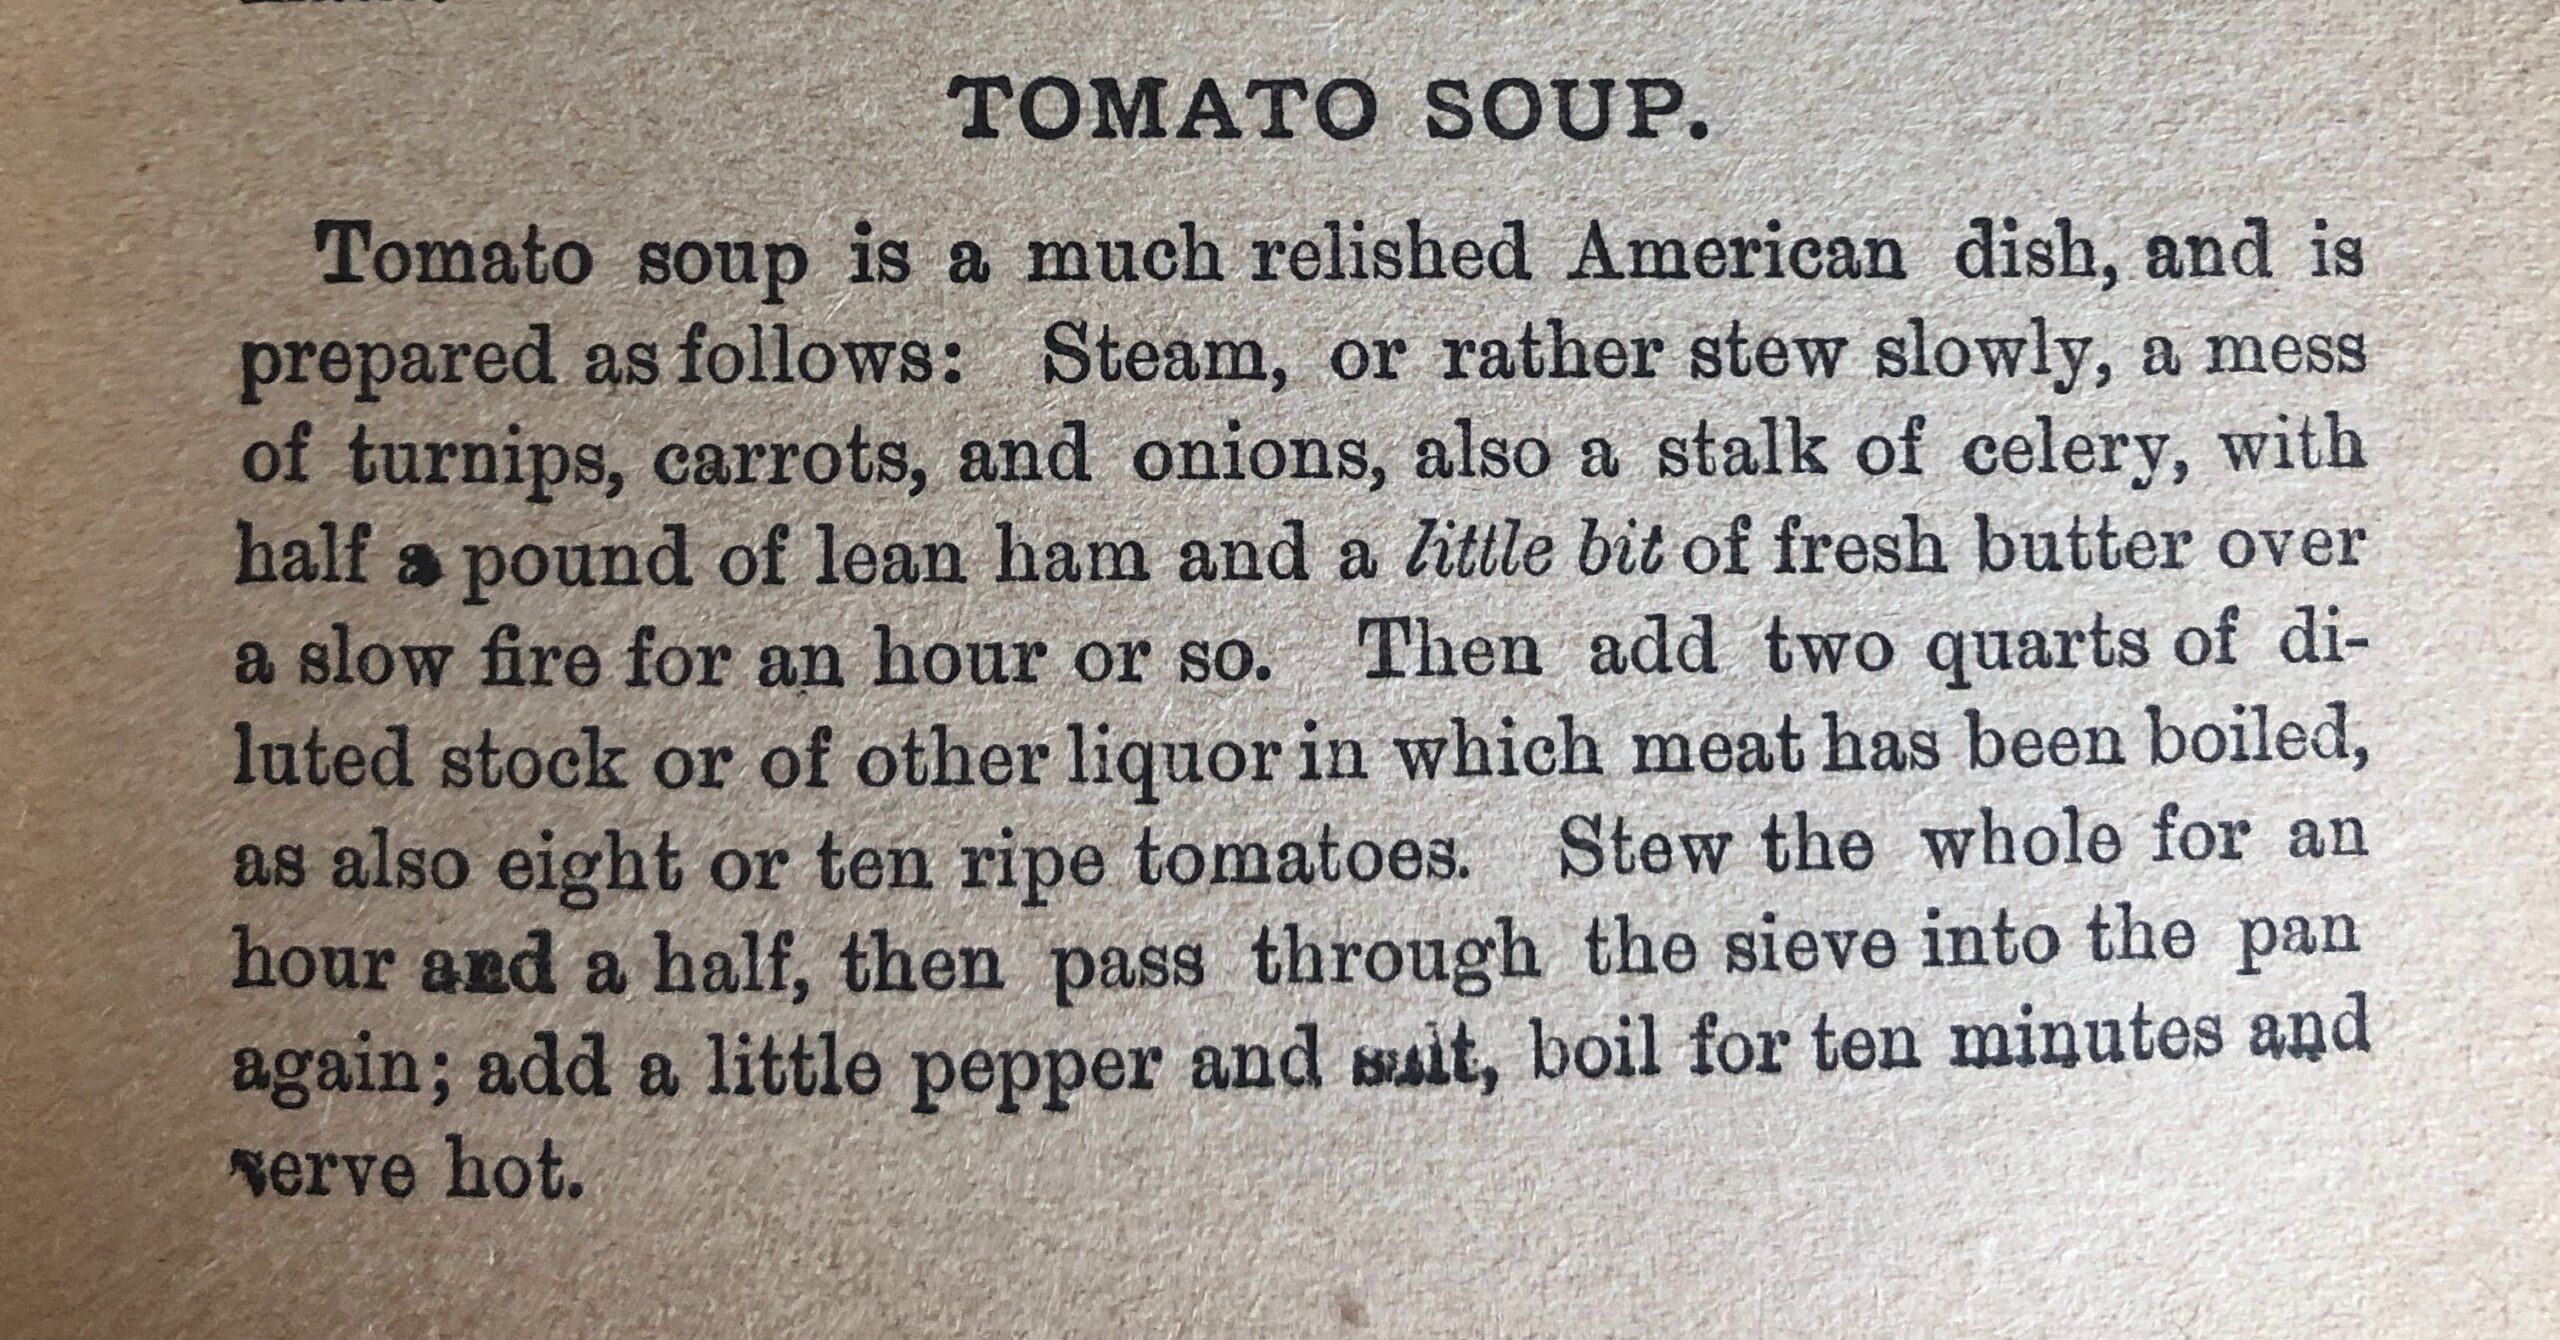
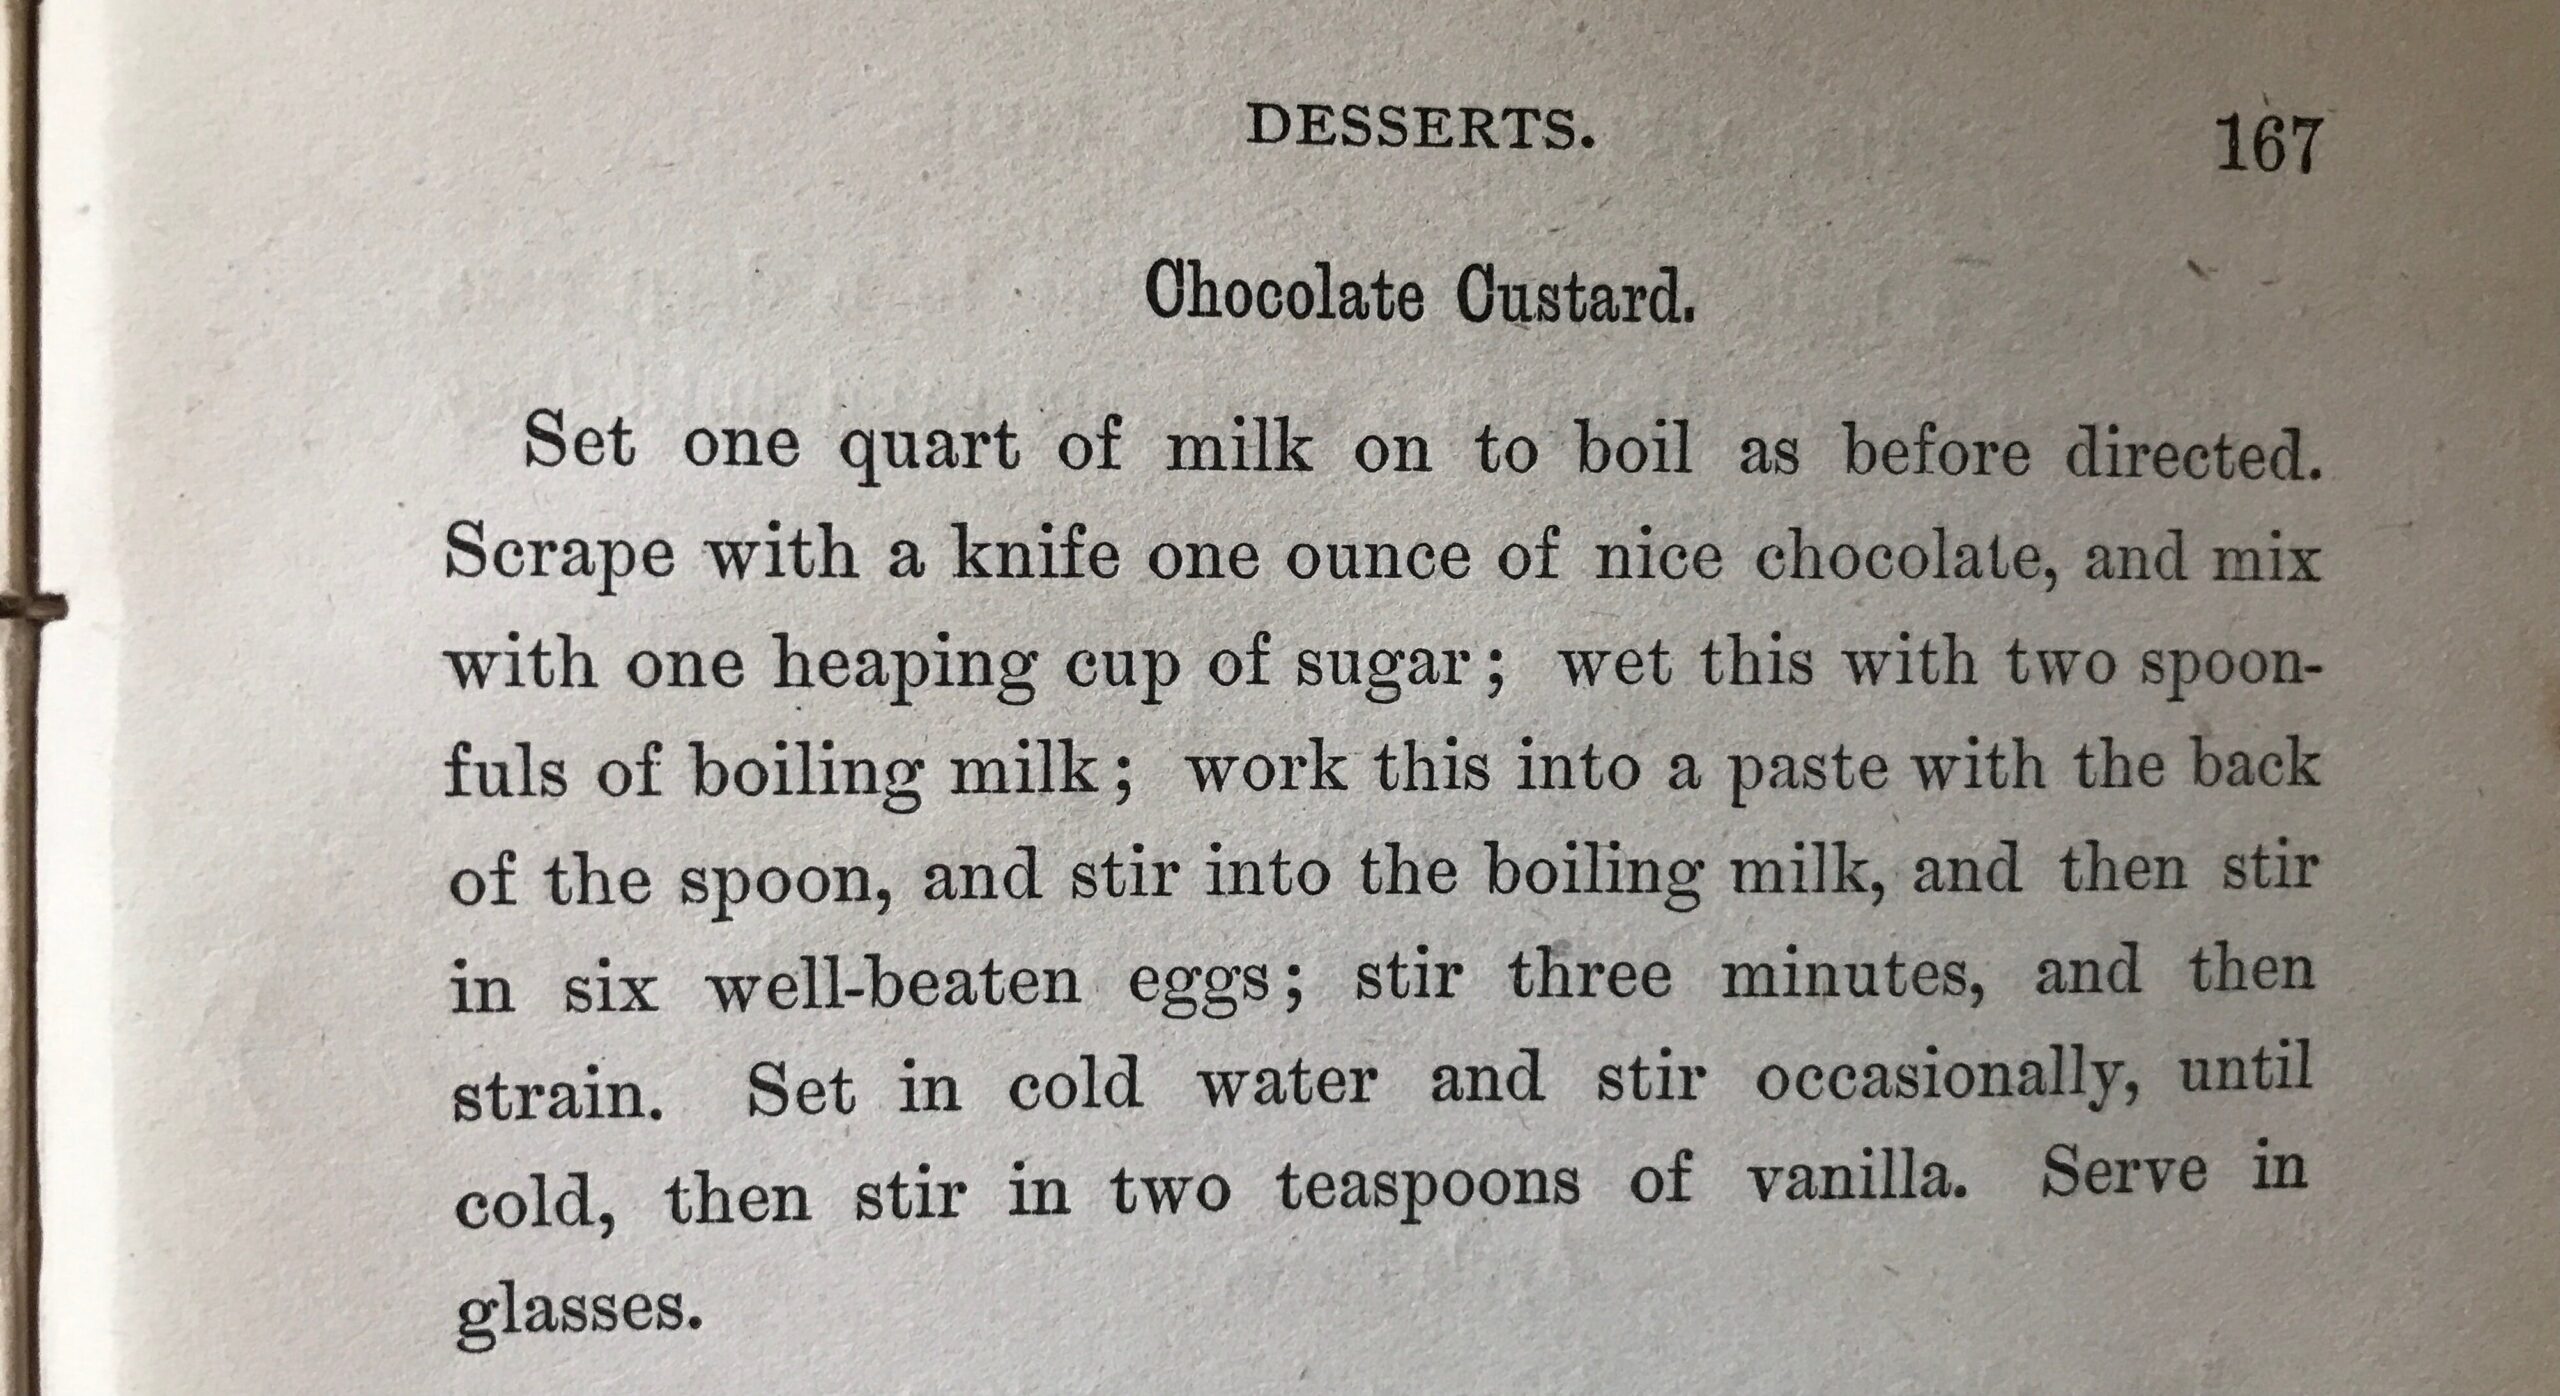
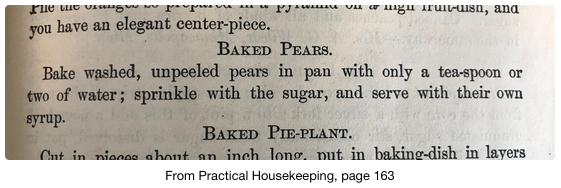
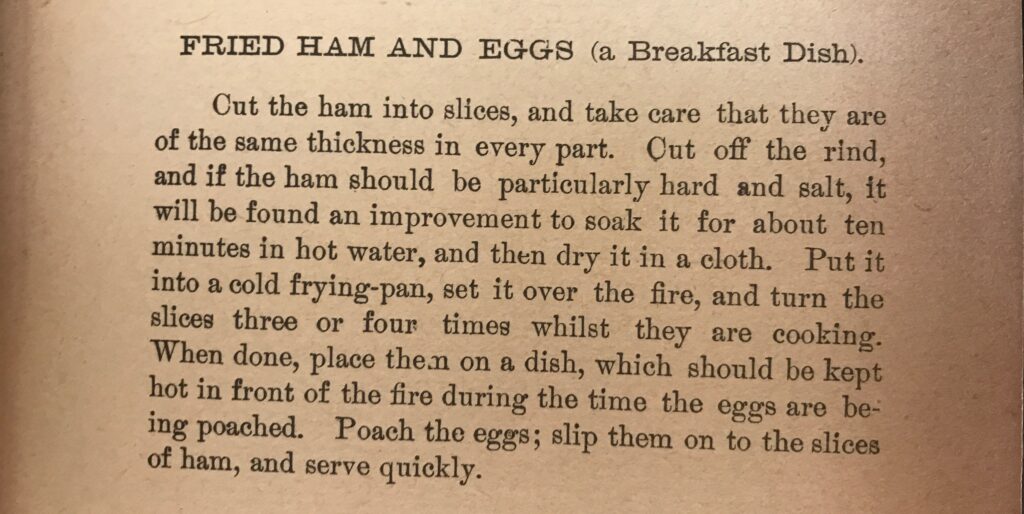
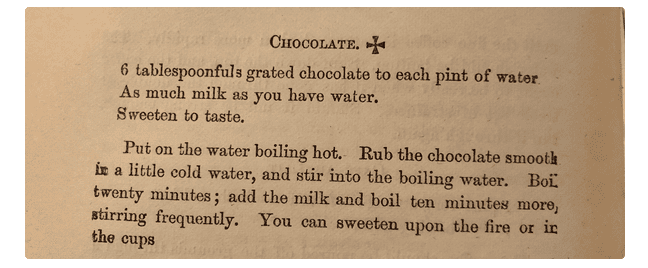
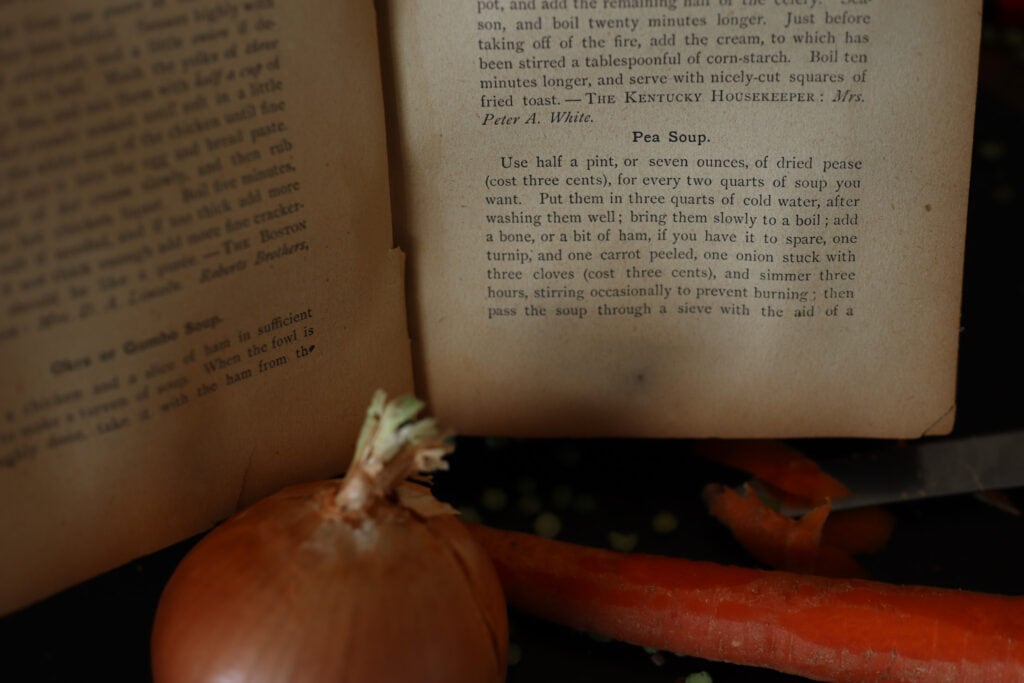
Here’s a photo of the recipe as it appears in the cookbook:

A FEW COOKING NOTES:
I love how this recipe is written, with not one single measurement specified. It really does feel like getting a recipe from your grandmother over the phone, doesn’t it? “Oh, you know. You put some of this, and then a little of that…“
Thankfully, you can’t go too wrong with any combination of these ingredients, but I’ll share how much I used of everything in case you find it helpful.

What kind of apples to use?
Crisp, hard, and fairly tart apple varieties have long been the standard for pies, going back well before the 1800’s. Among the varieties you’re likely to have easy access to in today’s grocery stores, a combination of McIntosh, Cortland, and Granny Smith serves pretty well.
If you’re lucky enough to have access to a heritage apple orchard, varieties like Northern Spy, Newtown Pippin, or Duchess of Oldenberg would be lovely. Or ask the orchardist what they recommend for favorite pie apples.

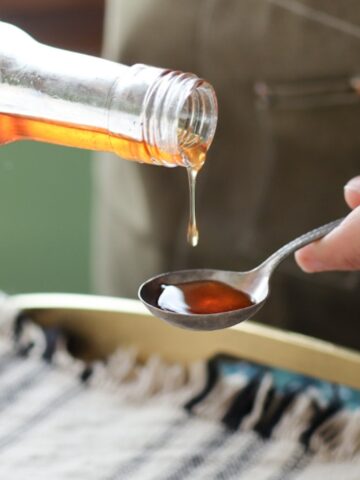
How much molasses?
I used ¼ cup of molasses in my 10″ pie.
The pie plate I used for this is probably turn of the century, or just a tad earlier, and it’s the usual depth of a 9″ plate, so a bit shallower than most 10″ pie plates these days.
I felt the ¼ cup amount was absolutely perfect. For a larger, deeper pie, I’d bump that up to a generous ⅓ cup.
How much sugar to put in?
I used ⅓ cup of white sugar, and loved the result. Next time, I might even bump that down to ¼ cup, but most people like desserts sweeter than I do, so if I were making this for company, I’d use exactly the same measurements I did this time.
If you’re making a deeper dish pie, you may want to bump that up to ½ cup.

Lemon peel or nutmeg?
Totally baker’s choice! I went with lemon peel for two reasons. First, when multiple options are given in these old recipes, I usually opt for the first one, since I imagine that may have been the more usual or preferred option at the time. (This is purely supposition on my part.)
The other reason was that I’ve had nutmeg in apple pies all my life, but never lemon peel. The brightness that the lemon zest lent to the finished pie was subtle, but it was definitely there, and I loved it. If you’re making two pies, it would be fun to try one each way.
About that butter.
I meant to put some on, because I really did want to experience what that “richer” result tasted like. But honestly I got distracted by trying to decide how to dress that top crust (I do really love making pies!), and just plain forgot to put the butter on. I’ll remember next time.
Having tasted the finished pie without it, I can imagine it would be great.
That said, if you choose to make it without the optional butter, I can vouch that the finished pie, sans butter, does not in any way taste like it’s lacking anything. It’s pretty special even without it.

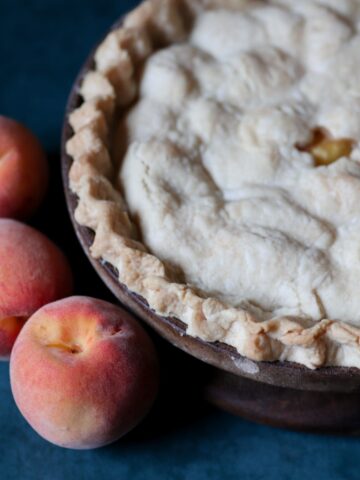
Top crust or no?
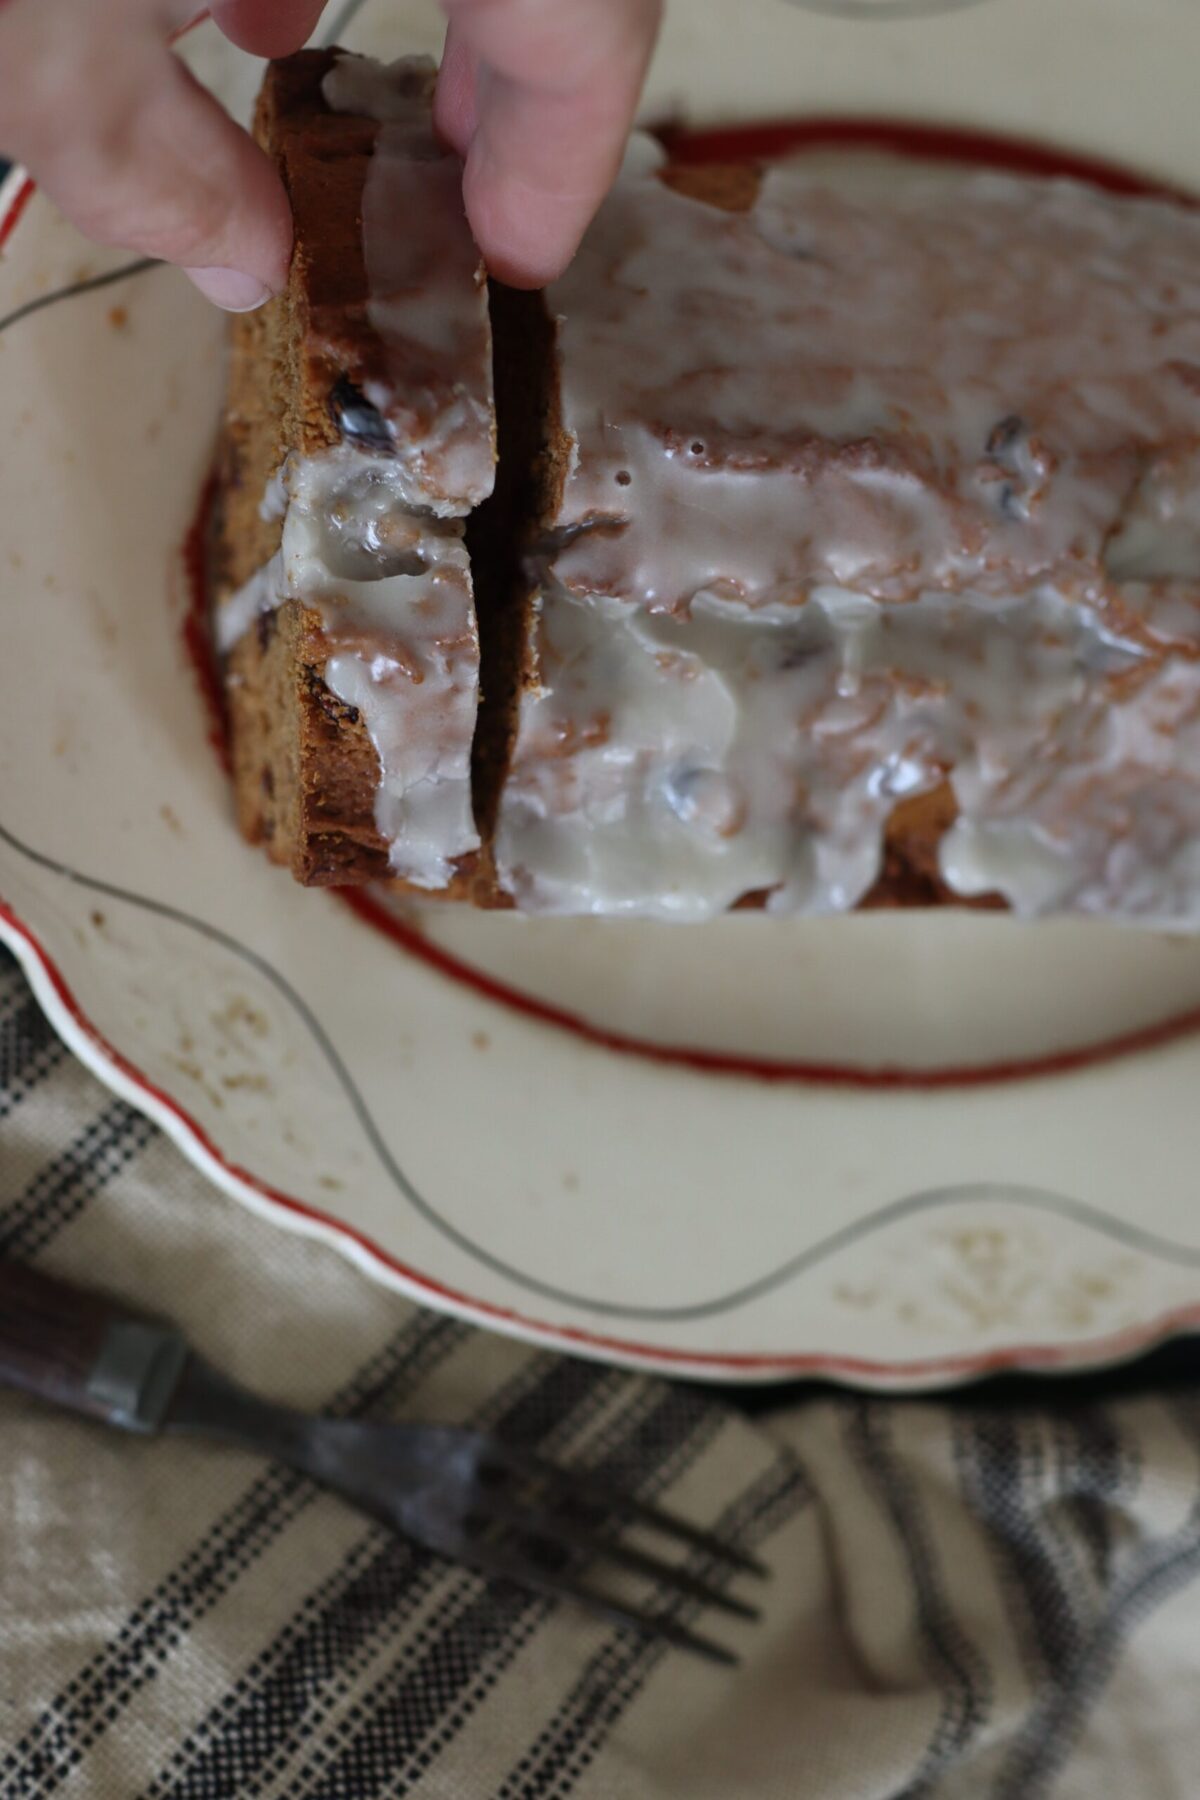
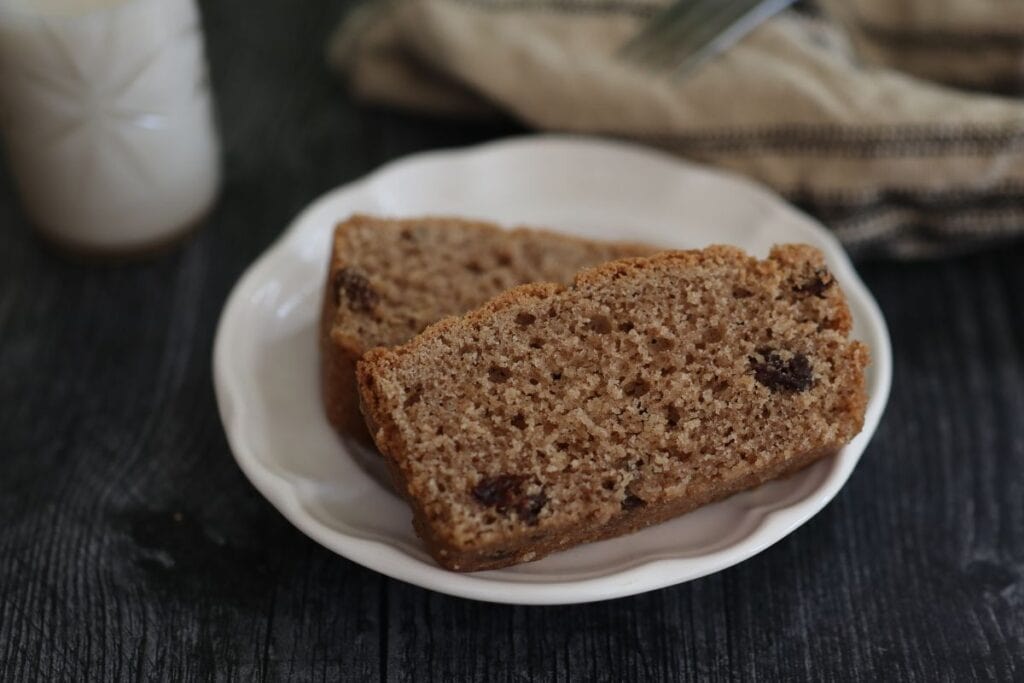
You can tell from the photos that I opted for a top crust on mine, and in the places where I’ve seen it specified in other 1800’s cook books, apple pie generally seems to have been considered a “two crust pie”.
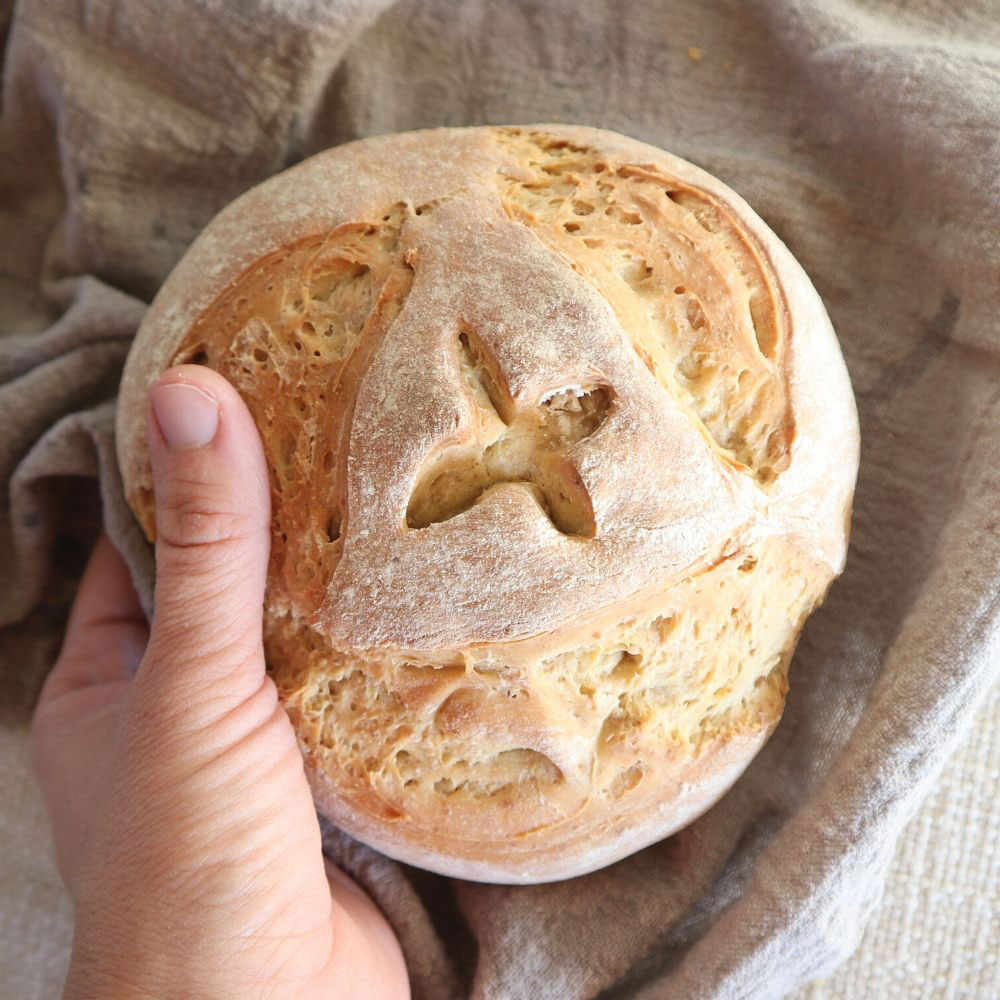
Don’t forget to cut at least one vent in the center of that top crust. This particular cook book doesn’t specify the importance of that, but it’s a caution I’ve seen mentioned several times in other nineteenth century cook books.
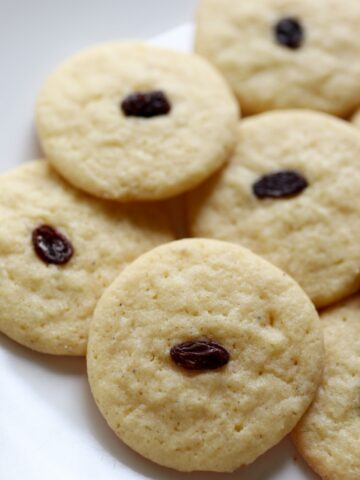
Hearts and circles were popular shapes for cutouts during that era, both for cookies and pastry, which is why I opted for the heart motif. Don’t feel you need to skip ornamentation of the crust, to be historically accurate. Especially for a holiday, a pie crust may have been quite elaborate. Feel free to have fun and make it beautiful…if you lived in 1845, you probably would have.
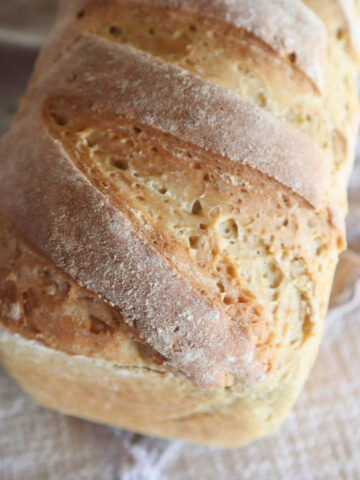
This is the 1800’s pie crust recipe I used for this pie in the photos, by the way.

How hot should the oven be?
I baked this pie at 350 F, and that worked well. It’s what I’d use again.
How long does it take to bake?
Mine actually took an hour and 18 minutes to seem like it was baked to perfection. That felt long to me, but for the apples I chose (Cortland, Granny Smith and McIntosh) that was the time it needed.
With other apple varieties, the same recipe might bake in less time, or for a deeper dish pie, it might take a bit longer.
I’d start peeping in on it after 45 minutes, and keep a good eye on it after that, until it’s done. You want the crust to be golden brown, and the center should be good and juicy.

If you try this, please feel free to let me know what you think. I really love hearing about readers’ results with these recipes!
As always, feel free to send me an email anytime, with recipe requests! ‘Til next time, ~ Anna
This recipe was originally shared in the 1800’s Housewife newsletter. Not on the mailing list? You can join here to receive full recipes with cooking notes straight to your inbox!
If you liked this recipe, here are some others you may enjoy: